How to Draw a Simple Wood Texture?
Wood textures have long been appreciated for their timeless beauty and natural warmth. Whether you are sketching by hand, designing for print, or creating digital projects, knowing how to draw a realistic wood texture can elevate your work significantly. Drawing wood may seem challenging at first, but with the right techniques and an understanding of its characteristics, you can create stunning and believable wood effects. This article will guide you step-by-step on how to draw a simple wood texture, helping you to capture the intricate details of grain, knots, and other natural features. By the end, you will have the skills to incorporate wood textures into your artwork with ease.

Observing Wood's Natural Characteristics
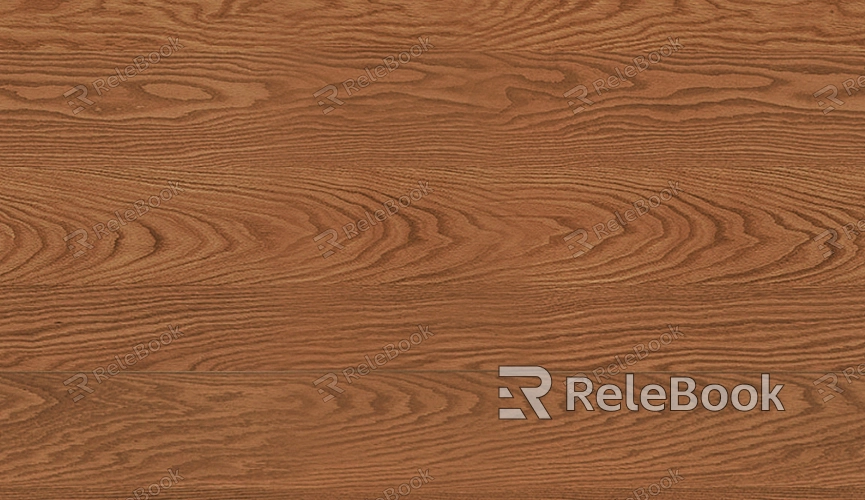
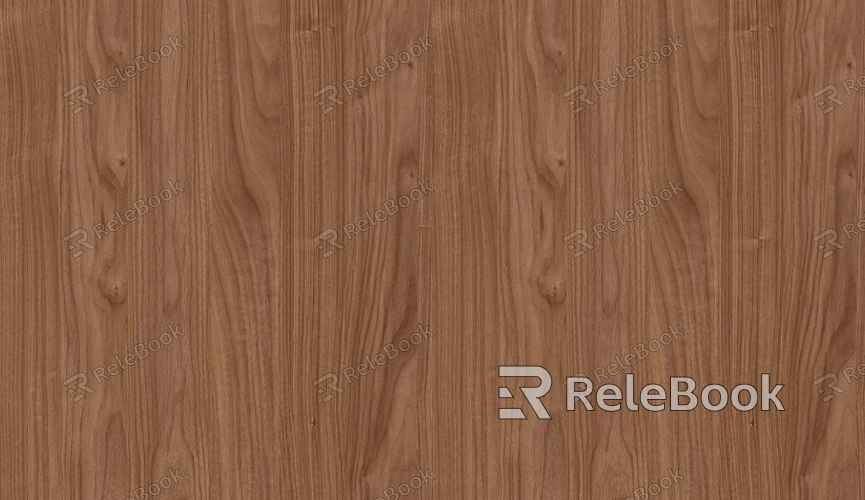
Before attempting to draw any wood texture, it's important to understand the key elements that define wood's appearance. Wood is composed of grain lines that form distinct patterns, which can vary from straight and uniform to swirling and irregular. These grain lines are often influenced by the species of wood, as well as environmental factors like age and growth conditions. Additionally, knots, rings, and splits are common features in real wood that add character and authenticity to the texture.
A good way to begin is by studying images of wood closely. Take time to observe the different types of grain patterns and markings that appear. Pay attention to the way light and shadow interact with the wood surface. Understanding these nuances will help you replicate them effectively in your drawing. Whether you're aiming for a smooth, uniform wood texture or a more rugged, weathered one, these characteristics will guide your approach.
Sketching the Basic Shape of the Wood Surface
Once you have a clear understanding of the natural features of wood, the next step is to start your drawing by sketching the basic shape of the wood surface. Start by lightly outlining the area where the wood texture will appear. This could be a wooden plank, a slice of tree trunk, or even a wooden box. You can use a pencil for this initial sketch, as it will give you the flexibility to erase and adjust as needed.
When sketching the wood surface, it's important to consider perspective. If you're drawing a piece of wood from a side view, the texture will appear more uniform, with parallel grain lines. If you're drawing from a top-down view, you may need to show rings or a more intricate pattern of grain, depending on how the wood is cut. Once the basic shape is in place, you can start adding the grain lines that will define the wood's texture.

Adding the Grain Lines
The most important feature of a wood texture is its grain. To replicate this in your drawing, start by adding a series of long, curved lines that follow the natural flow of the wood. These lines should vary in length and curve to mimic the organic patterns found in real wood. Don't worry about making them perfect or symmetrical—real wood is rarely uniform, so adding irregularities will help create a more realistic look.
Vary the pressure on your pencil to create a sense of depth and texture. Lighter lines can represent finer grains, while darker lines can suggest deeper, more pronounced grooves in the wood. Be sure to overlap some of the grain lines, as this adds complexity and realism to the overall texture. Remember to follow the natural direction of the grain; for instance, if you're drawing the side of a tree trunk, the grain will run vertically, while the grain of a plank will run horizontally.
Adding Knots and Imperfections
Knots, splits, and other imperfections are common features in wood, and adding them to your drawing will make it look more authentic. To create knots, draw circular or spiral shapes within the grain lines. These should be irregular and vary in size. Use darker shading around the knots to create the illusion of depth, and blend it smoothly with the surrounding grain to make them appear integrated into the texture.
You can also add small cracks or splits, especially if you're trying to depict an older or weathered piece of wood. These can be created by drawing thin, jagged lines running across the surface of the wood. Be subtle with these details—too many imperfections can detract from the natural beauty of the wood.
Shading for Depth and Realism
Shading is crucial in making your wood texture appear three-dimensional and realistic. Begin by determining where your light source is coming from. This will help you understand where to place highlights and shadows on the wood surface. The areas where the grain is deepest or where knots are located will naturally be darker, while areas that catch the light should remain lighter.
Use a blending tool, such as a blending stump or your finger, to gently blend the pencil marks and create a smooth transition between light and dark areas. You can also use cross-hatching or stippling techniques to build up more texture and contrast. The key is to create depth through subtle shading, making the wood surface appear tactile and dimensional.
Final Touches: Adding Color (Optional)
If you're working with colored media or digital tools, adding color can further enhance the realism of your wood texture. Choose colors that reflect the natural hues of wood—warm browns, golden yellows, and reddish tones are common, but you can adjust them based on the type of wood you're depicting. For example, oak wood may have a light, golden color, while mahogany may have a richer, reddish-brown hue.
When applying color, start with lighter shades and gradually build up darker tones in areas of shadow. Use your pencil or digital tools to add texture, blending colors to mirror the natural variations found in wood. A few highlights, especially near knots or the edges of the wood, can also add a sense of light reflecting off the surface.
Drawing a simple wood texture involves understanding the natural features of wood, from its grain patterns to its knots and imperfections. With practice, you can create realistic wood textures that add depth and authenticity to your work. Start by observing real wood, sketching basic shapes, adding grain and imperfections, shading for depth, and finishing with optional color. By mastering these techniques, you'll be able to incorporate wood textures seamlessly into any of your creative projects.
In conclusion, drawing a simple wood texture may seem daunting at first, but with the right approach and a bit of patience, you can achieve stunning results. By practicing the steps outlined in this article, you'll gain the skills to accurately represent wood in your artwork, whether you're working with traditional tools or digital media. For those looking to take their work to the next level, you can download high-quality 3D models and textures from Relebook, offering realistic wood textures and more to enhance your designs.
FAQ
What tools should I use to draw wood textures?
You can use pencils, charcoal, or colored pencils for traditional media. For digital drawings, a tablet and stylus with software like Photoshop or Procreate are ideal.
How do I make the wood texture look realistic?
The key to realism lies in the subtle details: vary the grain lines, add imperfections like knots and cracks, and use shading to create depth. Observing real wood will also help you understand how to replicate its natural look.
Can I draw wood textures without using color?
Yes! A black-and-white wood texture can be just as effective, especially when using shading and blending techniques to create depth and dimension. Adding highlights and shadows can make the texture come to life even without color.
How do I draw different types of wood textures?
Different types of wood have different grain patterns. For example, oak has a distinctive open grain, while maple has a smoother surface. Study the specific wood type you're drawing, and adjust the grain and shading to reflect its unique characteristics.
Where can I find high-quality wood textures for my designs?
For high-quality textures and 3D models, visit Relebook, where you can find a variety of realistic wood textures to enhance your projects and bring your designs to life.

