How to Do Bump Maps in Blender?
A bump map allows artists to create the illusion of depth and surface texture without modifying the actual geometry of a model. In Blender, bump mapping is a straightforward process that involves applying a grayscale image to simulate surface detail. This article will walk you through the process of creating and applying bump maps in Blender, including how to adjust settings and achieve realistic results.

Understanding Bump Maps
Bump maps are grayscale images that simulate surface detail by influencing how light interacts with a surface. Unlike displacement maps, which alter the actual geometry of a model, bump maps only affect the shading of a surface to create the illusion of depth. White areas of a bump map represent raised portions, while black areas represent recessed areas. Shades of gray between black and white indicate varying degrees of height.
The advantage of using bump maps is that they offer a lightweight way to enhance the detail of an object without increasing the polygon count. This makes them especially useful in situations where performance is crucial, such as in real-time rendering or game engines.
In Blender, bump maps are typically applied using the "Bump" node in the Shader Editor, which is part of Blender's powerful node-based material system. The bump map can be applied to any material, and its effect can be fine-tuned to achieve the desired level of detail.

Creating a Bump Map in Blender
While Blender can create bump maps using procedural textures, it is common to use externally created bump maps, such as grayscale images or photos. Below is a step-by-step guide on how to create a bump map for your model.
1. Creating the Grayscale Image
The first step is to create the bump map itself. You can use external image editing software like Photoshop, GIMP, or Krita to create a grayscale image, which will act as your bump map. Start by designing or editing an image where varying shades of gray represent the surface detail. For example, for a stone surface, darker areas would represent the recesses, and lighter areas would represent the raised portions.
Alternatively, Blender has built-in procedural textures like Noise, Voronoi, and Musgrave, which can be used to generate bump maps directly within the software. These textures can be manipulated to create complex, randomized patterns that simulate real-world surfaces like rough stone, fabric, or wood.
2. Importing the Bump Map into Blender
Once you have your grayscale image, you can import it into Blender. To do this, open the "Shader Editor," select your object, and add a new material. In the Shader Editor, add an "Image Texture" node and load the bump map you created or obtained. Connect the "Image Texture" node to the "Bump" node, which will modify the material’s appearance.
3. Adjusting the Bump Map’s Intensity
The strength of the bump map effect can be adjusted using the "Strength" setting in the "Bump" node. A higher strength value results in more pronounced surface detail, while a lower value produces a subtler effect. Start with a small strength value and gradually increase it until you achieve the desired amount of detail.
Applying the Bump Map to a Material
To see the bump map in action, you need to connect it to a material. Blender uses a node-based system, so applying a bump map is simply a matter of connecting the bump map to the material's shader.
1. Setting Up the Material
To begin, create a new material for your object by selecting the object in the 3D viewport and going to the Material Properties tab. Click the "New" button to create a new material.
In the Shader Editor, add a "Principled BSDF" shader and connect it to the "Material Output" node. This is the default shader for most materials in Blender, and it is versatile enough to work with various surface types.
2. Connecting the Bump Map
Now that you have your bump map, connect it to the "Bump" node. The "Bump" node should be connected to the "Normal" input of the Principled BSDF shader. This will apply the bump map to the material’s surface.
The "Bump" node has two main inputs: "Height" and "Normal." The "Height" input is where you connect the grayscale bump map image, and the "Normal" input is where you connect the output of the "Bump" node to the shader. The output of the "Bump" node will drive the surface shading to simulate bumps and dents on the material.
Fine-Tuning the Bump Map in Blender
Once the bump map is applied, you may need to make some adjustments to ensure it looks natural and fits the object correctly. There are several factors to consider when fine-tuning a bump map in Blender:
1. Adjusting the Scale of the Bump Map
One common adjustment is to scale the bump map so that it fits the object’s surface better. In the "Mapping" node, you can adjust the scale of the bump map to make the details appear more or less pronounced. Scaling the bump map down can make it look more detailed, while scaling it up can create a more subtle effect.
2. Fine-Tuning the Strength
Another important factor to adjust is the strength of the bump map. If the bump map is too intense, it may create unrealistic surface details. You can control this by adjusting the "Strength" slider in the "Bump" node. Try experimenting with different strength values to find the right balance that achieves the desired look.
3. Using a Normal Map Instead
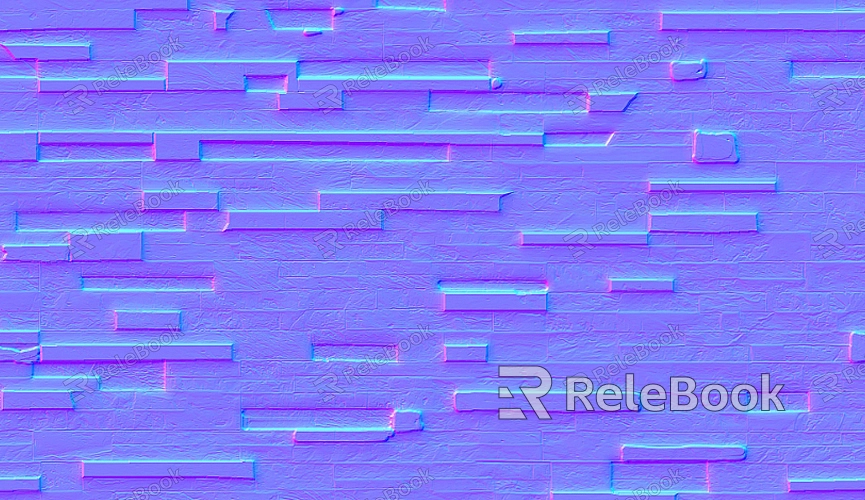
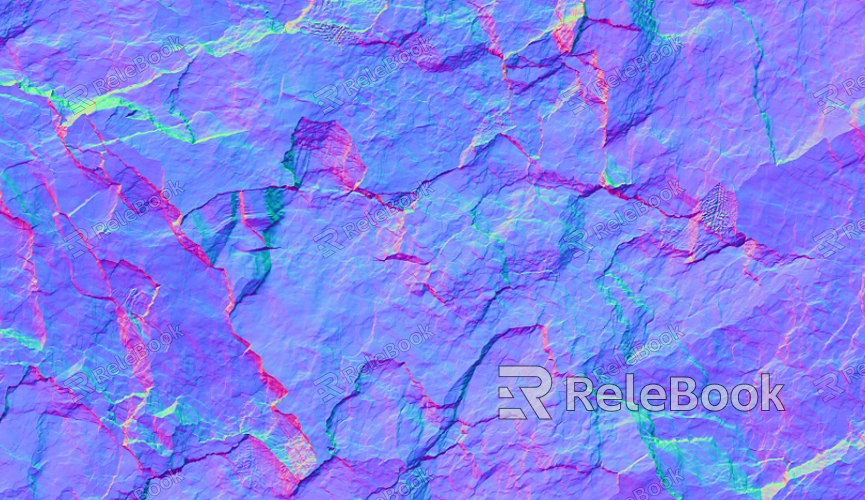
For more complex surfaces, you might want to use a normal map instead of a traditional bump map. Normal maps provide more detailed surface information by encoding the orientation of surface normals in RGB channels. They give a more realistic result, especially for highly detailed surfaces like skin, rocks, or metal. In Blender, normal maps are applied similarly to bump maps, but the "Normal" input of the shader is connected to a "Normal Map" node instead of the "Bump" node.
Troubleshooting Bump Maps in Blender
While bump mapping is a relatively straightforward process, there are a few common issues you might encounter. Here are some troubleshooting tips to help you resolve them:
1. Low-Resolution Bump Map
If your bump map looks blurry or pixelated, it may be because the texture resolution is too low. Make sure to use high-resolution textures for the best results. A low-res bump map can make details appear rough and unrealistic.
2. Inconsistent Lighting
Sometimes, bump maps may not look right due to inconsistent lighting. Ensure that your scene has proper lighting set up and that the light sources are positioned correctly to highlight the bump effect. Use an "HDRI" image for environmental lighting to ensure consistent, realistic lighting in your scene.
3. Mismatched UVs
If your object’s UV map is not properly unwrapped, the bump map may not align correctly with the surface. In such cases, go into Edit Mode, select the object, and make sure the UVs are properly unwrapped and match the texture coordinates.
Best Practices for Using Bump Maps in Blender
To get the most out of bump mapping in Blender, consider these best practices:
1. Combine Bump Maps with Other Maps
Bump maps can be combined with other texture maps, such as diffuse, specular, and roughness maps, to create more realistic materials. For example, a bump map can work alongside a roughness map to simulate how a surface reacts to light and how smooth or rough it feels.
2. Use High-Quality Textures
Always try to use high-quality, detailed bump maps. The better the texture, the more realistic the surface detail will appear. You can find high-quality textures from various sources, such as texture libraries or websites that specialize in 3D assets.
Bump mapping in Blender is an essential technique for adding depth and surface detail to your models without increasing geometry. By following the steps outlined in this article, you can easily apply bump maps to your objects and fine-tune their appearance to achieve realistic results. Whether you're working on complex environments or simple objects, bump maps can elevate the visual quality of your work with minimal performance cost.
For high-quality 3D models and textures to enhance your projects, be sure to explore the Relebook website, where you can find a wide selection of downloadable assets to elevate your work even further.
FAQ
What is the difference between a bump map and a normal map?
A bump map affects how light interacts with a surface by simulating surface irregularities, while a normal map encodes more detailed surface data, providing a more realistic interaction with light. Normal maps are often used for more detailed, complex surfaces.
Can I use bump maps for organic models like skin or fabric?
Yes, bump maps can be used for organic surfaces, but for more detailed, realistic effects on skin or fabric, consider using normal maps or displacement maps. These methods provide more accurate surface detail than bump maps alone.
How do I create a bump map from an image?
You can create a bump map by converting an image to grayscale and then adjusting its contrast to highlight the light and dark areas that represent raised and recessed parts of the surface. Various image editing programs like Photoshop or GIMP can help you with this process.

