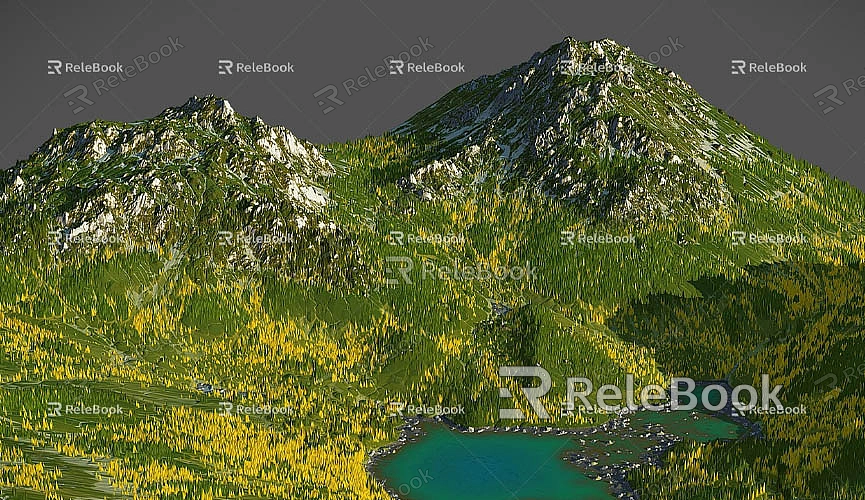
How to make 3d model in google sketchup
With the widespread use of architectural design, interior decoration, landscape planning, and virtual reality projects, 3D modeling technology has become an indispensable part of the design industry. For many designers, SketchUp has become the go-to tool for creating stunning 3D models. Developed and launched by Google, SketchUp is a 3D modeling software that attracts a large user base due to its ease of learning and powerful features, particularly among architects, engineers, interior designers, and animators.
SketchUp enables efficient 3D modeling, whether you're designing small household items, complex buildings, or virtual city environments. This article will provide a detailed guide on how to create 3D models in Google SketchUp, from basic operations to advanced design techniques, helping you master this powerful modeling tool and enhance your modeling skills to add creativity to your design projects.

Why Choose SketchUp?
Among the many modeling software options available, SketchUp stands out as a popular choice for designers, not only due to its free version and ease of use but also because of its intuitive interface. Even beginners can quickly get started with it. Additionally, SketchUp offers highly flexible modeling capabilities, supporting the creation of simple geometric shapes as well as complex surfaces and freeform designs. More importantly, SketchUp benefits from strong community support and an extensive library of resources, allowing designers to easily download and share various models and plugins, making the design process more convenient and efficient.
A distinctive feature of SketchUp is its excellent support for rendering plugins. Through plugins like V-Ray and Enscape, users can render models into highly realistic images, greatly enhancing the visual appeal and precision of their designs.
Introduction to SketchUp's Basic Operations and Tools
Before starting to create a 3D model, it’s important to familiarize yourself with SketchUp’s basic operations and tools. The interface is simple and clear, divided into several main sections: the toolbar, drawing area, model library, material panel, and various tool menus. Understanding these tools and how to operate them quickly will help you save time and improve efficiency in your workflow.
Some of the most commonly used tools in SketchUp include the rectangle tool, line tool, circle tool, push-pull tool, move tool, scale tool, rotate tool, and arc tool. With these tools, you can draw different shapes for your 3D models and fine-tune details.
The push-pull tool is one of SketchUp's most iconic and widely used tools. It allows users to stretch 2D shapes (such as rectangles or circles) into 3D forms. For example, you can draw a flat shape with the rectangle tool and then use the push-pull tool to extrude it into a cube.
In addition to drawing tools, the coordinate system is a critical element in SketchUp’s modeling process. Understanding the red, green, and blue axes is essential, as they help you accurately position every element of the model, ensuring precision and consistency throughout.
Basic Steps for Creating a 3D Model
Once you're familiar with SketchUp's basic tools and operations, the next step is to move into the actual modeling process. Creating a 3D model in SketchUp typically involves several key steps, each of which plays a crucial role in achieving the desired final result.
Define the Design Concept and Dimensions
Before beginning your model, the first thing you need to do is define your design direction. You can base your model on existing architectural floor plans, hand-drawn sketches, or 3D scene requirements. If you already have reference drawings, you can set up accurate dimensions in SketchUp according to the scale.

Once you’ve defined the design concept, the next step is to input precise dimensions. SketchUp allows users to input exact measurements for length, width, and height during the drawing process. This step is vital for ensuring the accuracy of your model.
Build the Basic Geometric Shapes
Regardless of whether your model is a building, piece of furniture, or another object, the fundamental approach to modeling is to start with basic geometric shapes. You can use the rectangle tool to outline the basic contours of walls, then use the push-pull tool to extrude them into 3D walls with thickness. Similarly, the circle tool can be used to create columns, door openings, windows, and other features.
At this stage, you can also speed up the process by using tools like copy, mirror, or symmetry to generate identical or symmetrical objects.
Add Architectural Details
Once the basic shapes are complete, the next step is to add more detailed elements. Architectural details can include windows, doors, stairs, railings, balconies, and other components. SketchUp comes with a rich built-in component library, providing pre-made doors, windows, furniture, decorations, and more. These can be easily imported into your model, saving time on repetitive drawing.
If the components in the library don’t meet your needs, you can also create custom components. For example, when designing stairs, you can draw each step individually and then group them together to form a complete staircase.
Use Materials and Textures to Enhance Realism
After adding the necessary details, the next step is to apply materials and textures to make the model appear more lifelike. SketchUp comes with a comprehensive material library that includes various textures like wood, stone, metal, glass, and more. By applying these materials, you can improve the visual quality of your model and make it more expressive.
To take realism a step further, you can use High Dynamic Range Imaging (HDRI) to simulate natural lighting effects. HDRI images provide higher brightness information, which results in more natural lighting, shadows, and reflection effects, giving your model more depth and dimensionality.
If you need access to high-quality 3D textures and HDRI images for your models, you can download them for free from [https://textures.relebook.com/](https://textures.relebook.com/). Relebook offers a wide range of high-quality 3D textures, significantly enhancing the appearance of your model.
Rendering and Lighting Effects
Once the basic structure and details are in place, rendering becomes a crucial step in enhancing the quality of your work. While SketchUp offers some basic rendering capabilities, many designers prefer to use advanced plugins like V-Ray or Enscape to achieve higher-quality renderings. These plugins can simulate lighting, material reflections, shadows, and other effects to make the model appear more realistic.
During rendering, it's important to adjust the intensity and angle of the lighting to simulate different times of day and weather conditions. Proper lighting settings can emphasize the building’s facade and improve the perception of space. You can also use shadow and reflection controls to enrich the model’s details and elevate the overall effect.
Optimization and Fixes
Though SketchUp’s modeling process is relatively straightforward, you may encounter issues such as asymmetry, overlapping elements, or inaccurate dimensions. To ensure precision and smoothness, it's important to periodically check and correct errors in the model. For example, check for irregular lines on faces, adjust inaccurate dimensions, and fix angles that don’t align correctly.
Exporting and Sharing
After completing the 3D modeling and rendering, the final step is to export the model and share it. SketchUp supports exporting models in a variety of formats, such as SKP, OBJ, 3DS, DWG, and others. This allows you to import the model into other design software for further processing or editing. Additionally, you can export rendered images in high-quality formats like PNG or JPG for project presentations or client reviews.
If you want to share your work with designers around the world, SketchUp also provides an online platform called 3D Warehouse, where you can upload your models for other users to download or view.
With this detailed guide, you should now have a clearer understanding of how to create 3D models in Google SketchUp. Whether you're working on architectural design, interior design, or landscape modeling, SketchUp offers a simple yet powerful platform for designers. From drawing basic shapes to adding detailed decorations and enhancing renderings, SketchUp allows every creator to easily realize their design vision.
If you need access to high-quality 3D textures or HDRI images, you can download them for free from [https://textures.relebook.com/](https://textures.relebook.com/). For stunning 3D models, you can visit [https://3dmodels.relebook.com/](https://3dmodels.relebook.com/) for premium resources. These resources can save you time, improve your modeling efficiency, and enhance the quality of your final designs.
Whether you're a beginner or an experienced designer, mastering SketchUp techniques will help you excel in 3D modeling and create exceptional works of art.

