How to Use Texture Mapping?
Texture mapping is an essential tool in computer graphics and 3D modeling for enhancing the details and realism of models. By applying 2D images to 3D model surfaces, texture mapping enables models to display realistic colors, details, and material effects. Whether in game development, architectural visualization, or virtual reality, texture mapping plays a vital role. This article will discuss in detail how to use texture mapping to help you master this key technique.

Basic Concepts of Texture Mapping
Texture mapping involves applying images or patterns to the surface of a 3D model to achieve specific visual effects. It significantly enhances model detail without noticeably increasing the polygon count, making it an ideal solution for achieving high-quality rendering with limited resources. Common types of texture maps include:
Color Map: Provides the base color and pattern for the model surface.
Normal Map: Simulates fine surface details, creating a more realistic look under lighting.
Specular Map: Defines the reflective properties and intensity of the model surface.
Displacement Map: Alters the model’s geometry to achieve more pronounced surface variations.

Steps for Creating and Applying Texture Maps
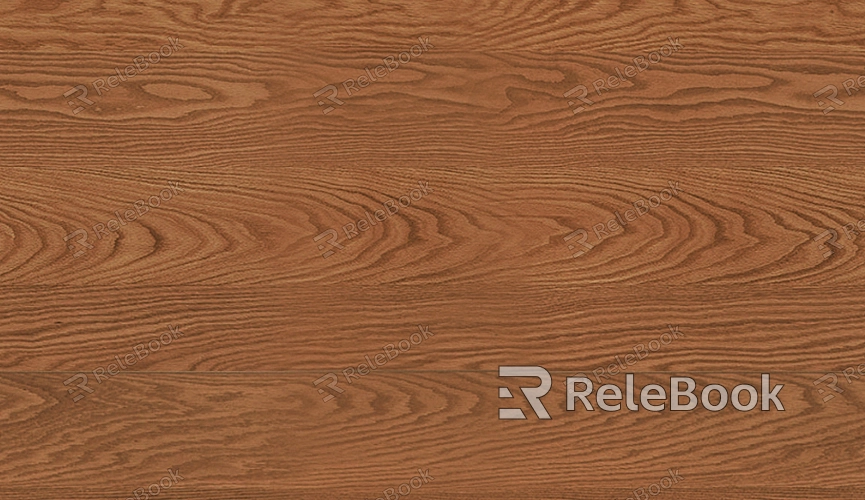
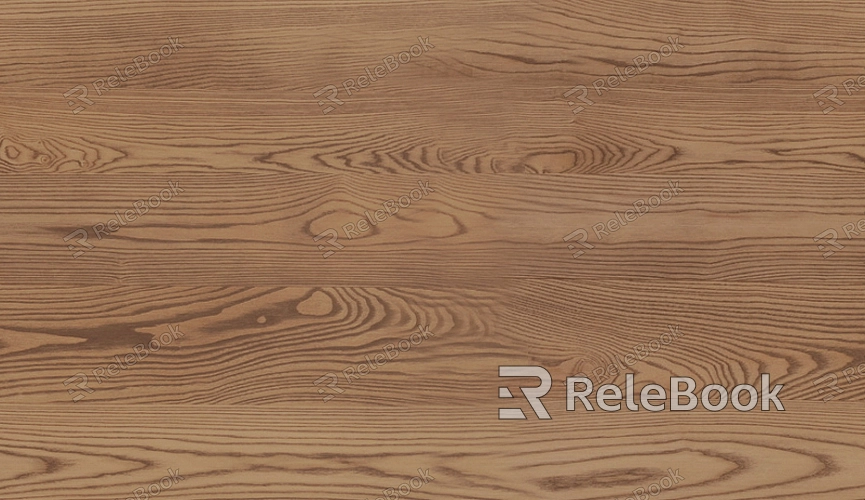
To use texture mapping, you first need an appropriate image as the texture. The chosen image should match the characteristics of the model’s material, such as wood grain, metallic shine, or fabric texture. The detailed steps are as follows:
1. Preparing the Texture
Start by ensuring that the resolution of the texture image is suitable for maintaining detail without impacting rendering performance. High-resolution textures can offer finer detail but may slow down loading times.
2. UV Unwrapping
To accurately fit a 2D image onto a 3D model, UV unwrapping is necessary. This process flattens the 3D model’s surface into a 2D plane for texture mapping. UV unwrapping can be done using 3D software like Blender or Maya. Ensuring the UV map is seamless and evenly proportioned helps prevent texture stretching or distortion.
3. Texture Binding
Import the texture image into your 3D software and bind it to the model’s material properties. For example, in Blender, you can use the material node editor to connect the texture image to the base color, normal, metallic, or roughness parameters. Adjusting these parameters allows control over how the texture appears under different lighting conditions.
Applying Different Types of Texture Maps
1. Using Color Maps
Color maps are the most basic type of texture. Import the color map and apply it to the base color channel of the model’s material to create surface color and patterns. Ensure that the texture resolution matches the level of detail required to avoid distortion or blurriness.
2. Using Normal Maps
Normal maps enhance surface detail by simulating bumps and indentations. To create a normal map, high-detail models are often baked to capture normal information, which is then applied to a low-poly model. By adding a normal map node to the material and connecting it to the normal input, you can create detailed surface effects without increasing geometric complexity.
3. Using Specular Maps
Specular maps define which areas of a model are shiny or rough. Adding a specular map to the material and adjusting related parameters can create distinct reflective properties, making surfaces appear more metallic or matte. This helps achieve realistic reflections that change with lighting.
4. Using Displacement Maps
Displacement maps modify the model’s actual geometry, creating more significant surface depth. Connect the displacement map to the displacement input in the material and set an appropriate strength value to render detailed surface variations, like cracks in a wall or the rough texture of a rock.
Tools and Techniques for Effective Texture Mapping
When using texture mapping, some tools and techniques can streamline the workflow:
1. Adjusting Texture Scaling and Tiling
3D software allows you to adjust the scale and tiling of textures to control their size and repetition on the model surface. This prevents visible tiling artifacts and ensures the texture fits naturally.
2. Using Texture Channels
A model may need multiple texture channels to achieve composite effects. For example, combining normal maps and specular maps can create surfaces with both detailed bumps and reflective highlights. Adjusting the weights and blending modes of these channels ensures more natural rendering results.
Important Tips and Common Mistakes
Inconsistent Texture Scale: Ensure that UV unwrapping maintains consistent proportions to avoid texture distortion.
Low-Resolution Textures: Low-resolution textures can lead to blurry surfaces. When using high-resolution textures, balance quality with loading speed.
Incorrect Material Mapping: Apply different texture types to their corresponding material channels. For example, color maps should be applied to color channels, and normal maps to normal channels.
Mastering the use of texture mapping can significantly enhance the detail and realism of models without increasing polygon counts. Whether using color maps, normal maps, or specular maps, these techniques can bring 3D models to life. We hope this guide helps you understand and apply texture mapping effectively. For more 3D models and texture resources, visit the Relebook website for downloads.
FAQ
How do I fix texture stretching issues?
Texture stretching often results from uneven UV unwrapping. Ensuring a seamless and proportionate UV map can minimize stretching.
What’s the difference between a normal map and a bump map?
A normal map alters the surface normals for detailed lighting effects, while a bump map uses grayscale values to simulate height differences. Normal maps generally provide more refined detail.
How do I choose the right texture resolution?
The texture resolution should balance quality and performance, with higher resolutions for close-up models and lower ones for distant objects.

