How to Create Seamless Textures in Sweet Home 3D
In 3D modeling and interior design, the quality of textures plays a significant role in the final rendered image’s realism and overall appeal. Seamless textures, in particular, are essential for ensuring smooth transitions between different parts of a model, eliminating visible seams and repetition. As a 3D designer with years of experience, I've found that using seamless textures in Sweet Home 3D can dramatically enhance rendering quality and realism. Whether applying textures to walls, floors, or furniture, mastering seamless texture creation is key to achieving a professional and natural look. In this article, I’ll guide you through the process of creating seamless textures in Sweet Home 3D, from selecting the right materials to applying them effectively on your 3D models.

1. Understand the Basics of Seamless Textures
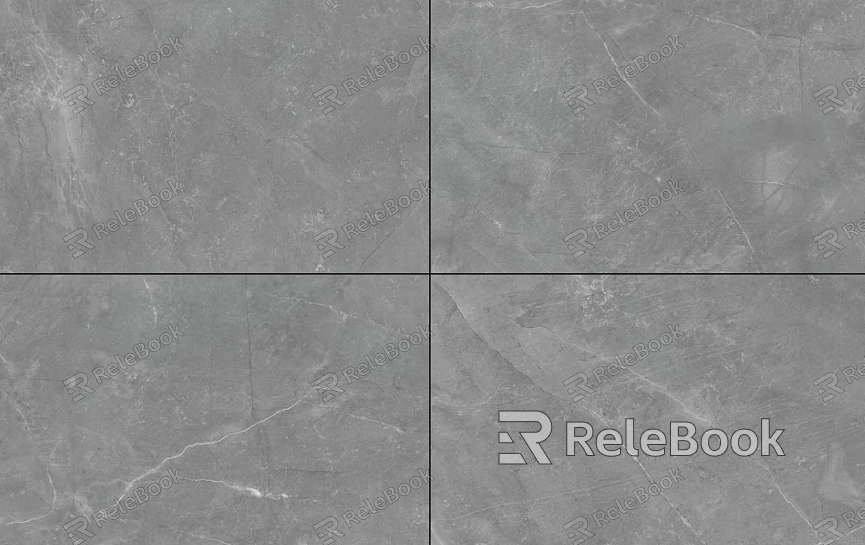
Seamless textures are those that can be continuously tiled without visible seams, creating a smooth and uninterrupted pattern. When creating seamless textures in Sweet Home 3D, it’s important to first grasp the basic principles of texture mapping, especially how to achieve smooth transitions across different parts of a model. These textures are typically used for large surface areas like floors, walls, and ceilings, as these spaces often require repeated patterns.
Common Use Cases for Seamless Textures Seamless textures are often used for extensive architectural surfaces such as walls, floors, and ceilings, as well as for furniture surfaces where a consistent, detailed look is desired. In Sweet Home 3D, the correct application of seamless textures helps avoid visual repetition and enhances the overall cohesion of a space.
Popular 3D Software for Seamless Texture Creation In addition to Sweet Home 3D, other 3D software tools like Blender, SketchUp, 3ds Max, and Maya also support the creation and application of seamless textures. While each software has its own texture tools and workflow, the fundamental principles behind creating seamless textures remain the same.
2. Preparing Seamless Texture Materials
The first step in creating seamless textures is selecting the right material. Often, you can find high-quality texture images online or use dedicated software to create custom seamless patterns.
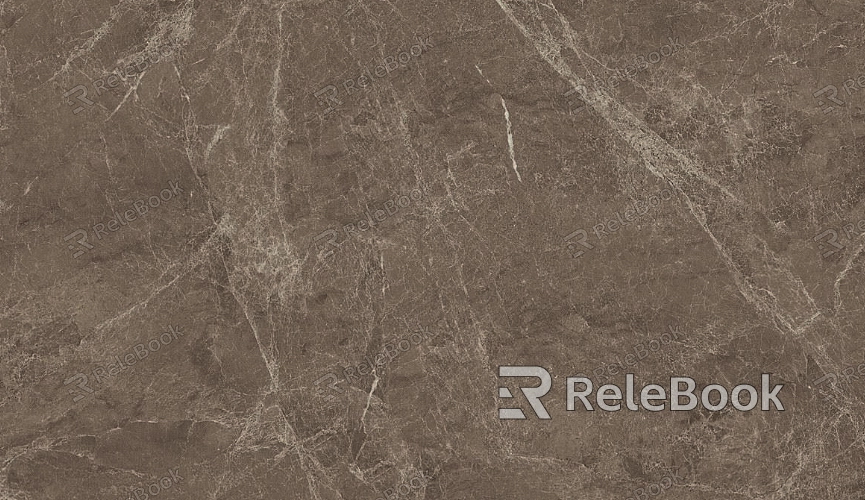
Choosing the Right Texture Material When selecting textures, ensure they are high resolution and detailed enough for your needs. Common seamless textures include wood grain, stone, brick walls, carpets, and fabrics. These textures often require adjustments to fit the specific needs of different spaces.
Using Professional Tools to Adjust Textures If you're creating your own seamless textures, tools like Photoshop or GIMP can help. By using techniques like tiling, mirroring, and patching seams, you can refine the texture pattern to ensure it’s seamless. Popular tools like the "Clone Tool" and "Healing Brush" in these programs can effectively remove visible seams.

3. Applying Seamless Textures in Sweet Home 3D
Creating seamless textures isn’t just about choosing or adjusting materials; proper application and adjustment are crucial. Sweet Home 3D provides simple texture mapping tools that help you easily apply textures to model surfaces.
Importing Textures into Sweet Home 3D Importing textures into Sweet Home 3D is straightforward. Select the desired model or surface, go to the "Material" tab, and choose "Texture" to import the seamless texture you’ve prepared. Ensure that the texture is scaled appropriately to match the model to avoid distortion.
Adjusting the Texture Scale and Orientation After applying the seamless texture, it’s necessary to adjust its scale and orientation based on the specific shape of the model. Sweet Home 3D offers tools that allow you to rotate, scale, and align the texture for a more natural fit on the surface.
4. Optimizing Seamless Textures for Better Rendering
Applying seamless textures in Sweet Home 3D isn’t just about placing them on models; optimizing textures for rendering is the key to achieving realistic results. Through proper adjustment, you can reduce the appearance of repetition in the texture and enhance the realism of the scene.
Adjusting Lighting and Shadows Lighting and shadows have a major impact on how textures appear in renders. In Sweet Home 3D, you can adjust the scene’s light sources and intensity to ensure that textures look natural under different lighting conditions, preventing any discordant visual effects.
Using PBR Texture Techniques While Sweet Home 3D doesn’t fully support PBR (Physically Based Rendering) textures, you can still achieve relatively high-quality rendering results by adjusting roughness, reflectivity, and other parameters. This is especially useful for textures like wood, metal, and other materials that benefit from detailed surface effects.
5. Refining and Post-Processing Texture Details
Even after creating seamless textures in Sweet Home 3D, post-processing the textures is crucial for enhancing their quality. These refinements can make textures appear more realistic and detailed in the final render.
Adding Details and Imperfections For textures that require additional detail, such as walls or floors, post-processing in Photoshop or other image editing software can help. Adding elements like wear, scratches, or stains can give the texture a more layered, realistic appearance.
Removing Texture Imperfections During post-processing, use tools like the Clone Tool to remove any remaining seams or imperfections. This ensures the texture seamlessly covers the entire model surface, creating a polished and professional look.
By following these steps, you can create seamless textures in Sweet Home 3D that not only look natural but also improve the overall design quality of your interior scenes. Whether you’re designing for personal projects or client work, mastering texture creation can significantly elevate your 3D renderings.
If you’re looking for high-quality 3D model resources, Relebook offers a wide range of options to help you achieve stunning visual results. Check it out for more tools and resources that can enhance your designs and make your work stand out.

