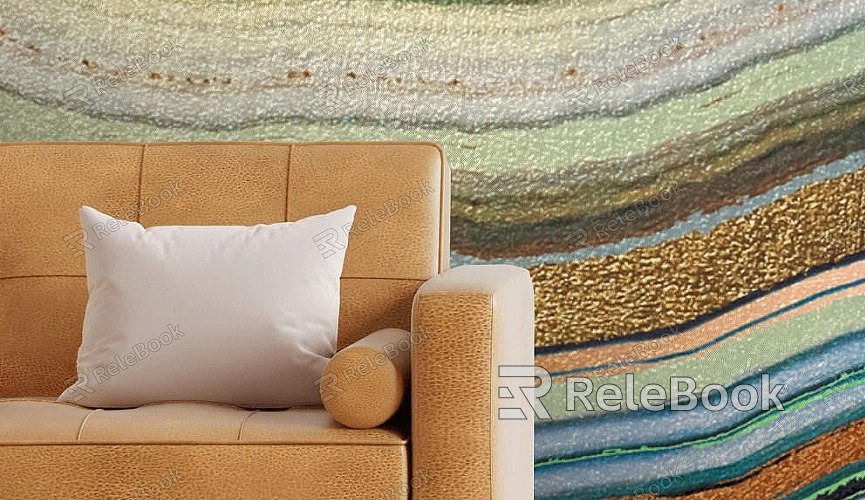
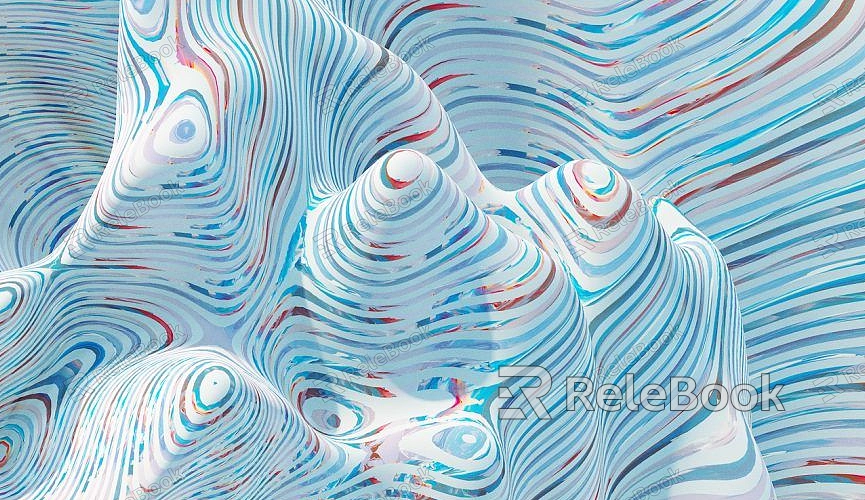
How to Apply a Texture to a 3D Surface
In 3D modeling and rendering, textures play a pivotal role in adding detail and realism to models. Whether you're designing architectural exteriors, creating game characters, or producing product visualizations, properly applying textures can significantly enhance the visual quality of your work. Designers often use software like Blender, Maya, and 3ds Max to apply materials and textures, creating natural-looking surfaces. This guide will walk you through the process of applying textures to 3D surfaces, from preparation to optimization and presentation, helping you achieve outstanding results in your projects.

1. Preparing Texture Files
Proper preparation ensures textures work seamlessly on your 3D model.
Select the Right Texture Type: Choose textures that fit the project requirements, such as wood, metal, or fabric. The appropriate texture helps convey the material properties of your model.
Ensure High-Quality Resources: High-resolution textures prevent surface blurriness or distortion. If you're short on time or resources, you can download premium textures from platforms like Relebook.
Verify Format Compatibility: Common texture file formats include JPEG, PNG, and TIFF. Confirm the format is compatible with your software before importing to avoid potential issues.
2. Importing Textures into 3D Software
Loading textures into your software is the first step in the application process.
Open the Model: Load your 3D model into the software and ensure its format (e.g., FBX, OBJ) supports texture mapping.
Import the Texture File: Most tools allow direct import by dragging the texture into the material editor or using a designated import feature.
Map Texture to Material: Assign the texture to specific material channels like diffuse, normal, or reflection, ensuring it displays correctly on the model's surface.
3. Adjusting UV Mapping
UV mapping is essential to accurately display textures on 3D surfaces.
Create a UV Layout: Unwrap the model’s surface into a 2D UV map to align the 3D texture coordinates with the 2D image.
Optimize UV Distribution: Avoid overlapping UVs and ensure textures are proportionally scaled. For complex models, manually adjust the UV layout for precise texture placement.
Check for Seams: Inspect the surface for visible seams and adjust UV boundaries to minimize any noticeable transitions.
4. Fine-Tuning Texture Parameters
To achieve realistic results, tweak the texture settings appropriately.
Scale the Texture: Adjust the texture's size to match the dimensions of the surface, avoiding overly large or small appearances.
Align and Rotate: Modify the texture's orientation to align with the model's features, such as ensuring wood grain follows the furniture’s edges.
Set Repeat Patterns: Use tiling for large surfaces but minimize noticeable repetition by blending edges or adding variation.
5. Adding Detail with Layered Textures
For enhanced realism, incorporate additional texture layers.
Normal Maps: Add surface detail, such as cracks or fabric weaves, by applying a normal map.
Roughness Maps: Adjust reflectivity to differentiate between matte and glossy finishes.
Transparency Maps: Create translucent effects for materials like glass or water by using an opacity map.

6. Applying Lighting and Rendering Settings
Lighting plays a critical role in how textures appear.
Select Appropriate Light Sources: Use point lights, area lights, or HDRI lighting to illuminate your model effectively.
Preview Texture Behavior: Test how textures respond under different lighting conditions, identifying areas that need refinement.
Optimize Render Settings: Adjust resolution and anti-aliasing parameters for clear, high-quality renders.
7. Enhancing Performance with Optimization
Balancing texture quality and performance is crucial for efficient workflows.
Compress Texture Files: Reduce file sizes to speed up rendering without noticeable quality loss.
Use Texture Atlases: Combine multiple textures into a single map to reduce GPU calls.
Implement LODs: Set lower-resolution textures for distant objects to improve performance in real-time applications.
8. Final Touches and Output
After applying textures and lighting, refine the results with post-processing tools.
Color Corrections: Use software like Photoshop to adjust brightness, contrast, and saturation, aligning textures with the scene's overall tone.
Add Effects: Incorporate subtle effects such as glows or dust to enhance visual appeal.
By following these steps, you can efficiently apply textures to 3D surfaces, elevating the realism and impact of your designs. If you're looking for high-quality texture assets, SketchUp models, or 3ds Max-compatible resources to enhance your projects, Relebook offers a wealth of options to help you achieve exceptional results.

