How to Create Textures for a 3D Object for Free
Whether you're working on game development, architectural visualization, or product design, textures play a vital role in enhancing the realism and visual appeal of 3D models. For many designers, purchasing high-quality texture packs can be costly, making the ability to create free textures a budget-friendly alternative. Popular 3D design software like Blender, 3ds Max, Maya, and lightweight tools such as SketchUp all support custom texture creation. This article explores various ways to create free textures, from selecting the right tools to efficient workflows, helping you achieve professional results with minimal cost.

1. Mastering Basic Tools and Software
Creating textures starts with selecting the right tools and getting comfortable with their features.
Recommended Tools: Free programs like GIMP and Krita are powerful image editing tools that enable custom texture design. Blender, with its built-in texture painting features, is excellent for directly working on 3D models.
Learning Curve: Beginners can start by making simple edits, like adjusting color, contrast, and saturation. As you gain experience, explore using layers to add more detail and complexity.
Leverage Open-Source Resources: Many open-source projects provide free texture templates and base materials, which can be great starting points for your work.
2. Using Photo-Based Textures
Capturing photographs is a cost-effective way to create realistic textures for 3D objects.
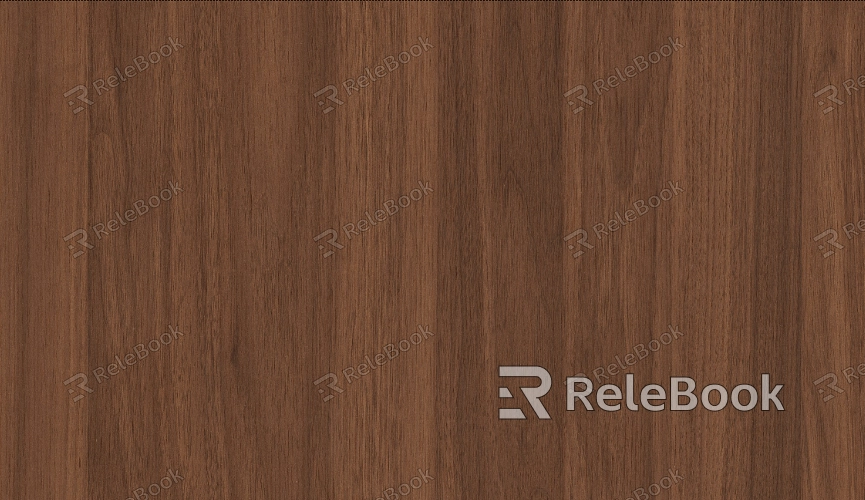
Choosing Subjects: Look for textures in everyday life, such as wood grain, concrete surfaces, or fabric patterns. These can serve as direct texture images or as bases for further editing.
Ensuring Quality: Use a high-resolution camera or smartphone for sharp, well-lit photos. Good lighting is essential for avoiding blur or overexposure.
Post-Processing: Use tools like GIMP to crop, adjust brightness, and remove imperfections. For seamless textures, carefully edit edges to ensure smooth tiling.
3. Online Generators and Free Resource Platforms
Numerous free online tools and platforms simplify the process of creating or finding textures.
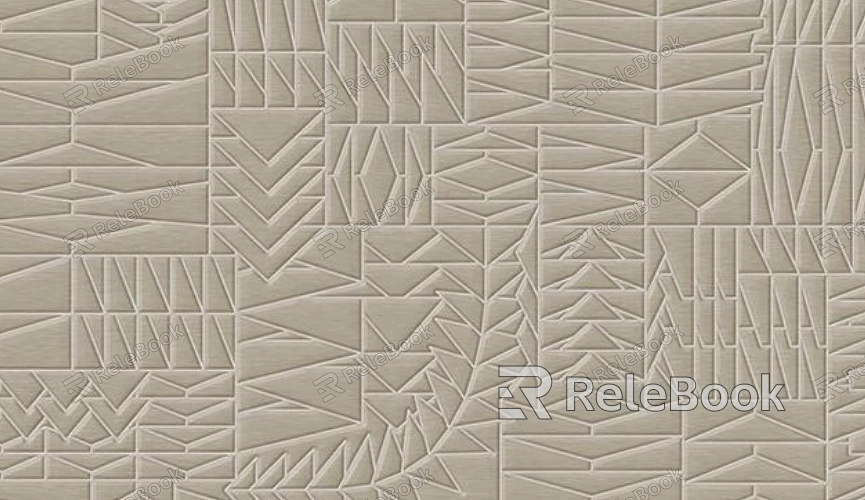
Texture Generators: Platforms like Texture Generator Online and Polyhaven allow you to tweak parameters and generate textures such as metal, bricks, or water ripples.
Free Download Platforms: Websites like Relebook offer an extensive collection of free, high-quality textures without copyright restrictions, making them perfect for beginners.
Community Resources: Join communities like Blender Artists or SketchUp Forums to access shared resources and gather inspiration from other designers.
4. Drawing Custom Textures
Hand-drawing textures offers unparalleled personalization and creativity.
Starting Small: Use tools like GIMP or Krita to draw basic patterns, such as tiled bricks or wood grain.
Layering Details: Add complexity by layering different patterns, colors, and transparencies for richer effects.
Using Reference Images: Mimic real-world objects' textures and colors to create lifelike results.
5. Painting Directly on 3D Models
Directly painting on models can make the texture creation process more intuitive and precise.
Blender Texture Painting: Blender’s Texture Paint mode lets you apply textures directly to models with brushes and see real-time updates.
Optimizing UV Mapping: Before painting, unwrap your model’s UV map for even texture distribution and avoid stretching or overlapping.
Real-Time Preview: Adjust texture details on the go using the software’s real-time rendering capabilities.

6. Creating Seamless Textures
Seamless textures are essential for large surfaces to avoid visible edges or patterns.
Automatic Tools: Both GIMP and Krita include tools for generating seamless textures, which handle edge blending effectively.
Manual Refinement: Use copy-paste, mirroring, or blending tools to fix edges and create natural transitions.
Testing Results: Tile your texture on a surface to check for visible seams, and tweak the design as needed.
7. Exporting and Optimizing Texture Files
After creating your textures, proper optimization ensures they’re ready for use in projects.
Choosing the Right Format: PNG is great for textures needing transparency, while JPG is better for reducing file size without losing too much detail.
Adjusting Resolution: Set texture resolution based on project requirements. Low-resolution textures suit games, while high-resolution ones are ideal for rendering.
Embedding Metadata: Add descriptions and keywords to files to make organizing and searching easier later.
By following these steps, you can create high-quality textures for your 3D models at no cost, boosting their visual appeal for various applications. Whether you're a beginner or a seasoned designer, these tips will help you produce professional textures more efficiently.
For even more free texture resources, visit Relebook—a platform offering a wide variety of high-quality textures to simplify your creative process and bring your designs to life effortlessly!

