How to Make 3D Item Textures
High-quality textures significantly enhance a 3D model's realism and visual appeal. However, creating textures that meet specific project needs can be challenging for many designers. Popular 3D design tools such as Blender, 3ds Max, Maya, and lightweight software like SketchUp offer robust features for customizing textures. This article explores effective methods for creating textures, from tool selection and material preparation to detailed drawing techniques, helping you streamline your creative process.

1. Choose the Right Tools and Software
The first step in making textures is selecting the right software and familiarizing yourself with its essential features.
Recommended Tools: Free software like GIMP and Krita are excellent for designing basic textures. Blender comes with an integrated texture painting mode, allowing direct work on the 3D model's surface with real-time feedback.
Ease Into the Learning Curve: Beginners can start with simple image edits like adjusting brightness, contrast, or color saturation. Experienced users can use layers to add complexity and depth.
Leverage Open-Source Resources: Many platforms provide free texture templates and assets to help you get started quickly.
2. Use Photo References
Photography is a cost-effective and practical method for creating realistic textures.
Choose the Right Scenes: Look for texture materials in everyday settings, such as wood grain, stone surfaces, or fabric patterns. These can be used directly or refined for better results.
Ensure High-Quality Photos: Use a high-resolution camera or smartphone to capture clear images. Good lighting minimizes blurring and overexposure.
Post-Processing: Use tools like GIMP to tweak the photo’s color balance and contrast, and repair any imperfections. For seamless textures, edit edges to ensure a smooth repeat pattern.
3. Take Advantage of Online Generators and Free Resources
Online tools and libraries simplify texture creation, saving time and effort.
Texture Generators: Platforms like Texture Generator Online and Polyhaven allow users to create textures such as metal, brick, or water ripples by adjusting parameters.
Download Free Assets: Visit websites like Relebook for high-quality, free textures. These platforms offer a wide range of options ideal for beginners and experts alike.
Join Creative Communities: Explore shared resources from communities like Blender Artists or SketchUp forums to access textures and gain inspiration.
4. Draw Textures by Hand
Hand-drawn textures are a go-to for personalized and detailed designs.
Start with Basics: Use the brush tool in GIMP or Krita to create foundational patterns like brick arrangements, wood grain, or fabric textures.
Add Detailed Layers: Enhance your work by layering different patterns, colors, and opacities for more depth and richness.
Use Real-Life References: Study real-world materials to replicate their textures and color schemes, achieving a more authentic result.
5. Paint Textures Directly on 3D Models
Many 3D tools allow for direct texture painting on the model’s surface, offering an intuitive workflow.
Blender’s Texture Paint Mode: Use the Texture Paint feature to directly apply textures on models while previewing the effects in real time.
Optimize UV Mapping: Before painting, unwrap the model’s UV map to ensure even distribution of the texture and prevent stretching or overlaps.
Adjust in Real-Time: Modify texture details instantly using the software’s preview mode to ensure the final output matches your expectations.

6. Create Seamless Textures
Seamless textures are crucial for covering large surfaces without visible borders.
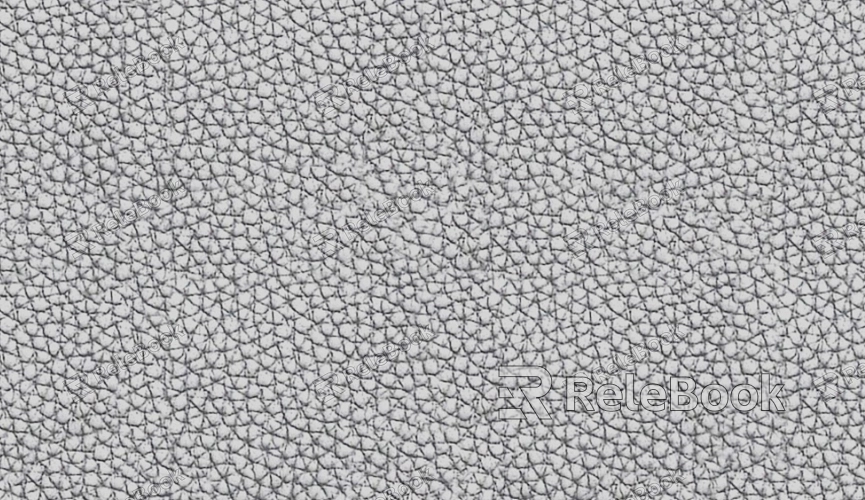
Use Automation Tools: GIMP and Krita have built-in features to automatically create seamless textures by aligning edges.
Manual Adjustments: If automatic solutions aren’t perfect, use copy, mirror, or blend tools to smooth transitions at texture boundaries.
Test the Results: Apply the texture across a large surface to check for visible repeating patterns, and adjust the design as needed.
7. Export and Optimize Texture Files
After finishing the texture, optimize it to suit various applications and share it effectively.
Choose the Right Format: PNG is ideal for transparent textures, while JPG offers better compression and smaller file sizes.
Adjust Resolution: Tailor texture resolution to the project’s needs. Lower resolutions work well for gaming models, while high-resolution textures are better for rendering projects.
Include Metadata: Embed descriptions and keywords in the file to make it easier to organize and locate later.
By following these steps, you can create high-quality textures for 3D models that are both versatile and cost-effective. Whether you’re a beginner or an experienced designer, these methods will help you achieve professional results efficiently.
For more high-quality 3D texture resources, SketchUp models, or 3ds Max assets, visit Relebook. The platform offers a vast selection to support your creative vision, helping you bring your 3D projects to life effortlessly!

