How to Set Ground Textures in 3D
High-quality ground textures are essential for creating realistic and visually compelling 3D scenes, whether for game design, architectural visualization, or animation projects. Software like Blender, 3ds Max, and Maya, as well as tools like Substance Painter and Photoshop, offer robust features for crafting and refining textures. This guide will walk you through the key steps, from basic concepts to practical techniques, ensuring efficient workflows and high-quality renders.

1. Define the Texture Type and Application
Before creating a ground texture, it’s crucial to determine the type and context of its use.
Common Ground Texture Types:
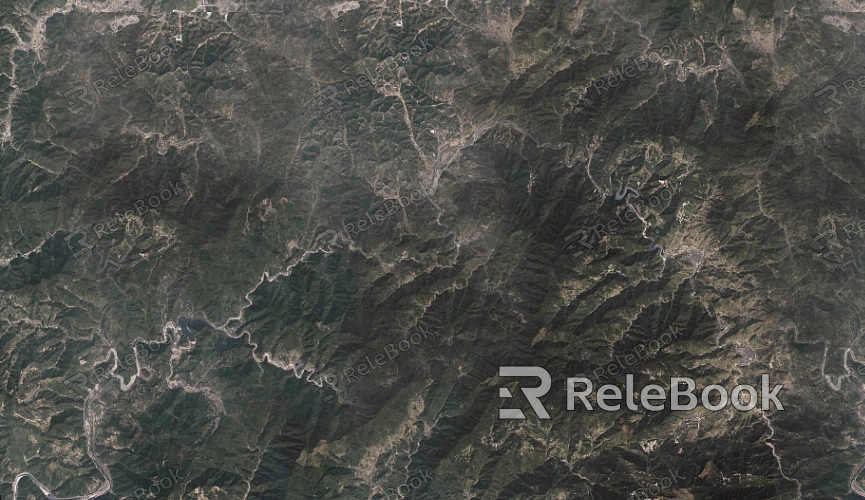
Natural Surfaces: Grass, dirt, sand, or gravel for outdoor settings.
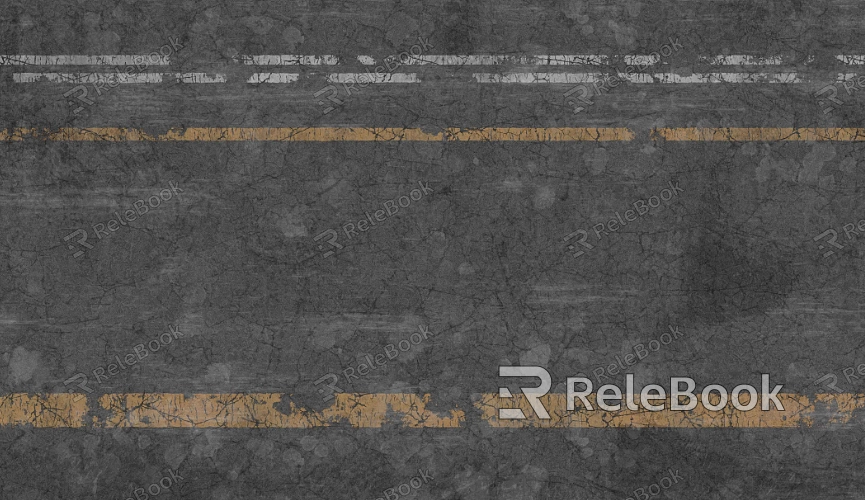
Artificial Surfaces: Tiles, wooden flooring, and concrete for indoor or urban environments.
Specialized Materials: Weathered metal or futuristic grid patterns for sci-fi or fantasy scenes.
Purpose of Ground Textures:
Ground textures not only establish surface appearances but also add depth and detail with normal and displacement maps, highlighting cracks, pebbles, and uneven surfaces.
2. Prepare UV Mapping and Optimize the Model
The seamless application of textures depends on precise UV mapping and a well-optimized model.
Ensure Proper UV Mapping:
Use smart unwrap tools to generate an initial layout, then manually adjust critical areas to prevent stretching or distortion.
Refine the Model's Geometry:
Simplify the polygon count for better texture resolution and use subdivision techniques for smoother transitions in complex terrains.
3. Gather High-Quality Texture Materials
Good textures start with high-quality base materials.
Capture Real-World Textures:
Use a high-resolution camera to photograph surfaces like tiles, beaches, or grass, then enhance the images with post-processing tools.
Leverage Online Resources:
Websites like Polyhaven or Textures.com offer a wealth of texture files, often including diffuse, normal, and roughness maps.
Create Custom Textures:
Tools like Substance Designer enable the creation of seamless, adjustable textures tailored to your project’s needs.
4. Adjust Texture Map Parameters
Refining texture parameters ensures optimal performance under various lighting conditions.
Fine-Tune PBR Settings:
Adjust reflectivity and roughness maps to control gloss and matte finishes.
Use metalness maps for specific areas requiring reflective properties.
Optimize Resolution:
Choose the appropriate resolution based on your project. For example, 4K textures are ideal for close-up views, while 2K suffices for distant elements.

5. Create Seamless Ground Textures
Since ground textures typically cover large areas, achieving seamless tiling is vital.
Automated Tiling Tools:
Photoshop and GIMP offer tools to quickly generate seamless patterns.
Manual Edge Refinement:
Use clone tools to blend edges smoothly, eliminating visible seams in the texture.
6. Add Layers of Detail
Details enhance the realism and depth of ground textures.
Overlay Secondary Details:
Add dirt, cracks, or footprints over the base texture to create natural variations.
Combine Normal and Displacement Maps:
Use normal maps for subtle surface irregularities and displacement maps for pronounced changes like cobblestones or cracks.
7. Render and Test the Texture
Rendering previews help evaluate the texture's performance and appearance.
Evaluate Lighting Interactions:
Test the texture in various lighting scenarios to ensure details remain visible in shadows and highlights.
Refine Based on Feedback:
Adjust parameters such as normal intensity, color saturation, and reflectivity for a more natural look.
8. Optimize Files and Workflow
Streamlining your textures ensures better rendering performance and resource management.
Select Appropriate File Formats:
Save textures as PNG or JPG, balancing file size and quality.
Compress Files:
Use tools like TinyPNG to reduce file sizes while maintaining high visual fidelity.
Standardize File Naming:
Adopt a consistent naming convention and organize files into folders for easier project management and future access.
By following these steps, you can efficiently create and apply realistic ground textures to your 3D projects. Whether you're a beginner or a seasoned designer, these techniques will help enhance the detail and quality of your work.
Looking for premium texture resources or 3D model assets? Visit Relebook to explore a curated library of professional-grade materials and tools that can elevate your projects to the next level.

