How to Import Floor Textures into Live Home 3D
Floor materials are a key element in interior design, significantly shaping the atmosphere and style of a space. Whether you're working with hardwood, tiles, or marble, each texture can bring a unique character to your project. In Live Home 3D, importing custom floor textures is essential for creating realistic and diverse designs. This guide breaks down the process step-by-step, helping you achieve professional results efficiently.

1. Prepare Your Floor Texture Files
Before importing, ensure your texture files meet the necessary quality standards.
Find High-Quality Textures:
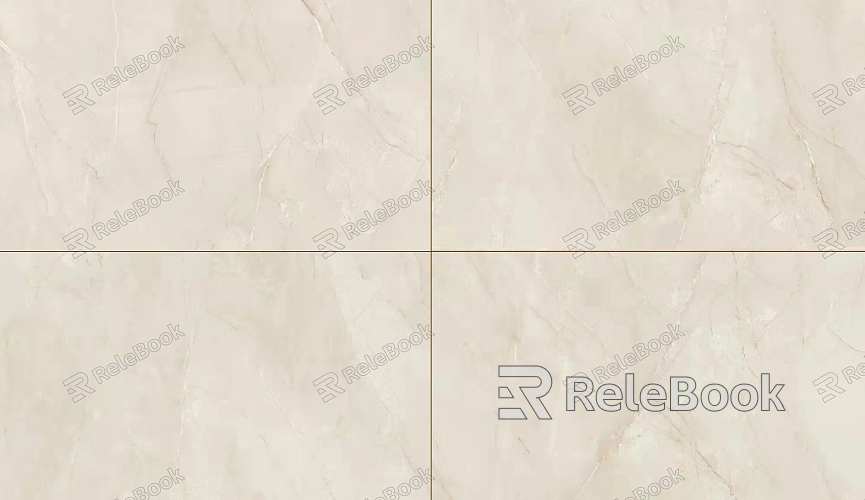
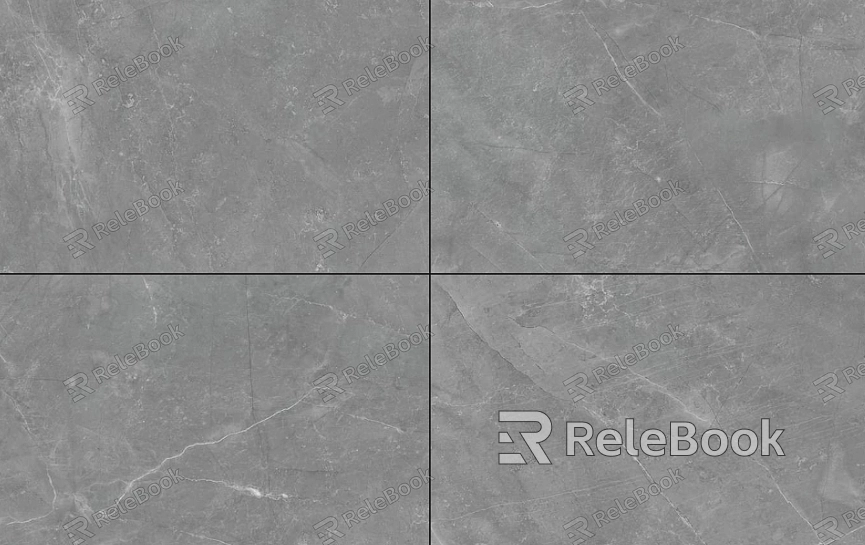
Select images with high resolution, preferably 1024x1024 pixels or higher. This ensures clarity and detail, even when viewed up close. Sources can include online texture libraries, scanned samples, or assets from design platforms.
Optimize Image Formats:
Live Home 3D supports common formats like JPEG and PNG. To streamline the software's performance, consider optimizing the file size while preserving key details in the texture.
2. Import Textures into Live Home 3D
Adding your textures to Live Home 3D is a straightforward but crucial step.
Access the Material Library:
Open the material library within the software. This is where you manage and apply your textures.
Create a Custom Material:
Use the “+” or “Add New Material” option. In the material editor, select the “Import from File” function and upload the prepared texture file.
Organize and Label:
Name your texture appropriately, such as “Hardwood” or “Tile,” and categorize it for easy access in future projects.
3. Adjust Texture Scale and Orientation
Fine-tuning scale and direction is vital to achieving a realistic appearance.
Set Texture Dimensions:
Use the material editor to align the texture size with real-world dimensions. For instance, adjust the scale to reflect the typical width of a wooden plank or a tile.
Correct Texture Alignment:
Ensure the texture orientation matches your design. For example, wood grain should run parallel to a room’s length, while tiles should align perfectly along edges.
4. Apply the Texture to the Floor
Applying the customized material to your floor model is the heart of the process.
Select the Floor Area:
In Live Home 3D’s 2D or 3D view, click the floor section where you want the texture applied.
Use the Paint Tool:
Utilize the material brush tool to apply your custom texture to the selected surface. For multi-room designs, leverage batch application options to save time.

5. Refine Material Properties
Enhance the realism of your texture by tweaking its attributes.
Add Normal Maps:
If your texture needs added depth—such as raised wood grain or rough tile surfaces—upload a normal map to amplify light interaction effects.
Adjust Reflectivity:
Modify the glossiness settings to mimic specific materials. Polished tiles may require high reflectivity, whereas matte-finish wood benefits from lower levels.
6. Test and Optimize
Once the texture is applied, review its performance in various scenarios.
View from Multiple Angles:
Inspect the texture in different lighting conditions, including both natural and artificial light sources. Verify that colors, details, and brightness look accurate.
Fix Problem Areas:
If you notice any issues, such as distorted or stretched textures, revisit the UV editor to make precise adjustments.
7. Save and Share Your Project
Finalize your project by saving your custom textures and preparing your design for presentation.
Save to the Material Library:
Add your custom texture to the library for reuse in future projects, maximizing productivity.
Export Rendered Images:
Use Live Home 3D’s rendering tools to create high-quality visuals that showcase your floor materials effectively, making them suitable for client reviews or team discussions.
By following these steps, you can seamlessly integrate floor textures into Live Home 3D and create stunning designs. From preparation to application, this process combines creativity and technical precision, enabling you to elevate your project quality.
For access to a wide variety of premium textures and 3D resources, check out Relebook. Whether you’re seeking wood patterns, tile designs, or other flooring materials, this platform offers a rich selection to inspire and enhance your projects.

