How to Create Textured Walls for Unity 3D
In 3D modeling and rendering, textured walls play a pivotal role in shaping the ambiance of a scene. Whether you're working on game development, interior design, or architectural visualization, achieving the right look for walls can significantly enhance the overall impact of your project. As a 3D designer, I often create textured walls for Unity, paying close attention to everything from layout to fine-tuning the textures to strike a balance between performance and visual fidelity. In this guide, I'll share essential methods and practical tips to help you craft effective textured walls for your Unity projects.

1. Define the Purpose and Direction of Your Textured Wall
Understand the scene’s goal: Start by analyzing the context of your project. For example, architectural visualization may demand highly realistic textures, while game development might prioritize optimization and stylized visuals.
Gather high-quality references: Use photography or source textures from asset libraries to find seamless and high-resolution materials. The quality of your base textures will determine the overall realism of your walls.
Adjust texture proportions: To avoid distortion, match the texture’s UV map scale to the actual dimensions of the wall in your project.
2. Prepare the Wall Model Using 3D Modeling Software
Choose a modeling tool: Software like Blender, 3ds Max, or Maya works well for creating basic wall geometry. Aim for a clean and efficient topology.
Optimize the mesh: Use low-poly modeling techniques to reduce complexity while reserving enough UV space for detailed textures.
Separate material zones: For walls with multiple finishes, such as painted sections and brick areas, assign unique material IDs to ensure precise texturing later.
3. Generate and Edit Textures
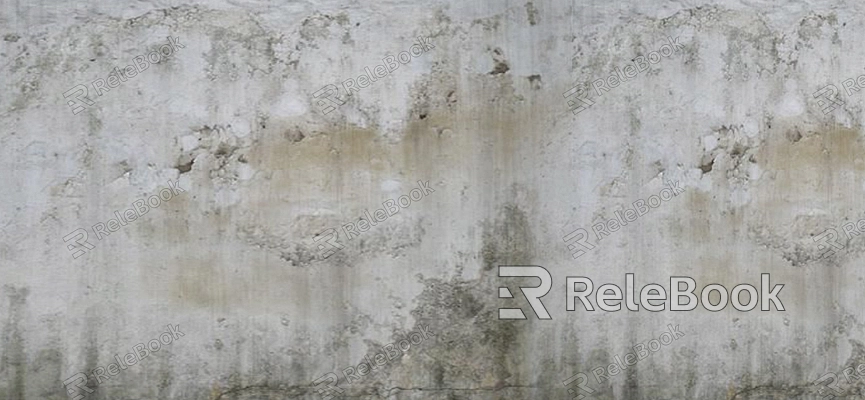
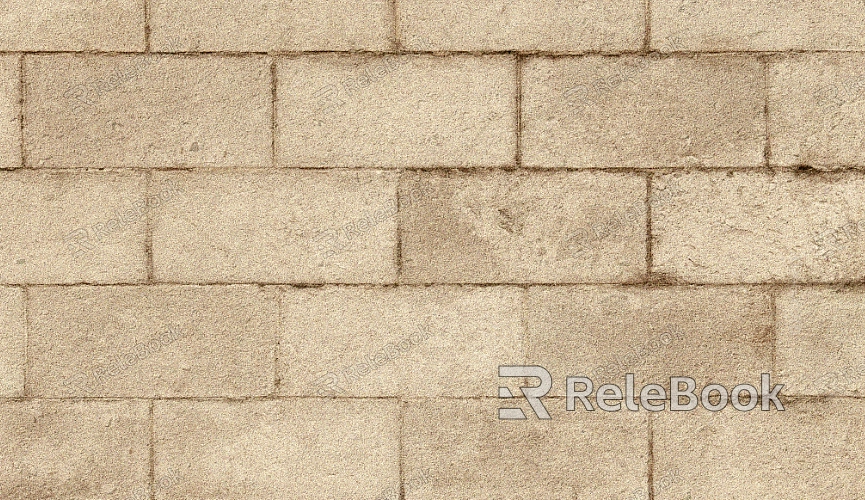
Select the right texture type: Decide on materials such as brick, wood, or concrete based on the project’s requirements.
Enhance textures in Photoshop: Import base textures and fine-tune them by adjusting contrast, saturation, and sharpness to improve clarity.
Create normal maps: Generate normal maps with tools like CrazyBump or Substance Designer to add depth and dimensionality to flat surfaces.
Ensure seamless edges: Use Photoshop’s “Offset” tool to align texture edges and eliminate visible seams for a seamless tiling effect.

4. Create and Apply Materials in Unity
Import textures: Bring your edited textures into Unity, including base color maps, normal maps, and roughness maps, using formats like PNG or TIFF for optimal quality.
Build material assets: In Unity, create a new material, assign a Standard Shader, and add your textures to the corresponding slots.
Fine-tune material settings: Adjust properties like smoothness, metallic levels, and albedo to achieve the desired surface appearance.
5. Optimize for Performance and Visual Appeal
Enable texture compression: For mobile or low-end devices, use Unity’s texture compression options, such as ASTC, to reduce file size while maintaining acceptable quality.
Bake lighting: Precompute lighting using Unity’s lightmapping tools to improve rendering performance and enhance wall shadows.
Review results in the scene: Test the appearance of your textured wall from various angles and distances to ensure clarity and detail are preserved.
6. Add Details and Special Effects
Apply decals: Use decal techniques to layer details like cracks, graffiti, or stains for added realism.
Leverage dynamic materials: Unity’s Shader Graph enables you to create materials that simulate changes, such as wet surfaces or moss growth, for a dynamic feel.
Incorporate environmental reflections: Add Reflection Probes to make walls respond naturally to surrounding light and objects, creating a cohesive look.
By following these steps, you can efficiently create textured walls that combine visual excellence with strong performance. This approach not only enhances the immersive quality of your scenes but also elevates the overall professionalism of your projects.
For more Unity tutorials and tips, check out Relebook, where you'll find a wealth of resources to take your design skills to the next level. Explore and grow your expertise today!

