How to Paint 3D Textured Walls
In interior design, architectural visualization, and game development, a finely detailed and realistic textured wall can significantly enhance the overall appeal of a scene, adding depth and character to your work. As a seasoned 3D artist, I’ve gained valuable experience creating wall textures using tools like Blender, 3ds Max, and Substance Painter. By analyzing project needs and following a structured workflow, I’ve developed an efficient approach that delivers outstanding results. Here’s a step-by-step guide to help you master the art of crafting textured walls in your 3D projects.

1. Define Project Requirements
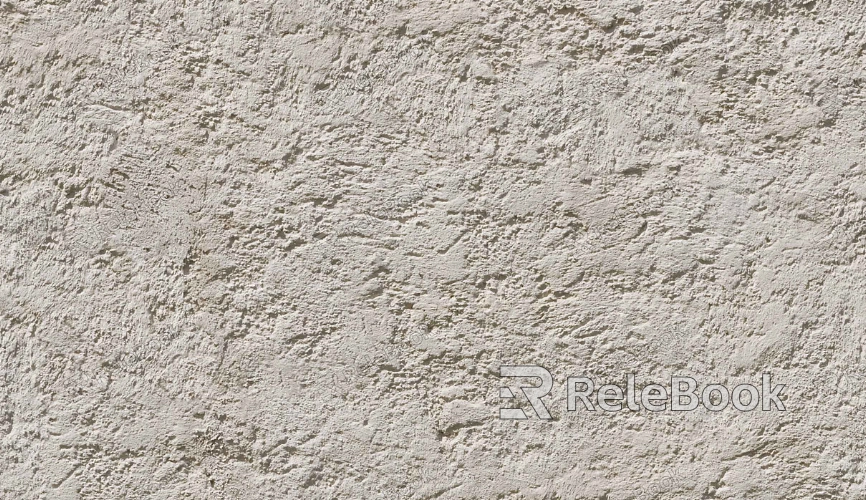
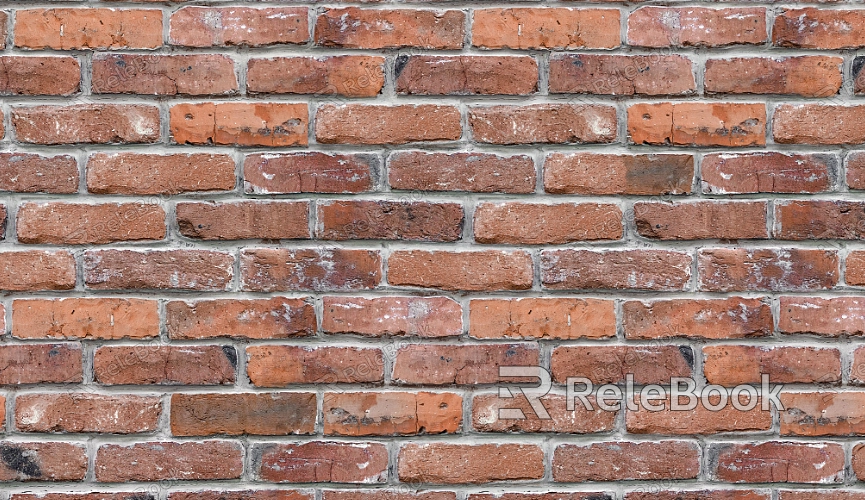
Set the stylistic direction: Determine the type of wall texture based on the project’s theme. For instance, choose a sleek concrete finish for a modern industrial vibe or warm brickwork for a vintage look. This step lays the foundation for the entire design.
Gather high-quality references: Source high-resolution images of real-life wall textures. These references will help you accurately capture details like cracks, stains, and color variations.
Decide on resolution: Choose a texture resolution that balances detail with performance. Commonly used resolutions include 2K and 4K, depending on whether the scene will be viewed up close or from a distance.
2. Build the Wall Model
Segment the wall: Divide the wall into logical sections, such as areas around windows or along baseboards. This segmentation ensures precise texture application.
Optimize UV mapping: Unwrap the wall's UV layout carefully to minimize stretching and seams. A clean UV map is essential for consistent textures.
3. Create Base Texture Maps
Choose the right tools: Use tools like Photoshop or Substance Designer to generate base textures, such as color maps, normal maps, and roughness maps.
Add layers of detail: Overlay additional details like scratches, stains, and cracks on your texture maps to make the wall appear more realistic.
Test in real time: Import the textures into your rendering software to check how they interact with lighting and shadows. Adjust as needed.
4. Enhance Realism with PBR Materials
Adjust material properties: Import your texture maps into the material editor and fine-tune parameters like reflectivity, roughness, and metallicity to achieve natural effects.
Incorporate environmental details: Add elements like dust or uneven surface textures to boost realism. Use ambient occlusion maps to simulate dirt accumulation in crevices.

5. Optimize Lighting and Rendering
Refine scene lighting: Position light sources strategically to highlight the texture’s depth and intricate details.
Enable global illumination: Use global illumination to enhance light scattering, giving the wall a more dynamic and layered appearance.
Apply post-processing effects: Utilize tools like depth of field and color grading to add polish to the final render, making it visually compelling.
6. Simulate Aging and Wear
Add natural aging effects: Use nodes or plugins to create realistic wear, such as faded paint, scratches, or peeling layers.
Randomize imperfections: Apply randomized patterns to prevent repetitive textures, ensuring a more organic look.
7. Showcase Textures from Different Angles
Create lighting animations: Produce simple animations with varying light positions to demonstrate how the texture reacts under different lighting conditions.
Render multiple perspectives: Capture renders from various angles to emphasize the versatility and realism of the wall texture.
8. Troubleshoot Common Issues
Fix visible seams: Address UV seams by adjusting the mapping or using seamless texture techniques to maintain a cohesive look.
Avoid repetition: Mix and blend multiple textures or use randomization tools to eliminate uniform patterns on large surfaces.
9. Prepare for Export and Compatibility
Compress texture files: Optimize file size without compromising detail using efficient compression algorithms. This ensures better performance and easier project management.
Export in multiple formats: Save textures in formats like DDS for game engines or EXR for high-quality renders to meet specific project requirements.
10. Integrate into the Scene
Coordinate with other elements: Ensure the wall texture harmonizes with flooring, furniture, and other elements to create a cohesive environment.
Add narrative context: Tailor the texture to fit the project’s story, such as weathered walls for an abandoned building or cozy bricks for a café scene.
By following these steps, you can confidently create compelling 3D textured walls that elevate your projects. Whether you're a beginner or an experienced artist, this workflow can help you streamline your process and achieve professional-quality results.
If you're looking for premium 3D assets or tutorials, visit Relebook. Discover a wide range of textures, models, and resources to spark your creativity and take your projects to the next level!

