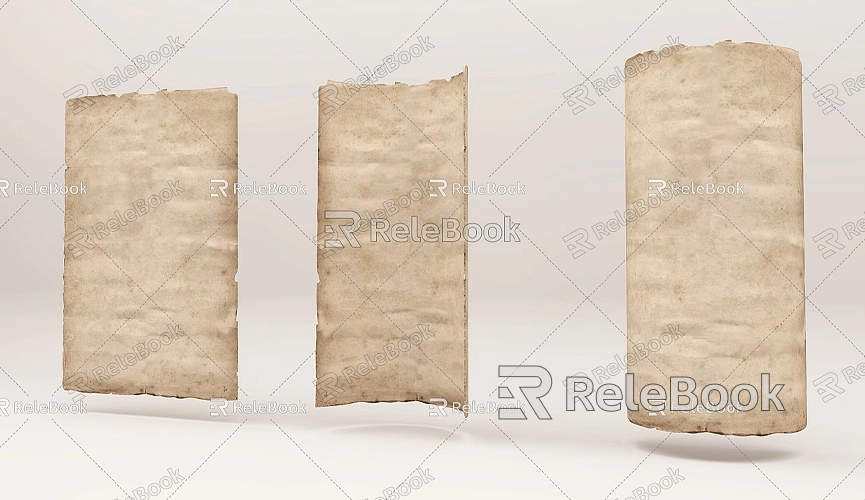
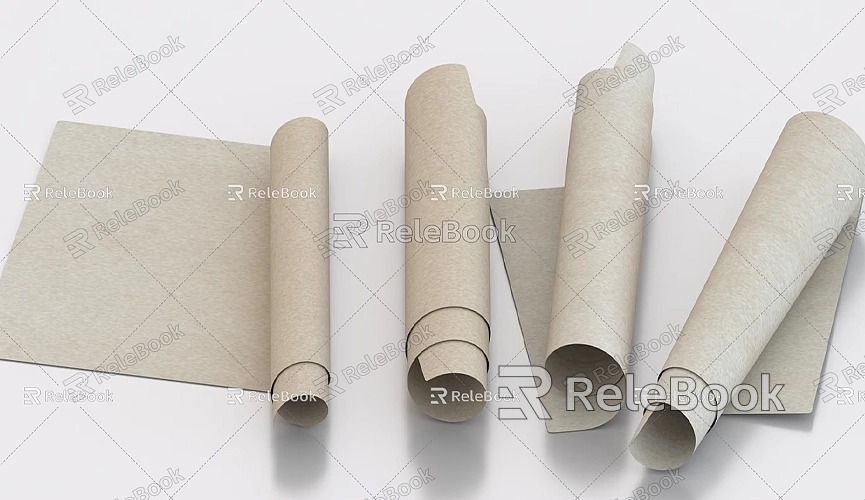
How to Model a Sheet of Paper in SketchUp
Modeling a sheet of paper in SketchUp may seem simple at first glance, but it’s actually a great opportunity to practice and master your modeling skills. Starting with basic flat shapes and moving to textures and finer details, creating a paper model not only helps you become familiar with SketchUp’s essential tools, but it also improves your ability to use these tools in more complex scenes. In this guide, we’ll show you how to create a sheet of paper in SketchUp and enhance its realism using some helpful techniques.
Basic Concept of Paper Modeling
In 3D modeling, paper is a very thin and flat object, so during the modeling process, you’ll need to focus on its two-dimensional appearance and a small amount of thickness. Typically, paper comes in fixed sizes, such as 8.5 x 11 inches (US Letter size) or A4 size, but you can choose any dimensions that fit your project.

In SketchUp, paper is usually modeled as a rectangle, and a slight extrusion is added to give it thickness and create a 3D effect. While the thickness is extremely thin, the tools and techniques used to model it are relatively simple, yet attention to detail can make the paper appear more realistic in the scene.
Setting Up the SketchUp Workspace
Before starting the modeling process, make sure your SketchUp workspace is configured to your needs. First, open SketchUp and select an appropriate template. If you’re used to imperial units, you can choose the “Architecture (inches)” template, or if you prefer metric units, choose the “Architecture (meters)” template. After selecting the units, go to the model settings menu to confirm the correct unit settings.
For the model view, it’s best to select the top view (View > Standard Views > Top View), as this will make it easier to draw the two-dimensional shape of the paper. If necessary, you can also choose an orthogonal view, which will help you align the model more precisely.
Drawing the Basic Shape of the Paper
Next, use SketchUp's drawing tools to create the basic shape of the paper. Select the Rectangle tool (or press the “R” shortcut key), and click on a point in the workspace to begin drawing the shape of the paper. For a standard 8.5 x 11-inch sheet of paper, simply type in the dimensions as you draw: input “8.5" 11” (the quotation marks indicate inches). For A4 size, type “210mm 297mm.”
At this point, you’ll have completed the two-dimensional rectangular shape of the paper. If you want to modify the proportions of the paper, you can easily adjust its length and width by selecting the rectangle and resizing it as needed.

Adding Thickness to the Paper
In SketchUp, modeling paper isn’t just about creating a flat rectangle—the paper’s thickness is an important part of its 3D effect. Although paper is very thin, you still need to add some depth to create the effect.
Using the Push/Pull tool, click on the surface of the rectangle and start pulling. To keep the paper looking realistic, the thickness should not be too large—typically, you can set it to around 0.1 inches (about 2mm) or smaller. If you want the thickness to be more subtle, you can type the value directly into the measurement box.
To ensure accuracy, you can check the dimension box in the lower-right corner of the screen while pushing to confirm the thickness is appropriate. Once this step is complete, the paper will have transformed from a flat shape into a 3D model with depth.
Adding Details and Textures
Though modeling paper is simple, you can use a few techniques to make it look more realistic. Adding details and textures not only enhances the model's realism but also helps it better integrate into the overall scene.
Adding Creases and Edge Details: If you want the paper to have more depth, use the Line tool to add creases, folds, or edge details on the paper’s surface. By creating small lines and indentations, you can simulate the marks from folding the paper or the natural bends that occur in real life.
Applying Textures: Paper is a very uniform surface, but you can make it more realistic by applying textures. You can either use SketchUp’s built-in texture library or import custom paper textures. To do this, go to File > Import, choose an image of a paper texture, click “Use as Texture,” and then use the Paint Bucket tool (shortcut key “B”) to apply the texture to the paper surface.
If you want to add content like text or graphics to the paper, make sure the imported image includes these elements, or you can use SketchUp's drawing tools to add simple patterns to the paper's surface.
· Simulating Bending or Folding: If you want the paper to appear slightly bent or folded, you can use the Sandbox tools to create subtle deformations. These tools allow you to simulate physical distortions of the paper, creating a more realistic look.
Placing the Paper in the Scene
Once you’ve finished modeling the paper, you’ll need to position it in your scene or adjust it as part of a larger object.
Moving the Paper: Use the Move tool (shortcut key “M”) to drag the paper to the desired position. You can place the paper on a table or next to other objects, ensuring it fits well within the scene.
Rotating the Paper: If you need the paper to be at a specific angle, you can use the Rotate tool (shortcut key “Q”) to adjust its orientation. Click on the center of the paper and rotate it to the angle that best aligns with the other objects in your scene.
Copying the Paper: If you need multiple copies of the paper model, use the Copy tool to quickly create duplicates. Hold down the Ctrl (Windows) or Option (Mac) key while moving the paper to copy it. You can also use the Array Copy function to create a pattern of papers placed at multiple locations.
Rendering and Lighting Effects
Once the paper is modeled and positioned in your scene, you can enhance its rendering effects to make it look even more realistic.
Enabling Shadows: SketchUp’s shadow feature can make the paper look more three-dimensional and help it blend better into the environment. To turn on shadows, go to View > Shadows, and activate the shadow effect. This will add natural shading to the paper and increase its depth.
Adjusting Paper Materials: To make the paper look more lifelike, you can apply different materials or adjust its texture. For example, you can choose a glossy paper material or use a custom paper texture to add more detail to the model.
By following these steps, you can not only create a simple paper model in SketchUp, but also enhance its realism with additional details and textures. While paper modeling is relatively simple, mastering this skill will help you easily apply it to more complex scenes in the future. Becoming familiar with SketchUp’s tools and modeling techniques during this process will benefit you when building more intricate objects.
If you need high-quality 3D textures and HDRI for your models and virtual scenes, you can download them for free from textures.relebook.com. For beautiful 3D models, visit 3dmodels.relebook.com, where Relebook offers a wide variety of premium 3D resources. These resources will greatly enhance your paper models and improve your overall design workflow.

