How to Make a Marble Tile Texture in Illustrator?
Marble is a material prized for its elegant and timeless aesthetic, and its unique veins, patterns, and colors make it highly desirable in many design fields. One of the most efficient and accessible ways to create a marble tile texture for use in projects is by using Adobe Illustrator, a powerful vector-based design software. This article will guide you through the process of making a marble tile texture in Illustrator, from initial setup to final adjustments, ensuring that the result is both visually appealing and versatile for your projects.

Getting Started with Adobe Illustrator
Before diving into the steps of creating a marble tile texture, it's important to familiarize yourself with the basic tools and settings you'll be working with within Adobe Illustrator. Illustrator’s ability to create vector-based artwork offers several advantages when designing textures, particularly for scalability and precision.
1. Setting Up Your Document
To begin, open Adobe Illustrator and create a new document. Set the artboard size to match the final size of your marble texture tiles. For instance, if you're designing square tiles, you could create a 1000x1000 pixel artboard. This will be your canvas for designing the tile texture.
2. Choosing the Color Palette
Marble is known for its subtle, multi-layered colors, often including whites, grays, blacks, and sometimes hints of gold, green, or pink. Start by selecting a color palette that represents the type of marble you want to simulate. You can either choose colors manually or search for marble texture palettes online to get a better idea of the typical hues.
3. Understanding the Key Elements
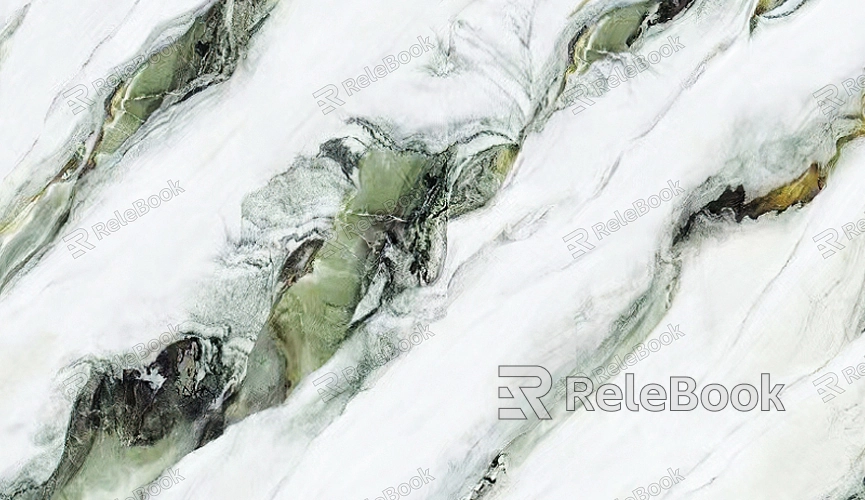
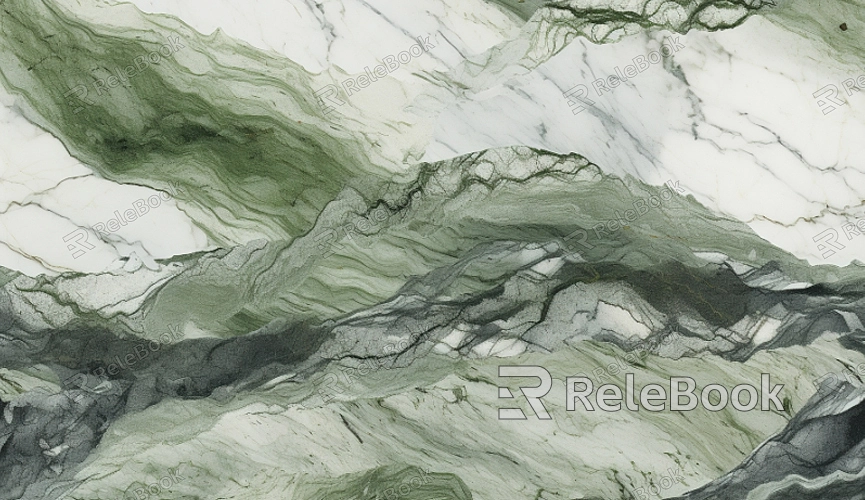
Marble tile textures are characterized by their smooth, polished surface and unique vein patterns. These veins are the result of mineral deposits in the marble and can appear in a variety of shapes and colors. The key to creating a convincing marble tile texture is understanding the flow and randomness of these veins, as well as how light interacts with the marble surface.

Creating the Base Texture for the Marble Tile
The first step in creating a marble tile texture is to establish the base color and texture of the marble. This forms the foundation upon which you’ll build the veins and other details.
1. Using Gradient Mesh for Depth and Texture
Illustrator offers several tools for creating a realistic-looking texture, but one of the most effective for this purpose is the gradient mesh. The Gradient Mesh tool allows you to create complex gradients with multiple colors and shapes, perfect for simulating the subtle variations found in natural stone surfaces.
Create a Rectangle
Start by drawing a rectangle on your artboard using the Rectangle Tool (M). This will represent the base tile.
Apply a Gradient Mesh
With the rectangle selected, go to Object > Create Gradient Mesh. Choose the number of rows and columns (two or three rows and columns should suffice for simplicity). This will break your rectangle into smaller, editable mesh points.
Apply Base Colors
Select the mesh points, and using the color palette, apply varying shades of gray, white, or the marble colors you’ve chosen. By adjusting the mesh points, you can create a smooth gradient effect that mimics the natural swirls and variations in marble.
2. Adding Texture Variations
Marble tiles are rarely uniform in color, so introducing slight variations will give your texture authenticity. Use the Mesh Tool (U) to adjust the mesh points and add more subtle color gradients, ensuring that the transitions between colors are smooth.
Create Subtle Color Shifts
To add depth, you can apply slightly darker or lighter tones to different sections of the tile. This can be done by selecting mesh points and altering their color individually. Experiment with introducing slight veins of darker gray or brown hues to mimic the natural imperfections found in marble.
Apply Noise for Texture
To enhance the effect, you can introduce noise to simulate the granular texture of marble. Go to Effect > Texture > Grain and adjust the settings until the noise effect is subtle but noticeable. This will give the base texture a more realistic, tactile feel.
Creating the Marble Veins
The veins in marble are arguably the most defining characteristic of its texture. These veins can range from fine, almost imperceptible lines to bold, sweeping streaks that dominate the tile’s surface. In Illustrator, you can create these veins manually or use the Pen Tool to draw them freehand.
1. Drawing Veins with the Pen Tool
To start creating veins, use the Pen Tool (P) to draw random, flowing lines across the tile. You can use varying curves and directions to simulate the natural irregularity of marble veins. These veins should not be uniform in thickness or style, so try to vary the line width as you go.
Adjusting Stroke Styles
Once you have drawn the veins, select them and adjust the stroke width to create the desired thickness. Veins in marble are usually thicker at their beginning points and taper as they stretch across the tile. Experiment with the Width Tool (Shift + W) to fine-tune the stroke width.
Adding Color and Texture to the Veins
Veins in marble often appear as darker lines that contrast with the lighter base of the tile. Select the veins and apply a darker color from your palette, like a deep gray or brown. You can also add subtle gradients to the veins to make them appear more natural. This can be achieved by applying a radial or linear gradient from dark to light along the length of the vein.
2. Creating Veins with Brush Strokes
For a more organic look, you can use Illustrator’s brushes to simulate the look of marble veins. Illustrator has several preset brushes that can mimic natural textures. To do this:
Select the Brush Tool (B) and choose a brush from the Brush Libraries that fits the aesthetic you are going for. Some brushes will create fine, spidery veins, while others will offer bolder streaks.
Apply the Brush to Your Lines
After drawing some basic lines with the Pen Tool, apply your chosen brush to create a more intricate and irregular appearance. Adjust the size and shape of the brush to fit the veins to your liking.
3. Adding Effects to Enhance the Veins
Once your veins are drawn and colored, you can apply several effects to make them stand out. Consider using the Gaussian Blur effect (Effect > Blur > Gaussian Blur) to soften the edges of the veins, creating a more seamless and integrated look with the base texture.
Finalizing the Marble Tile Texture
After you have created the base texture and veins, it’s time to finalize your marble tile texture. This step involves refining the overall look and preparing the texture for use in other applications.
1. Adjusting the Tile Edges
If you plan to tile the marble texture in a larger design or layout, make sure the edges of the tile are seamless. Use the Offset Path function (Object > Path > Offset Path) to create a clean boundary that will allow the tile to repeat without visible seams.
2. Grouping and Organizing Layers
For ease of use, group all of your texture elements, including the base gradient mesh and vein paths, into a single layer or object. This will ensure that your texture remains organized and editable.
3. Exporting the Tile Texture
Finally, export your marble tile texture for use in other programs or as a pattern in designs. Go to File > Export and choose the desired file format, such as PNG or JPEG, depending on your needs.
Creating a marble tile texture in Illustrator is a rewarding process that combines the creative use of the software's tools with an understanding of the natural characteristics of marble. By following the steps outlined in this guide, you can create realistic and visually appealing marble textures that are perfect for design projects. From establishing the base color to adding veins and final adjustments, Illustrator offers the flexibility and precision needed to craft high-quality marble textures. Once you're ready to integrate these textures into your projects, don’t forget to explore the Relebook website for additional 3D models and textures to further enhance your designs.
FAQ
Can I create a seamless marble tile texture in Illustrator?
Yes, by carefully adjusting the edges of your tile and ensuring that the veins and base texture flow seamlessly across the borders, you can create a marble tile texture that tiles well across larger surfaces.
How can I make the veins in my marble texture look more realistic?
To make the veins more realistic, vary the thickness and curvature of the lines, apply subtle gradients to them, and use the Gaussian Blur effect to soften their edges for a more natural appearance.
What if my marble texture looks too flat?
If your texture appears flat, you can add additional depth by introducing more subtle gradients and noise. This will create the appearance of depth and surface variation.
Can I use Illustrator to create different types of marble textures?
Absolutely! By adjusting the color palette, vein style, and base texture, you can create various types of marble, such as Carrara, Calacatta, or black marble.

