How to Paint Textures for 3D Models
As a 3D artist, texture painting is a crucial skill that can significantly enhance the realism and detail of your models. Whether you're working on game assets, animated films, or architectural visualizations, well-executed textures can make a huge difference in the final render. Programs like Blender, Maya, 3ds Max, and Substance Painter are widely used in the industry for this task, and effectively applying textures to your 3D models is often a challenge many designers face. In this guide, I’ll walk you through the process of painting textures for 3D models, covering everything from UV unwrapping to texture painting and final application.
Let’s dive into the steps required to create high-quality textures for your 3D models. By following these tips, you’ll be able to streamline your workflow and create more polished results in your projects.

1. UV Unwrapping: The Foundation of Texture Painting
The first step in texture painting is UV unwrapping. This involves creating a 2D layout of the 3D model’s surface, allowing textures to be properly applied without distortion.
Analyzing the Model and Choosing Regions: Before unwrapping, it's essential to analyze the model's geometry. For complex models, it’s best to break them down into simpler, manageable parts to make the unwrapping process smoother.
UV Unwrapping Tools: Most 3D software like Blender, Maya, or 3ds Max comes with automatic and manual UV unwrapping tools. The choice of method depends on the complexity of the model. For simpler models, automatic unwrapping can work well, while more detailed models may require manual adjustments.
Adjusting the UV Layout: After unwrapping, ensure that the UV islands don’t overlap and are proportionate. This prevents texture stretching or distortion when applied to the model.
2. Creating and Importing Texture Resources
Once the UV layout is ready, it's time to start painting the textures. Depending on the project, you can either create custom textures from scratch or download pre-made ones.
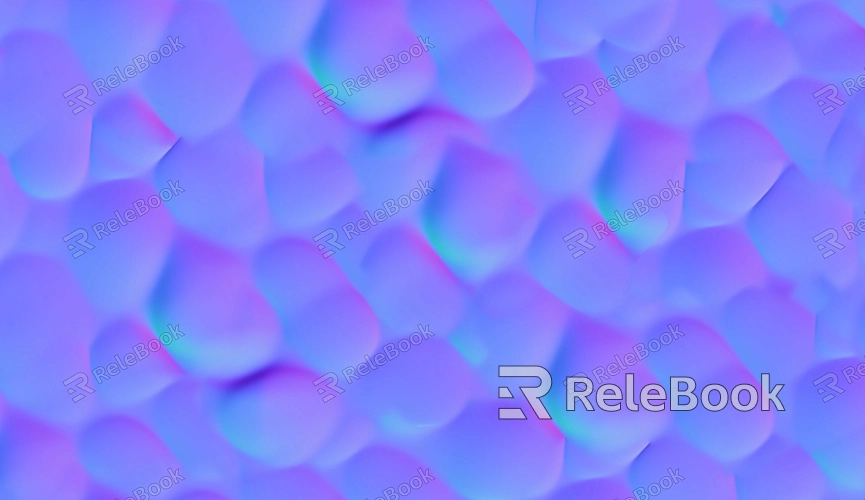
Types of Textures: Common texture types include diffuse (color), normal maps (bump effects), specular (shininess), and roughness maps. Choose the right texture type based on the material properties of your model.
Custom Texture Painting: Tools like Photoshop or Substance Painter are perfect for creating custom textures. You can add layers, filters, and detail to make your textures more realistic.
Importing to 3D Software: Once your textures are ready, import them into your 3D software (Blender, Maya, 3ds Max, etc.) and assign them to your model’s materials.
3. Using Texture Painting Tools
Dedicated texture painting software like Substance Painter can significantly improve your workflow and efficiency. These tools allow for real-time painting directly on the 3D model, making the process more intuitive and realistic.
Real-time Preview: Programs like Substance Painter offer a real-time preview of how the textures will look on the model, allowing for immediate feedback as you paint.
Smart Painting Features: With intelligent features like auto-fill and smart mapping, you can quickly generate high-quality textures, saving time on complex models.
Multi-channel Textures: These tools support multiple texture channels, such as diffuse, normal, and specular maps, helping you fine-tune your materials and get more control over the look and feel of your model.

4. Adjusting Materials and Enhancing Detail
After painting your textures, it’s essential to adjust the material properties to ensure they interact well with light in the final render.
Material Settings: In 3D software, adjusting the reflectivity, refraction, and roughness of materials helps control how light interacts with the model’s surface, achieving the desired visual effect.
Detail Enhancement: Use normal maps, displacement maps, or ambient occlusion to add finer details to the surface of your model, making it more lifelike, especially in high-resolution renders.
5. Rendering and Testing
Once you’ve painted and applied your textures, it's time to render and check how everything looks in different lighting conditions. Rendering helps verify the accuracy of your textures and materials.
Render Settings: Set up appropriate lighting, camera angles, and render parameters in Blender, Maya, or other 3D software to see how your textures look in various lighting setups.
Adjustments and Optimization: If the render doesn’t look right, you can tweak the textures or material settings to improve the result. This might involve adjusting colors, refining the normal maps, or changing the material properties.
6. Optimizing Texture Size and Rendering Efficiency
In large-scale projects, especially for games or virtual reality, optimizing your textures is critical for improving performance.
Texture Compression: Properly compressing your textures reduces their file size without losing too much quality, making your model easier to load and render.
Reducing Texture Maps: Avoid using too many separate texture maps. Instead, combine them into fewer maps where possible. This reduces memory usage and helps speed up rendering times.
By following these steps, you’ll be able to create high-quality textures for your 3D models. Whether you’re working with simple objects or intricate scenes, mastering texture painting is key to creating impressive, realistic renders. The more you practice, the more you’ll refine your technique and be able to tackle different challenges in your projects.
If you're looking to learn more about advanced texture painting techniques, check out Relebook for in-depth tutorials and resources. With the right tools and knowledge, you’ll continue to elevate your skills and create stunning 3D models that stand out.

