How to Create a 3D Texture Map
Whether it's for game development, movie special effects, or virtual and augmented reality projects, the use of textures significantly enhances the realism and detail of 3D models. As a 3D modeling and rendering designer, I have often faced the challenge of creating textures efficiently and accurately. The process of creating textures not only requires a solid technical foundation but also demands proficiency with various 3D software tools to handle complex design requirements. In this article, I will share my experiences from real projects, walking you through the steps of creating a 3D texture map from scratch, and helping you improve both your workflow efficiency and the quality of your work.

1. Prepare the 3D Model
The first step in creating a texture map is ensuring that your 3D model is properly prepared. Issues such as incorrect normals, poor topology, or overlapping vertices can all affect the texture’s final appearance. Here's what I typically focus on when preparing a model:
Check the Normals: Incorrect normals can cause textures to appear distorted or reversed. I often use the “Recalculate Normals” function in my modeling software to fix this issue.
Clean Up Duplicate Vertices: Duplicate vertices can affect the rendering and make surfaces look uneven. I use the “Merge Vertices” tool to remove unnecessary duplicates.
Optimize Topology: Proper topology is critical for accurate texture mapping. It ensures the texture wraps smoothly over the model without distortion or stretching.
2. Choose the Right Texture Type
The type of texture map you select directly impacts the visual effect of your 3D model. Different textures are suited to various scenarios. Common texture types include:
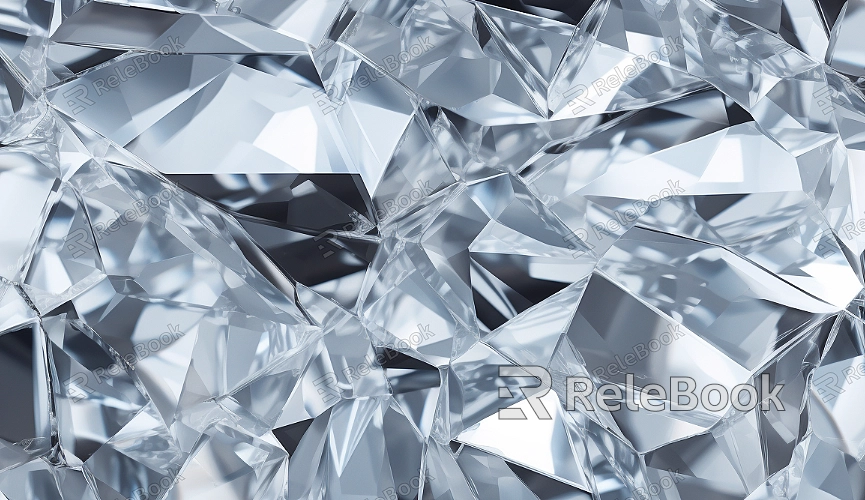
Diffuse Textures: These are used to represent basic surfaces like walls, floors, and skin, and are applicable in most scenarios. Popular formats include JPG, PNG, and TGA.
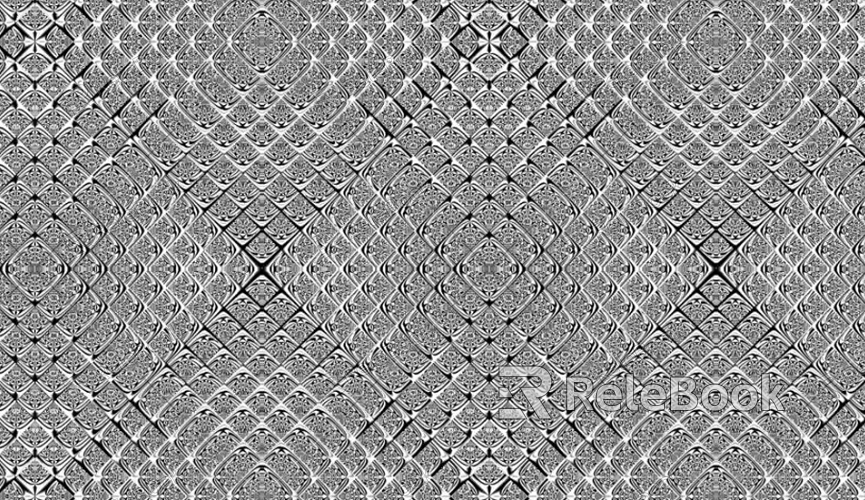
Normal Maps: These simulate surface detail and enhance the 3D appearance of the model, especially in scenes where fine details are essential.
Reflection Maps: Used to simulate materials like metal, glass, or water, these maps control the reflection and glossiness of the surface.
Specular/Roughness Maps: These control the shininess and roughness of the surface, influencing how lighting interacts with the model.
When choosing textures, I typically base my decision on the project’s needs, the material properties, and the performance requirements of the render. If you find yourself spending too much time searching for high-quality textures, Relebook offers a great selection of 3D texture resources to help you save time and improve your work quality.
If finding high-quality 3D textures is too time-consuming, consider visiting Relebook for a wide variety of texture resources that can easily be downloaded to suit your needs.
3. UV Unwrapping
UV unwrapping is a fundamental step in creating a 3D texture map. It transforms the 3D model’s surface into a 2D plane, allowing the texture to be mapped accurately onto the model. A clean and well-organized UV unwrap helps avoid texture distortion. Here’s how I approach UV unwrapping:
Unwrap UVs: In my modeling software, I first unwrap the UVs, ensuring there’s no overlap or stretching, which would cause texture issues.
Check UV Layout: After importing the model, I check that the UV layout is properly done, ensuring each part is proportionate and the texture will cover the model evenly.
4. Create and Apply Materials
Textures and materials go hand in hand. Creating the right material and applying the texture is key to achieving the desired visual effect. In material settings, you can control properties such as glossiness, reflectivity, and more. The steps for creating and applying materials are as follows:
Create the Material: In your rendering software, start by creating a new material and assigning the texture to it. For instance, in 3ds Max or Maya, I usually click on the “Create” option to generate a new material.
Load the Texture: Load the selected texture into the appropriate material slot (e.g., the Diffuse texture into the Albedo slot) so that the texture automatically applies to the model's surface.
Adjust Material Properties: Depending on the needs of the project, I adjust material properties such as glossiness, transparency, reflectivity, and others to match the design requirements.

5. Adjust Texture Display Settings
The way a texture displays on a model can be influenced by lighting, material properties, and other factors. During the rendering process, I typically adjust the following settings to ensure the texture performs well under different lighting conditions:
Texture Scaling: By adjusting the tiling properties of the texture, I change how the texture repeats on the model. This helps avoid stretching or having the texture appear too small.
Normal Mapping: I apply normal maps to enhance the surface detail, making the model look more realistic. Depending on the lighting, I adjust the strength of the normal map to make the details more pronounced.
Reflection and Lighting Adjustments: I tweak the material’s reflectivity, glossiness, and roughness properties to ensure the texture responds naturally to the lighting environment.
6. Optimize Textures
Optimizing texture maps is crucial for improving rendering efficiency, especially in large-scale scenes or real-time rendering applications. Below are some optimization techniques I regularly use:
Texture Compression: I compress textures to formats like PNG or JPG to reduce file size and prevent large files from slowing down the rendering process.
Texture Resolution Control: Depending on the project’s needs, I adjust the resolution of the textures. Too high a resolution can burden the GPU and slow down rendering, so I select an appropriate resolution based on the scene.
Simplify Material Types: In large scenes, I often use lower-resolution textures or simplify material nodes to reduce the computational load during rendering, speeding up the process.
By following these steps, you can effectively create a 3D texture map for your models, ensuring they look great in various environments. From model preparation and texture selection to UV unwrapping, material creation, and optimization, mastering these techniques can significantly improve your workflow and the quality of your work.
If you’re looking for high-quality 3D texture resources, Relebook provides a rich library of textures that can save you time and enhance the overall quality of your projects. Visit Relebook today and discover a wide range of 3D textures to elevate your creations!

