How to Create a Wood Grain Texture in Illustrator?
Creating a wood grain texture in Illustrator can be both a fun and creative process. Whether you're working on an interior design project, a logo, or an illustration that needs to mimic the natural beauty of wood, Illustrator provides a variety of tools to achieve realistic wood grain effects. In this article, we'll explore the different methods to create a wood grain texture in Adobe Illustrator, providing you with step-by-step guidance, tips, and techniques to master this design skill.

Understanding the Basics of Wood Grain Texture
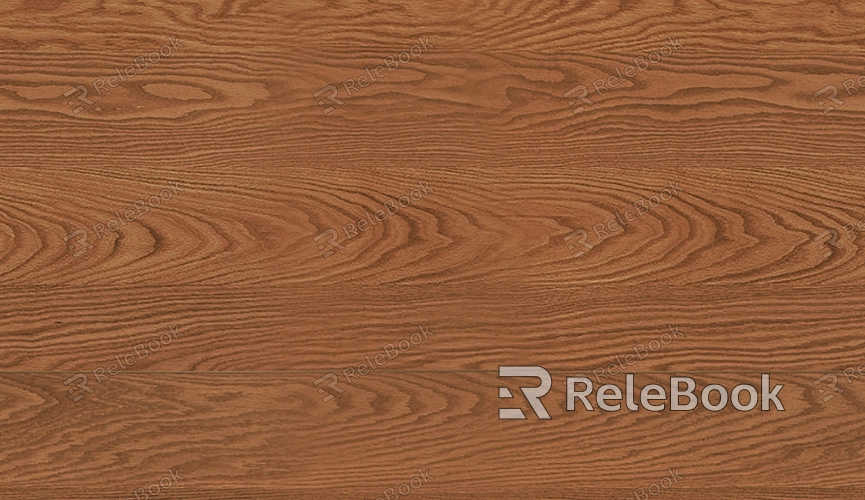
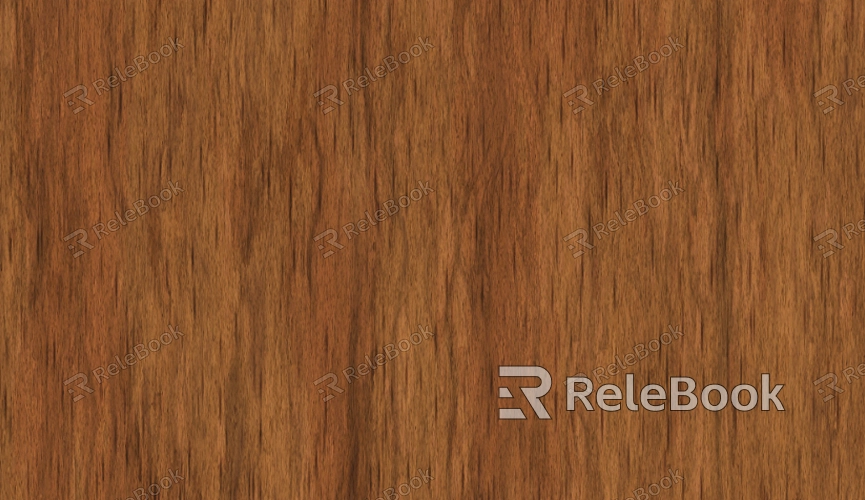
Wood grain textures can range from soft and subtle to bold and rough. The unique patterns found in real wood are created by the arrangement of fibers within the tree trunk. While Illustrator doesn’t directly replicate natural textures, its powerful vector tools allow you to simulate the grain and organic appearance of wood through careful manipulation of lines, strokes, and fills. Knowing how to capture the essence of wood's texture is the first step in creating a realistic and visually appealing result.
Choosing the Right Tools in Illustrator
Illustrator offers several tools that can help simulate the look of wood grain. These include the Pen tool, the Brush tool, and the Gradient tool. By utilizing these, you can create organic shapes, simulate color variations, and layer different textures to build up the complexity of wood grain. Understanding how to use these tools in tandem will be key to achieving a natural-looking texture.
1. Pen Tool
This versatile tool is ideal for creating custom paths that define the flow of your wood grain. By drawing curving, flowing paths, you can mimic the natural lines found in wood.
2. Brush Tool
The Brush tool allows you to apply strokes that resemble the texture of wood. You can adjust the brush settings to create rough, smooth, or stippled strokes that give the impression of wood fibers.
3. Gradient Tool
A gradient fill can be used to give your wood texture depth, simulating light and shadow effects as well as the natural color variations in wood.

Drawing the Base Shape of the Wood Grain
To start creating a wood grain texture, first, decide on the overall shape and size of your design. You can begin by drawing a rectangle or a freeform shape to represent the wooden surface. Use the Pen tool to create curved lines that mimic the natural flow of wood fibers. These lines will act as the base pattern for your texture. Once you have drawn your basic wood grain pattern, you can begin to add details and texture to make it look more realistic.
Adding Texture Using the Brush Tool
Next, you can apply the Brush tool to add fine details to the wood grain. Illustrator comes with several built-in brushes, but you can also create your custom brushes for a more tailored effect. Select a suitable brush that mimics the look of wood grain, such as a stipple or rough round brush, and apply it along the paths you’ve created. You can adjust the brush's size, spacing, and angle to ensure that the texture flows naturally across the surface of your design.
Creating a Gradient Fill for Depth
Wood isn’t flat in color—it has different tones and shades depending on the lighting and the species of the tree. To simulate this, apply a gradient fill to your shape. Use a linear or radial gradient that transitions from light to dark to create the illusion of depth. By using multiple color stops with various brown and tan hues, you can replicate the complex color variations seen in real wood. You may also consider adjusting the gradient angle to mimic how light hits the surface.
Adding Shadows and Highlights for Realism
Shadows and highlights are essential for making your wood grain texture look three-dimensional. Use the Gradient tool to add subtle shading around the edges of the wood texture, which will give the illusion of curvature and depth. You can also apply the Drop Shadow effect to create contrast and make the texture stand out. To highlight certain areas, use lighter colors along the grain lines, simulating how light reflects off the natural surface of the wood.
Using the Appearance Panel for Layering Effects
The Appearance panel in Illustrator allows you to apply multiple effects to a single object, making it easier to layer textures and refine your design. To create a complex wood texture, apply multiple strokes, fills, and effects to your base shape. You can experiment with different blending modes to create a more intricate pattern or adjust the opacity to control the intensity of the texture. The Appearance panel provides a non-destructive way to experiment with different looks and tweak your design as needed.
Experimenting with Custom Brushes and Effects
For a truly unique wood grain texture, you can experiment with creating custom brushes or effects. You can create your wood grain brushes by using the Brush panel and adjusting the settings to get a more authentic feel. If you prefer a more advanced approach, consider using Illustrator’s 3D tools to add depth and dimension to your wood texture. These tools allow you to create more complex surfaces that can simulate the grain of different types of wood.
Refining the Design
Once you have added all the necessary textures, shadows, and highlights, it’s time to refine your design. Zoom in and inspect the edges and fine details of the wood grain texture. You may need to adjust the curves or smooth out any inconsistencies to achieve a more natural look. Don’t be afraid to make subtle tweaks to the color, gradient, or brush settings to get the perfect balance of light and shadow that closely resembles the wood texture you are aiming for.
Exporting Your Wood Grain Texture
Once your wood grain texture is complete, it’s time to export your design. Illustrator allows you to export your textures in a variety of formats, including PNG, JPEG, and SVG. Choose the file format that best suits your project. If you plan to use the texture in a larger design or need it for a print project, consider exporting it at a high resolution to ensure it maintains its sharpness and clarity. You can also save your wood grain texture as a vector file if you need to preserve its scalability.
In conclusion, creating a realistic wood grain texture in Illustrator is a rewarding process that combines various design techniques and tools. By mastering the Pen, Brush, and Gradient tools, you can simulate the natural patterns and textures of wood. Experimenting with custom brushes, gradients, and layering effects will help you create a more dynamic and convincing texture. Whether you’re designing for a logo, background, or illustration, the techniques outlined in this article will equip you with the skills to create stunning wood grain textures that add depth and visual interest to your designs. For more high-quality 3D models and textures to enhance your design work, be sure to explore the collection available on the Relebook website.
FAQ
Can I create a realistic wood grain texture in Illustrator without using Photoshop?
Yes, Illustrator offers several powerful tools to simulate the look of wood grain, including the Pen tool, Brush tool, and Gradient tool. While Photoshop may offer more advanced texture effects, Illustrator can still achieve highly realistic results through careful manipulation of these vector tools.
How can I make my wood grain texture look more detailed?
To add more detail, try experimenting with different brush settings, layering multiple strokes and fills, and applying subtle gradients and shadows. Using custom brushes can also add complexity and uniqueness to the texture.
What file format should I use when exporting my wood grain texture for print?
For print projects, it’s best to export your wood grain texture as a high-resolution PNG or TIFF file. These formats retain the image quality and detail. If scalability is important, consider exporting as a vector-based format like SVG.
Can I use the wood grain texture I create in Illustrator for other types of design projects?
Absolutely! The wood grain texture you create in Illustrator can be used in a wide variety of design projects, including packaging, branding, backgrounds, or as a texture element in illustrations. The flexibility of vector graphics makes it easy to scale and integrate them into different design workflows.
How can I create a wood grain texture for a 3D project?
While Illustrator is primarily a 2D design tool, you can create a wood grain texture and apply it to a 3D object in programs like Blender or Cinema 4D. Export your texture from Illustrator as a high-resolution image, and then map it onto a 3D surface in your 3D software.

