How to Make AO Texture from 3D Object
Ambient Occlusion (AO) textures are an essential part of 3D modeling and rendering. These textures enhance the depth and detail of a scene, making renders more realistic. Particularly for complex 3D models, AO simulates the shadows and lighting changes between objects and in their contact areas, elevating the overall visual impact. Whether using Blender, Maya, 3ds Max, or other mainstream 3D software, creating AO textures is a standard workflow that can effectively improve your renders. In this article, I'll share my experience and explain how to make AO textures from 3D objects, helping you refine your texture-making skills and improve your rendering quality.

1. Understanding the Role and Importance of AO Textures
AO textures are used to add subtle shadow effects to the surface of 3D models, particularly around areas where objects meet or in recessed regions. These shadows enhance the model’s depth and detail, which are often not provided by color or material maps alone. By simulating light occlusion in the environment, AO textures can create a more three-dimensional effect without the need for complex lighting systems.
The key benefits of AO textures include:
Enhancing Model Detail: Especially in areas with heavy shadowing or intricate structures, AO textures emphasize edges and crevices, bringing your model to life.
Optimizing Render Efficiency: AO textures reduce the need for extensive lighting calculations, improving render times and making scenes look more realistic in low-light settings.
Working in Combination with Other Textures: AO textures are commonly combined with color, normal, and roughness maps to create richer material effects.
2. Generating AO Textures Using 3D Software
When learning how to create AO textures, understanding how to generate them within 3D software is crucial. Most major 3D modeling programs offer built-in options for generating AO textures.
Blender: In Blender, you can generate AO textures through the "Render Settings". Select the "Cycles" rendering engine, enable the "Ambient Occlusion" option, and render out the AO layer.
Maya: Maya also offers a similar function in the “Lighting/Shading” module. You can use the "Ambient Occlusion" node to generate AO effects, adjusting the strength and light/shadow settings to your liking.
3ds Max: In 3ds Max, you can enable AO in the render settings or use plugins like V-Ray for more detailed control over the AO effects.
These programs allow you to quickly generate AO textures, making it easier for you to proceed with adjustments in later stages of your project.
3. Baking AO Textures for More Control
For more precise control over your AO textures, you can manually bake them. Baking converts the shadows and lighting information of a 3D model into a 2D texture, reducing the computational load during real-time rendering. Here’s how you can do it:
Prepare the Model: Ensure your model’s UV layout is correct to prevent overlapping or stretching, ensuring that the texture will map correctly to the model.
Select a Render Engine: Use the Cycles engine in Blender or choose an appropriate engine in other software to bake the AO.
Set Baking Parameters: Adjust the AO strength, radius, and other parameters to ensure the texture meets your desired result. Larger AO radii will create softer shadows.
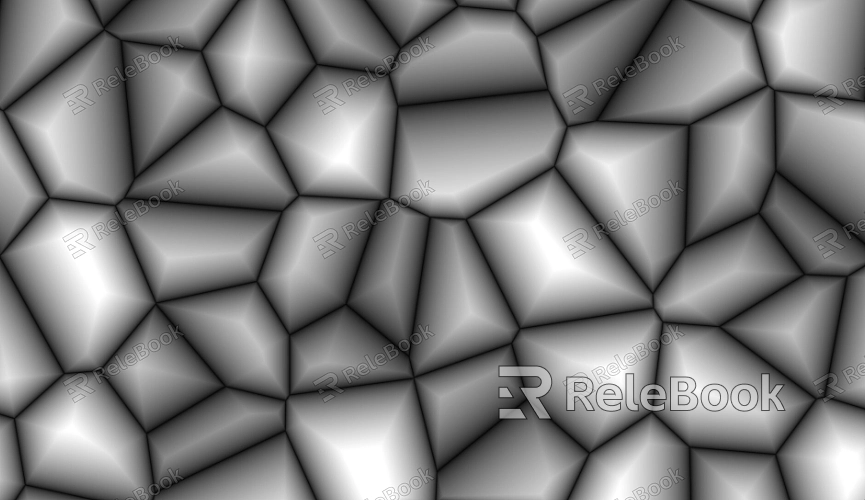
Bake and Export: Once the settings are configured, start the baking process. The AO information will be saved as a texture file, typically in grayscale format for later adjustments.
Manual baking offers greater flexibility and control, particularly when specific details are required for a project.

4. Combining AO with Other Texture Channels
In many cases, a single AO texture might not be enough to achieve the desired result. You can combine AO textures with other texture channels, such as color or normal maps, to create richer effects.
With Color Maps: By blending the AO texture with the base color map, you can simulate complex lighting effects and enhance model details, especially in recessed or contact areas.
With Normal Maps: Combining AO with normal maps helps to add depth to the surface, particularly in intricate areas like grooves and corners.
With Roughness or Metalness Maps: When combined with roughness or metalness maps, AO textures can create more realistic lighting reflections on the model’s surface, enhancing its realism.
By merging multiple texture channels, you can achieve more refined details and enhance the visual appeal of your models.
5. Optimizing AO Texture Performance
While AO textures can greatly enhance render quality, optimizing their use is just as important. Large AO texture files can slow down rendering, affecting overall efficiency.
Adjust Resolution: Scale the AO texture resolution based on the scene's complexity and your needs. Avoid unnecessarily high resolutions.
Compress Texture Files: Apply appropriate compression to reduce file sizes, speeding up renders without sacrificing too much quality.
Choose the Right Texture Format: Use texture formats that support compression (such as TGA or PNG) to balance texture quality and performance.
Optimizing AO textures ensures that they contribute to your project’s visual quality without hindering workflow speed.
6. Applying Techniques in Real Projects
Theory and practice go hand in hand when learning to create AO textures. By applying these techniques to real projects, you can refine your skills through continuous adjustments and optimizations. Iterating through multiple stages in your projects will allow you to improve texture quality over time and create more polished renders.
If you're looking for high-quality AO texture resources to speed up your project, check out Relebook. It offers a wide range of 3D textures that can save you time and enhance the quality of your work.

