How to Make Glass Texture in GIMP?
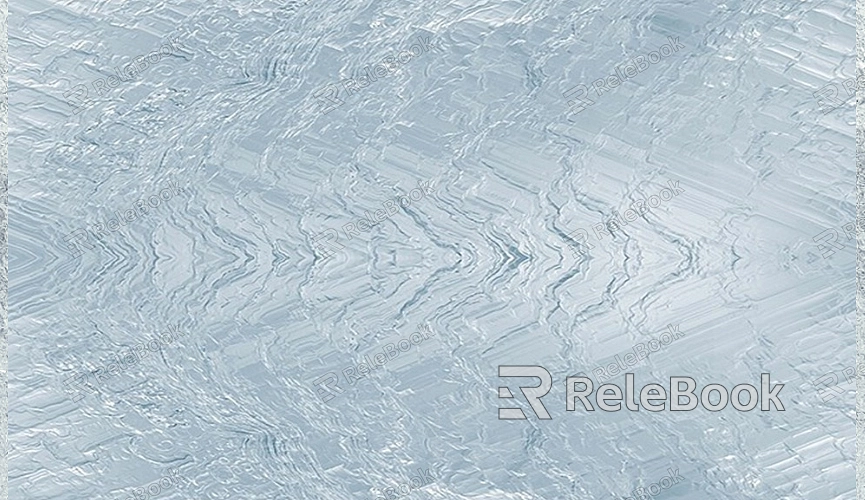
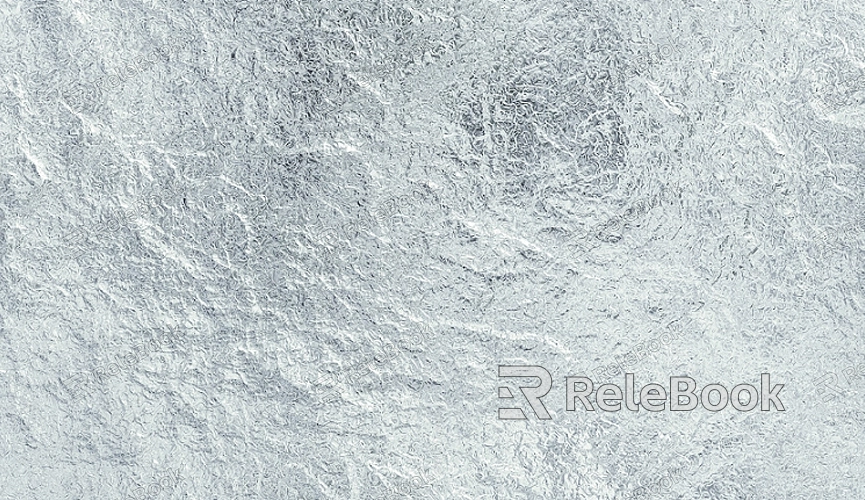
Creating realistic glass textures in GIMP can be a fascinating yet challenging process. Glass, with its smooth, reflective, and often translucent nature, requires a combination of visual techniques to replicate effectively. This article will guide you through the steps necessary to create a glass texture in GIMP, from the initial setup to fine-tuning the details, and will provide tips on how to integrate it into your projects. By the end of this guide, you will have all the tools you need to create stunning glass textures that are both realistic and versatile.

Setting Up Your Canvas in GIMP
Before you start creating the glass texture, it’s essential to prepare your canvas. GIMP is a powerful tool for digital creation, and setting the right canvas size is the first step in making sure your texture looks good in the final output.
Begin by opening GIMP and creating a new project. The canvas size depends on the final use of the texture, but for most purposes, a 1024x1024 or 2048x2048 pixel canvas is usually sufficient. Make sure your background is set to a neutral color (such as white or black), as this will help you see the effects of the glass texture as you apply them.
Once the canvas is prepared, you’ll be ready to start experimenting with different elements that will contribute to the transparency, shine, and overall feel of the glass surface.
Creating a Base Glass Texture Using Noise
Glass often has an organic and slightly distorted surface, which is why adding noise will be your first step. Noise introduces a subtle randomness to the texture, mimicking the irregularities seen in real glass.
Start by filling the canvas with a neutral color like white or light gray. Then, go to the "Filters" menu, choose "Noise," and select "RGB Noise." Set the noise to a low value, just enough to give the surface a slightly irregular texture. You can adjust the noise amount later to fine-tune the glass effect, but it’s essential to keep it subtle at this stage.
After adding the noise, the next step is to blur the texture slightly to create the smooth, somewhat reflective surface characteristic of glass. You can do this by going to "Filters" > "Blur" > "Gaussian Blur" and applying a mild blur. The key here is to avoid over-blurring, as it may flatten the texture too much. The goal is to maintain some visual depth while softening any harsh edges.

Adding Transparency for Realistic Glass
Glass is known for its transparent qualities, so achieving transparency is a vital step in creating a realistic texture. To simulate the transparency of glass, you can use the “Layer Mask” feature in GIMP. This will allow you to control how much of the underlying background shows through the glass texture.
To add a layer mask, right-click on your texture layer and select "Add Layer Mask." Choose "White (full opacity)" to start with a completely opaque texture. Then, you’ll need to paint on the mask using a soft brush with low opacity to gradually reveal the background. This technique is essential for making the glass appear semi-transparent rather than solid.
You can also use gradient tools to control the transparency levels across the texture. For instance, apply a gradient from opaque to transparent vertically or horizontally across the canvas to simulate the natural transparency of glass, which often varies depending on lighting and thickness.
Enhancing the Reflective Quality
Glass is reflective, which means it interacts with light in distinctive ways. To replicate this, you need to add reflections and highlights to your glass texture. A common method is to use "Highlight" and "Shine" techniques.
Create a new layer above the glass texture and set the layer mode to "Soft light" or "Overlay." This will help enhance the highlights and reflective properties. Using a soft brush, paint subtle white or light gray highlights on areas where the light would naturally hit the glass. Focus on the edges and the center, as glass typically reflects light more strongly in these areas.
To add more realism, you can also apply a slight bevel effect to the edges of the glass. This gives the texture more depth and helps simulate the way light bends around the glass surface. You can do this by creating a new layer, using a selection tool to draw around the edges, and then applying a slight shadow or light effect to give the illusion of depth.
Fine-Tuning the Glass Texture
Once you’ve established the base texture, noise, transparency, and highlights, it’s time to fine-tune the overall look of the glass. The beauty of GIMP lies in its flexibility to make adjustments and enhance details at any point in the process.
At this stage, you can experiment with color adjustments, sharpening, and blending modes to achieve a more polished glass effect. For instance, you can use the "Hue-Saturation" tool to adjust the colors of your glass texture, adding a faint tint if desired. You can also use the "Levels" or "Curves" tools to adjust the brightness and contrast, giving the glass texture more depth and realism.
Remember, glass textures often vary in appearance based on factors like thickness, cleanliness, and the environment it’s in, so it’s important to be flexible and experiment with different styles until you achieve the desired result.
Applying Glass Texture to Your Projects
Once you’ve perfected your glass texture, the next step is integrating it into your project. Whether you’re designing a 3D model or incorporating it into a 2D illustration, glass textures need to be placed in a way that interacts with the surrounding elements.
In 3D modeling, you can map your glass texture onto a surface using appropriate UV mapping techniques. In 2D design, you may need to adjust the glass texture’s scale and orientation to make it fit into the larger composition. Pay attention to how the glass interacts with light and shadows in your scene to ensure it looks natural and convincing.
For extra detail, you can add imperfections such as scratches, dust, or smudges to the glass surface. This will make the texture appear more realistic and give it the worn-in feel that is often present in real-world glass.
Exporting and Saving Your Glass Texture
Once you’ve achieved the perfect glass texture, it’s essential to save and export it in the correct format for your project. GIMP offers several formats, but for most applications, exporting as PNG or JPEG is sufficient. If your texture includes transparency, PNG is the better option, as it supports transparent backgrounds.
Make sure to save your project file (.XCF) as well, so you can come back and make adjustments later if necessary. GIMP also allows you to export the texture in higher resolutions if needed, ensuring it can be used across different media.
Creating a glass texture in GIMP is a combination of technical skills and creative experimentation. By following the steps outlined above, you can achieve realistic and detailed glass textures that add depth and realism to your projects. From adjusting transparency and noise to enhancing reflective qualities and integrating the texture into your designs, GIMP offers a wide range of tools to help you create professional-grade glass textures. Experimenting with different techniques will give you the flexibility to create textures that fit your specific needs.
If you're looking to further enhance your design projects with high-quality 3D models and textures, you can explore the Relebook website, where you can download a variety of assets to elevate your work to new heights.
FAQ
How do I make the glass texture look more realistic?
To make your glass texture more realistic, focus on creating subtle noise, applying transparency, and adding highlights that mimic real-world reflections. Additionally, adding imperfections like scratches or dust can make the glass look more natural.
Can I use GIMP to create glass textures for 3D models?
Yes, GIMP is a great tool for creating textures that can be applied to 3D models. Ensure you export the texture in a compatible format (e.g., PNG) and use proper UV mapping techniques to apply it to your 3D models.
What file format should I save my glass texture in?
The best file format depends on your project. PNG is ideal for textures with transparency, while JPEG works well for textures without it. If you plan to make adjustments later, save the original file in the .XCF format.
How can I make the glass texture more reflective?
To increase the reflective quality of your glass texture, add bright highlights and experiment with blending modes like "Soft light" or "Overlay." You can also apply a slight bevel effect to create depth and simulate light reflections more accurately.
What is the best canvas size for creating a glass texture?
A canvas size of 1024x1024 or 2048x2048 pixels is generally suitable for most purposes. However, the size should be adjusted based on the final application of the texture (e.g., for 3D models, you may need higher resolutions).

