How to Create 3D Texture with Drawing Software
3D textures do more than just add detail to a model—they give your work depth, realism, and artistic flair. Whether you’re working on game development, film production, or architectural visualization, the quality of your textures can significantly impact the final render. I’ve often used various drawing software such as Adobe Photoshop, Substance Painter, and Mari to create 3D textures. In this article, I’ll share my experience and guide you on how to use drawing software to create stunning 3D textures that will elevate your projects.

1. Choose the Right Drawing Software
The first step in creating high-quality 3D textures is selecting the appropriate drawing software. Some of the most commonly used software includes:
Adobe Photoshop: While Photoshop is not specifically designed for 3D design, its powerful image editing features make it a favorite among designers, especially for detail work and color adjustments.
Substance Painter: This tool is built specifically for 3D texture creation, allowing you to work directly with 3D models. It supports PBR (Physically Based Rendering) material creation, making it ideal for projects that require precise material control.
Mari: Another powerful tool for 3D texture painting, Mari’s high-resolution support makes it a go-to in the film industry and for high-end rendering projects.
Each software has its unique strengths, and the choice of which to use depends on your project’s needs and personal preferences.
2. Prepare Your 3D Model and Unwrap UVs
The next step is to prepare your 3D model and unwrap its UVs. UV mapping is crucial as it determines how textures will be applied to the 3D surface. Before diving into the drawing software, make sure your 3D model has been properly UV-unwrapped.
3D modeling software like Blender, Maya, and 3ds Max allows you to split and unwrap UVs. These unwrapped UVs will act as your “canvas” in the drawing software.
Be careful to avoid overlapping and distortion during the UV unwrapping process, as these issues can affect the quality of your texture.
3. Create Base Textures Using Drawing Software
Once your UVs are set, the next step is to create the base textures. This typically involves the following:
Paint Base Colors: Using drawing software, you can start painting the base textures by selecting appropriate colors and patterns. For instance, in Photoshop, you can use layers to gradually build up details such as skin, fabric, or metal surfaces.
Use Texture Assets: To speed up the process, you can import existing texture assets, such as high-quality scanned or downloaded textures (like wood, skin, or stone), and adjust them to fit your model.
Utilize Brush Tools: Most drawing software (such as Substance Painter and Mari) support custom brushes, which are perfect for creating fine surface details like scratches, oil stains, or dirt.
These steps will help you lay the foundation for your 3D texture, setting the stage for further detailing.
4. Refine the Texture and Add Detail
To make your texture more realistic, you’ll need to refine it and add additional details:
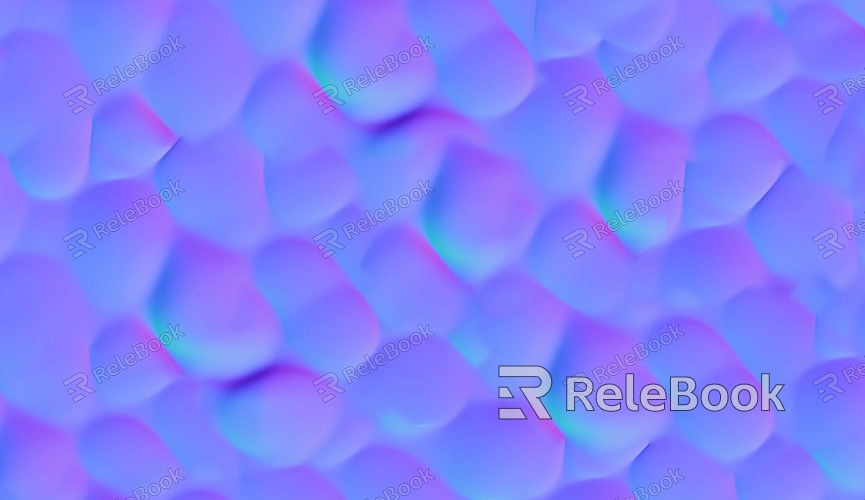
Use Normal Maps: Normal maps simulate finer surface details, like small bumps, cracks, and wrinkles, without having to add extra geometry. These can be hand-painted in drawing software or auto-generated in tools like Substance Painter.
Add Highlights and Shadows: To create more depth and dimension, paint highlights and shadows onto your texture, mimicking how light interacts with the surface.
Layered Workflow: You can create multiple layers in your drawing software to manage different aspects of the texture. Each layer can be adjusted independently—changing opacity, blending mode, or applying filters—to achieve more complex material effects.
These detailing techniques will add realism and complexity to your textures, making them stand out.

5. Adjust and Export Textures
Once your texture is refined, it’s time to adjust and export it for use in your 3D software:
Adjust Hue and Saturation: Use the adjustment tools in your drawing software to fine-tune the hue, contrast, and saturation of your textures, ensuring they match the color scheme of the overall scene.
Optimize Texture Size: Depending on your render needs, adjust the resolution of the texture. If the texture is too large, it could slow down rendering; if it’s too small, you might lose important details.
Export the Textures: Once satisfied, export the textures in formats that are compatible with your 3D software, such as PNG, JPG, or TGA, ensuring both compatibility and quality.
6. Apply Textures in 3D Software
After exporting the textures, the next step is to apply them in your 3D software:
Import the texture into your 3D software and apply it to the model using the material editor.
Make sure the texture is mapped correctly to the UV layout, and tweak the material settings like reflectivity, roughness, and specularity to achieve realistic results.
3D software such as Blender, Maya, or 3ds Max typically allows you to preview the texture using material spheres, making it easy to see how your texture will look when rendered.
Before rendering, you can check the texture’s appearance in preview mode to make sure there are no stretching or distortion issues.
Creating 3D textures with drawing software is a creative and technical process. From selecting the right tools, preparing UVs, painting base textures, refining the details, and finally adjusting and exporting the texture, each step is vital for ensuring a high-quality final result. Mastering these techniques will not only boost your efficiency but also help you achieve the visual quality you need for your 3D projects.
If you're looking for high-quality 3D texture resources or models like SketchUp and 3ds Max files to create stunning models and virtual scenes, Relebook offers a rich selection that can help you achieve remarkable visual effects in your projects.

