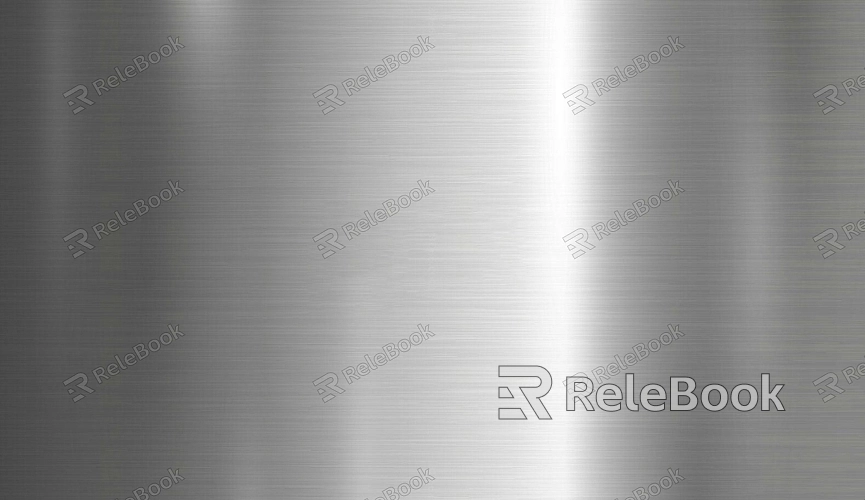
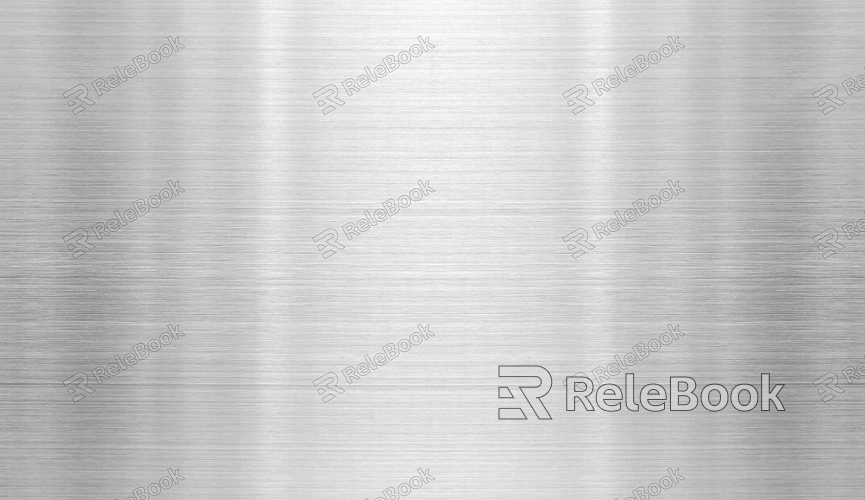
How to Make a Realistic Metal Texture in Photoshop?
Creating a realistic metal texture in Photoshop can be a challenging yet rewarding task for designers. Whether you're working on a project that involves industrial design, game assets, or illustrations, mastering the art of creating metal textures will significantly enhance the visual quality of your work. Metal textures in Photoshop mimic the inherent qualities of real-world metals such as shine, roughness, and depth. This article will guide you through the steps necessary to make a realistic metal texture in Photoshop, from setting up the workspace to applying the finishing touches. Let's dive in and explore the process of creating a metal texture that looks lifelike and dynamic.

Setting Up Your Workspace
Before you begin, it's important to set up your Photoshop workspace efficiently. A clear workspace will allow you to focus on your design without distractions. Open Photoshop and create a new document. Typically, you might want to start with a large canvas to ensure the texture's resolution is suitable for detailed applications.
The first thing you’ll need is a solid base for your metal texture. Choose a neutral or dark color for the background. Metal textures often rely on the interplay of light and shadow, so starting with a dark color will help you simulate the effect of light reflecting off a metallic surface. A good starting point might be a deep gray or black.
Adding a Base Layer
Now that your workspace is ready, start by creating the base layer for the metal. To achieve a realistic metallic appearance, a gradient map will be one of your best friends. Select the "Gradient Tool" from the toolbar, and choose a gradient that mimics the colors of the metal you're aiming for. Common gradients for metal textures include those that transition from a darker gray to a lighter gray or silver.
Once the gradient is applied, adjust the opacity of the layer to control the intensity of the color. You can also experiment with blending modes to see how they interact with the underlying layers, particularly "Overlay" or "Soft Light," which are effective for creating depth and subtle reflections in the metal texture.

Introducing the Roughness
A smooth metallic surface is not always the most realistic, as most metals have some degree of roughness. To introduce this texture, you will need to add noise. Create a new layer and fill it with a neutral color like gray. Then, go to Filter > Noise > Add Noise. You can control the amount of noise based on the type of metal you’re simulating. A more polished metal may have less noise, while brushed or rusted metals would require higher noise levels for added texture.
To enhance the roughness further, apply a Gaussian blur to the noise layer. This softens the effect, making the texture look more natural. You can also use the "Motion Blur" tool in different directions to simulate the patterns that occur on metals subjected to different manufacturing processes, such as brushing or polishing.
Simulating Reflection and Shine
The characteristic shine of metal surfaces is one of the most striking features. This reflection comes from how light interacts with the metal. To replicate this, you need to layer a reflection map. Create a new layer and fill it with a white or light gray color. Then, reduce the opacity of this layer so it doesn’t overpower the base layer. You can also use a "Gaussian Blur" to make them shine more diffused and realistic.
If you want to simulate reflections of the environment, you can place a gradient map or use photographic elements such as skies or cityscapes. Use a "Screen" blending mode for these images, which will allow the underlying metal texture to show through while still keeping the reflection visible.
Adding Detail with Brushes
For metals like brushed steel or aged iron, adding finer details is essential. To achieve this, use a custom brush designed for creating metal textures. You can find many brushes online, or you can create your own. Set your brush to a low opacity and flow, and lightly paint over the texture to add streaks, scuffs, and other imperfections that give metals their characteristic look.
Remember, no metal surface is perfect, so these small details are what make your texture look realistic. Vary the brush strokes and adjust the size to create a sense of randomness, which mirrors the imperfections in real-world metals.
Enhancing with Layer Effects and Filters
After the basic texture is laid down, it’s time to refine it further using Photoshop’s array of effects and filters. The "Bevel and Emboss" effect, for example, is a powerful tool for adding depth to the metal texture. You can adjust the lighting angle and intensity to simulate how light would naturally interact with the surface.
Another useful effect is "Inner Glow," which can be applied to simulate the internal reflection and sheen that metals often have under certain lighting conditions. Play with the settings until you achieve the desired effect. You can combine different filters and effects for more complex textures, such as brushed, polished, or oxidized metals.
Fine-tuning with Color Grading
Now that the texture has depth and shine, it’s time to fine-tune its color. Metal textures often exhibit subtle color shifts due to oxidation, rust, or lighting conditions. To achieve these effects, you can apply a subtle "Hue/Saturation" adjustment layer. You might also want to experiment with color balance to introduce warmer or cooler tones, depending on the type of metal you're trying to mimic.
For example, copper and bronze will have a more orange or reddish tint, while steel and aluminum lean toward cooler blues and grays. Rusted metal textures will require more intense color adjustments, adding reds, browns, and greens to the base layer to simulate corrosion.
Final Adjustments and Detailing
As a final step, zoom in to inspect your texture at a detailed level. Look for areas that might need more contrast, detail, or refinement. Small adjustments, like sharpening certain edges or adding highlights, can significantly improve the overall realism of your texture.
It’s also important to test your texture in different lighting conditions and on various objects. Sometimes, what looks good in one setting might need tweaking when applied to different projects. This will ensure that your metal texture is adaptable and realistic across a variety of scenarios.
Common Mistakes to Avoid
Creating a convincing metal texture can be tricky, and it’s easy to fall into certain traps. One common mistake is overdoing the shine, which can make the texture look unnatural. Remember that not all metal surfaces have a mirror-like finish. Subtlety is key when applying highlights and reflections.
Another mistake is not paying enough attention to the roughness and imperfections that make metal textures come to life. Metal is rarely smooth and perfect, so incorporating noise, scratches, and small bumps will elevate the realism.
Creating a realistic metal texture in Photoshop is a rewarding process that requires attention to detail and an understanding of how light interacts with metal surfaces. By following the steps outlined above—setting up your workspace, adding roughness, simulating reflections, and applying final tweaks—you can produce metal textures that add depth and realism to your designs. Whether you're working on industrial scenes, 3D models, or other creations, these techniques will help you achieve a polished and authentic metallic look. To enhance your projects further, don’t forget to download high-quality 3D models and textures from the Relebook website, where you'll find an array of resources perfect for your next creation.
FAQ
Can I use stock images to create metal textures in Photoshop?
Yes, you can. Stock images can be an excellent starting point for creating metal textures. You can blend them with your base layer to add more realism or use them for additional reflections or imperfections.
What are the best blending modes for creating metal textures?
Blending modes such as "Overlay," "Soft Light," and "Screen" work well for adding depth and shine to metal textures. These modes can help you enhance light reflections and subtle color variations in your metal.
How can I make my metal texture look more realistic in 3D applications?
For 3D applications, you may want to create a bump map or normal map from your metal texture to add depth. You can also adjust the roughness and specularity settings in your 3D software to simulate how light interacts with the surface of the metal.
How do I create a rusty metal texture in Photoshop?
To create a rusty metal texture, begin by using a rough, textured base. Add rust-like orange, brown, and green colors using brushes and adjustment layers. Don’t forget to introduce imperfections like pitting or peeling to simulate real rust.

