Blender Flesh Texture
Creating realistic human skin (flesh) texture in Blender can be achieved through various methods, depending on the desired effect and the model's purpose. Here are some common approaches:
1. Node Editor Creation:
Utilize the Node Editor with various nodes such as "Noise," "Musgrave," "Voronoi," etc., to simulate the details and characteristics of skin texture. These nodes assist in creating effects like color variations, surface irregularities, and subtle textures.
2. Texture Image Application:
Find or create skin textures containing details, textures, and color variations. You can use image editing software to craft skin textures and then apply them to the model.
3. Use of Rendering Engine and Materials:
Utilize Blender's rendering engines (such as Cycles or Eevee) and materials to simulate the appearance of skin. This involves setting appropriate Subsurface Scattering (SSS) effects, blood circulation, skin transparency, reflections, and other properties.
Regardless of the method chosen, creating realistic skin texture often involves combining various techniques and nodes to simulate various features of the skin. Experimentation, observation of real skin characteristics, and gradual refinement through nodes, textures, or material settings are crucial in achieving lifelike skin effects.
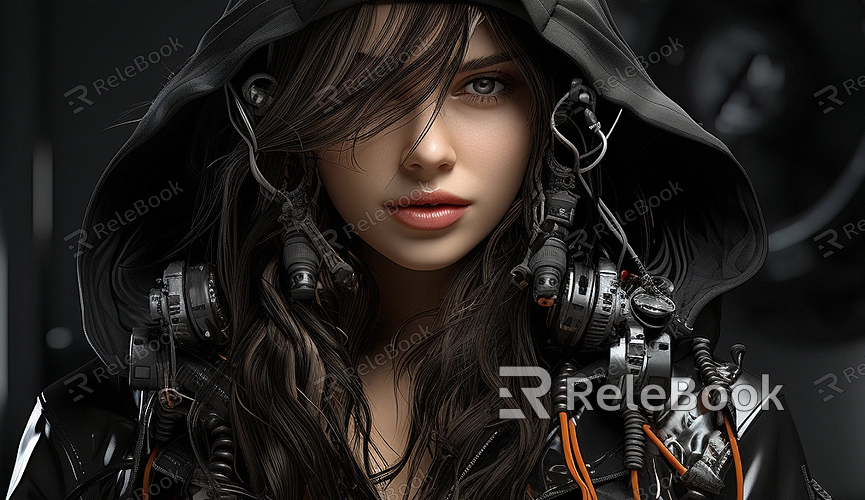
Creating realistic flesh texture in Blender is an indispensable part of building authentic 3D scenes. Skin is a prominent feature in character models, and the level of detail in its texture directly influences the model's realism. Below are common scenarios and considerations when creating skin textures in Blender.
1. Realistic Facial Details:
Applying skin texture to facial regions reveals subtle wrinkles, pores, and fine blood vessel distribution. This enhances the realism of the character model's face, creating the illusion of lifelike skin.
2. Vascular Texture on Limb Surfaces:
Painting vascular textures on the skin surface adds realism to the model. For instance, showing faint veins on the arms injects vitality into the overall effect.
3. Sun Exposure Simulation:
By adjusting skin glossiness and color saturation, you can simulate sun exposure, making the character appear more vibrant and sun-kissed.
4. Depicting Damaged Skin:
In certain scenes, depicting damaged skin, such as scars or wounds, is necessary. Applying textures in these areas allows you to create realistic damage effects, adding drama to the character.
5. Representation of Age:
Skin texture can also be used to portray a character's age. By adding wrinkles and signs of aging, you can make the model appear older, adding narrative depth and emotion.
6. Application of Colored Textures:
In artistic scenes, colored textures can provide additional depth to the skin. For example, emphasizing certain features like highlights or shadows adds personality to the character.
7. Contrast of Shadows and Highlights:
By adjusting the contrast between the dark and light parts of the skin texture, you can emphasize the model's three-dimensionality, making the skin surface more layered and relatable to the audience.
8. Microexpressions Conveying Emotion:
Subtle adjustments to skin texture can be used to express a character's emotions. By tweaking the texture around the eyebrows, eyes, and other areas, you can convey nuanced facial expressions, making the model more vivid.
If you need a wide range of high-quality 3D textures and HDRI, you can download them from Relebook and import the textures directly into your models after downloading.
