How to Create Realistic Texture Landscape in 3D Max
In 3D design, textured landscapes play a vital role in creating immersive environments for video games, architectural visualizations, and virtual simulations. A well-crafted landscape not only enhances the realism of your project but also elevates its professional quality and visual impact. Crafting such a landscape in 3D Max involves modeling, texturing, and rendering, requiring a combination of technical expertise and creative vision. This guide will walk you through the essential steps to develop detailed and realistic textured terrain in 3D Max.

1. Establish the Base Terrain
Before diving into texturing, it’s crucial to determine the type of terrain and its design objectives.
Gather Reference Materials:
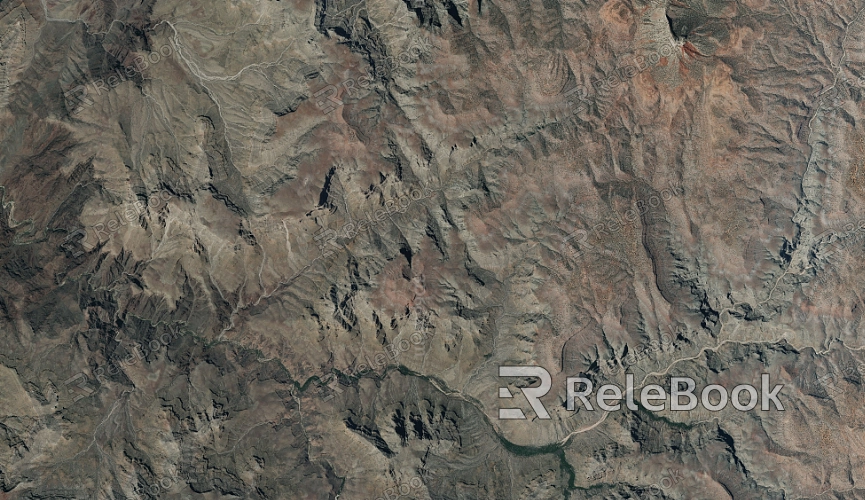
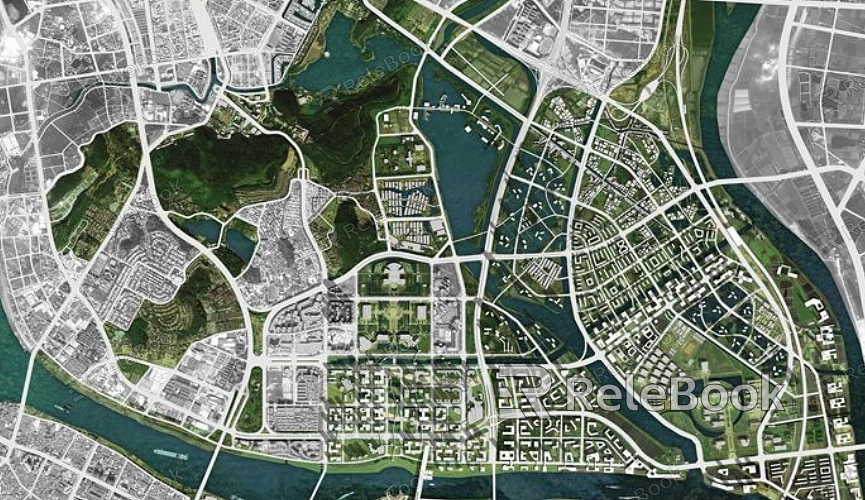
Collect references such as photographs, satellite images, or heightmaps to guide the structure of your terrain. Decide whether the focus will be natural features like hills and valleys or urban elements like building foundations.
Create the Base Model:
Use the “Plane” tool in 3D Max to create a flat surface. Adjust the segment count to ensure enough geometry for detailed modeling. For complex terrains, import a heightmap to quickly generate the initial terrain contours.
2. Refine Terrain Shape with Modifiers
3D Max offers robust modifier tools to refine and sculpt the terrain.
Apply the “Displace” Modifier:
Use a heightmap to displace the geometry of your base model, creating realistic elevation changes.
Adjust strength parameters to fine-tune the height details and enable the “Smooth” option for seamless transitions.
Enhance with the “Noise” Modifier:
Add randomness to the terrain’s surface using the “Noise” modifier. For example, simulate rocky textures or desert ripples by tweaking frequency and amplitude parameters. This step gives the landscape a more natural and organic appearance.
3. Optimize UV Mapping
UV mapping ensures that textures are applied evenly and without distortion.
Automatic UV Mapping:
Use the “UVW Map” modifier to apply initial UV coordinates to the terrain. Select “Planar” or “Box” mapping modes based on the terrain's shape.
Refine UV Manually:
Utilize the “Unwrap UVW” tool to manually adjust UV coordinates, particularly in areas with steep slopes or complex features. Properly mapped UVs prevent texture stretching or overlapping.
4. Layer Materials for Depth
To achieve a more detailed and natural look, layer multiple materials onto the terrain.
Create Base Materials:
Use the “Material Editor” to develop base materials like soil, grass, or rock. Combine high-resolution textures with normal maps to add depth and realism.
Blend Materials:
Use the “Composite” material node to blend multiple textures. Add a mask map to control where each material appears. For example, use a gradient mask to transition smoothly between rocky and grassy areas.
5. Add Detailed Textures
Fine textures significantly enhance the visual appeal of the terrain.
Implement Normal Maps:
Normal maps simulate intricate surface details like cracks or gravel, creating a sense of depth without adding extra geometry.
Utilize Roughness Maps:
Control surface reflectivity with roughness maps to mimic specific material characteristics, such as wet soil or dry sand, for added realism.

6. Optimize Rendering Settings
Rendering is crucial to showcase the final appearance of your textured terrain.
Set Up Lighting:
Add appropriate light sources to simulate natural effects like sunlight and shadows. Consider using HDRI maps for environmental lighting to achieve a more lifelike result.
Enable Texture Antialiasing:
Activate texture antialiasing in the rendering settings to eliminate jagged edges and improve overall texture clarity.
7. Test and Adjust
Regular testing ensures that the terrain and textures work harmoniously.
Preview Textures:
Examine the terrain from various angles to check for any texture distortions, such as stretching or low resolution.
Fine-Tune Proportions:
Adjust terrain height and texture scale to meet project requirements, whether aiming for photorealism or a stylized aesthetic.
8. Save and Optimize
Efficient file management enhances workflow and ensures compatibility across platforms.
Compress Texture Files:
Reduce file size without compromising quality by using image compression tools, keeping the project lightweight and efficient.
Maintain Multiple Versions:
Save both high-poly and low-poly versions of the terrain to accommodate different rendering needs, such as real-time engines or offline rendering pipelines.
By following these steps, you can efficiently create realistic textured landscapes in 3D Max, whether you're designing natural environments or urban scenes. If you're searching for high-quality 3D texture resources, SketchUp models, or 3ds Max assets, Relebook is a fantastic resource. Download textures and models from Relebook to elevate your creations and bring your vision to life effortlessly.

