How to Learn Texturing 3D
Texturing is a crucial step in bringing 3D models to life. By adding textures, we can infuse models with color, gloss, details, and even simulate real-world material properties. For 3D modeling and rendering designers, mastering texturing not only enhances the realism of models but also significantly boosts rendering quality and workflow efficiency. Whether you are using Blender, 3ds Max, Maya, or other 3D software, texturing is an essential part of every project. In this article, I'll share some tips and techniques for learning 3D texturing, helping you improve your skills and create more detailed and realistic 3D models.

1. Understand the Basics of Texturing
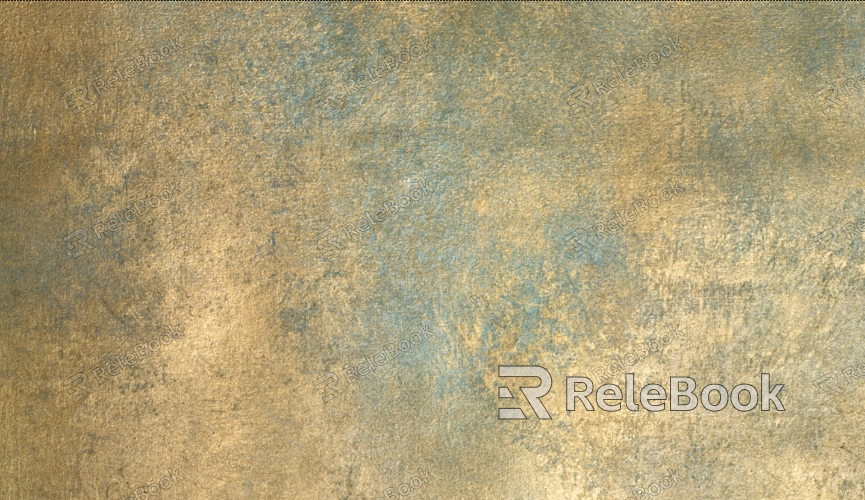
The first step in learning 3D texturing is to understand the basic concepts behind it. Texturing is the process of adding surface details to 3D models, allowing us to simulate the appearance of materials, roughness, and glossiness. Textures are not just flat images; they can also influence lighting and material properties in various ways.
Common types of textures include:
Color Texture: Defines the surface color of the object.
Normal Map: Simulates subtle bumps and indentations by altering surface normals.
Roughness Map: Controls the degree of glossiness or smoothness of a surface.
Metalness Map: Determines whether a surface has metallic properties.
These textures can be used individually or combined to create more complex and realistic effects.
2. Master UV Unwrapping Techniques
Before applying textures, proper UV unwrapping is a crucial step. The goal of UV unwrapping is to "unwrap" the 3D model’s surface into a 2D plane, making it easier to apply textures. Poor UV unwrapping can result in stretched, repeated, or misaligned textures.
How can you efficiently unwrap UVs?
Use professional software: Programs like Blender, Maya, and 3ds Max have powerful UV editing tools that make it easy to unwrap your model’s UVs.
Plan your UV space wisely: During unwrapping, avoid overlapping UVs and make sure each face receives the correct texture.
Check and optimize: After unwrapping, check for any stretching, overlapping, or wasted space in the UVs.
Mastering UV unwrapping ensures your textures will be properly applied to your 3D models, which is essential for producing high-quality textures.
3. Learn Texture Painting and Creation
Mastering texture painting is at the core of learning 3D texturing. You can create textures in several ways:
Use painting software: Professional tools like Photoshop, Substance Painter, and Mari allow you to directly paint textures in a 2D interface and apply them to 3D models.
Combine hand-painted and procedural textures: By blending hand-painted and procedural textures, you can create more unique and complex effects. Procedural textures automatically generate intricate details, like cracks in the ground or wood grains.
High-quality scanned textures: For highly realistic textures, you can scan real-world surfaces and create highly detailed textures. Websites like Relebook offer free and paid high-quality 3D texture resources.
Learning how to create textures will help you move from basic color maps to more complex material systems with ease.

4. Master the PBR Workflow
Modern texturing has increasingly shifted toward the PBR (Physically Based Rendering) workflow, which simulates realistic lighting and reflection behaviors. PBR textures generally include the following main maps:
Base Color: The color map of the model.
Normal Map: Simulates surface details such as bumps and wrinkles.
Roughness Map: Controls how shiny or matte a surface appears.
Metalness Map: Defines whether a surface has metallic properties.
When using PBR textures, ensure that each map is correctly applied to the respective channels and test it in rendering software (like Unreal Engine or Unity) to verify that the texture behaves well under different lighting conditions.
5. Optimize Textures for Better Rendering Performance
While the details in your textures determine the final rendering outcome, optimizing them for performance is equally important. Large texture files can slow down rendering, affecting your workflow. Therefore, consider optimizing your textures in the following ways:
Reduce texture resolution: Adjust texture resolution based on actual needs to avoid wasting storage space on excessively high-resolution textures.
Use texture compression: Compressing texture files reduces file size and enhances rendering speed.
Avoid unnecessary detail: Remove unnecessary details that don't significantly affect the visual result to save computing resources.
Texture optimization not only speeds up rendering but also improves overall workflow efficiency.
6. Practice and Seek Feedback in Projects
The best way to learn 3D texturing is through practice. Applying the techniques you've learned to real-world projects will help you refine your skills and improve your results. During your work, you may encounter challenges such as texture distortion or lighting issues. By iterating and responding to feedback, you’ll be able to resolve problems and eventually create high-quality textures.
If you're looking for high-quality texture resources to accelerate your projects, check out Relebook. It offers a wide range of 3D textures that can help you achieve better visual effects in your modeling work.
By following these steps, you’ll be well on your way to mastering 3D texturing. From understanding basic concepts to optimizing textures for better performance, each step will contribute to your ability to create high-quality, realistic textures. I hope this guide will help you take your texturing skills to the next level and improve your 3D modeling projects.

