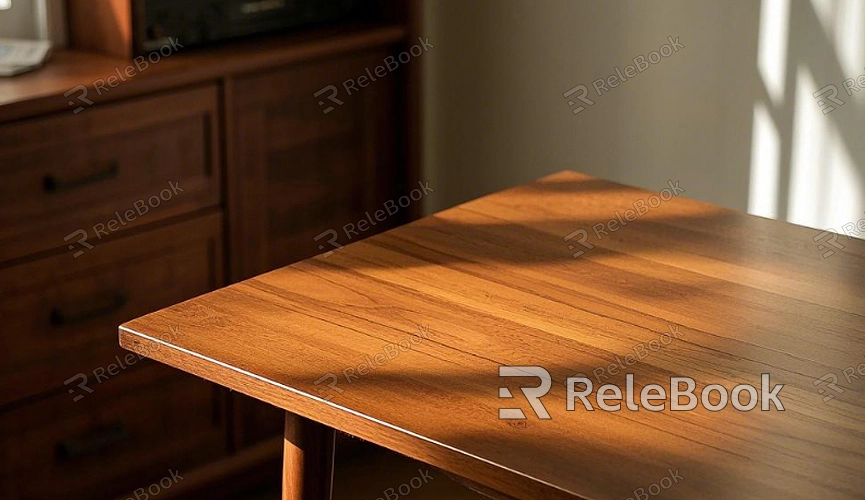
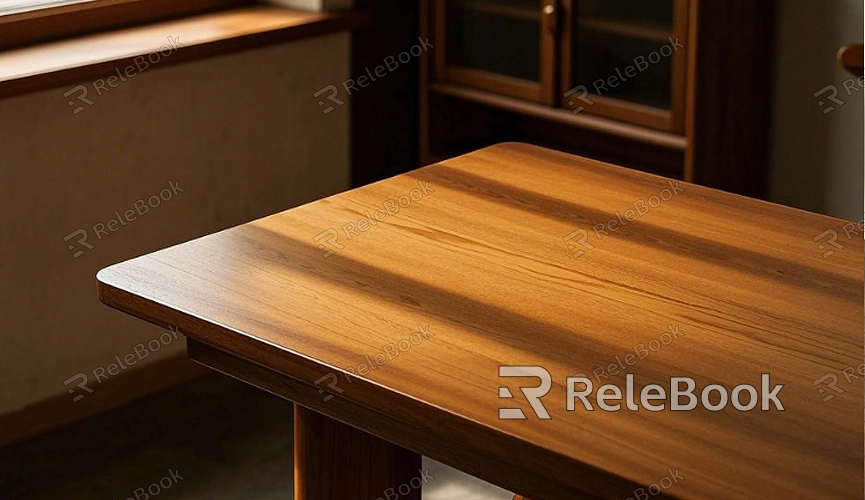
How to Make a Realistic Wood Table Texture in Blender?
Creating realistic textures in Blender is essential for achieving a professional look in your 3D models. The process of creating a wood texture goes beyond just applying a pre-made texture—it involves simulating the fine details of wood grain, lighting, and the subtleties that make wood look truly natural. In this article, we will walk you through the essential steps to create a realistic wood table texture in Blender.

Getting Started with the Scene
The first step to creating a realistic wood texture for a table is to set up your Blender scene properly. Before diving into the materials and textures, ensure that you have a basic 3D model of your table. If you don’t have a model yet, you can create one by starting with a simple cube and modifying its shape to resemble a tabletop and legs. Focus on adding enough detail to the model that it can showcase the texture realistically.
Once your model is ready, set up a clean workspace with appropriate lighting and camera angles to help you visualize the texture you are about to create. A three-point lighting setup is often a good choice for showcasing textures, as it will provide consistent lighting and prevent harsh shadows that could obscure the fine details.
Applying a Base Color Texture
The first major step in creating a realistic wood texture is applying a base color to the table. A wood table has inherent color variation due to the grain, knots, and natural patterns found in different types of wood. While you can use a pre-made texture, it’s always a good idea to create your base color to get more control over the look of the wood.
In Blender’s shader editor, begin by adding a Principled BSDF shader to your material and connect a Texture Image node for your base color. If you’re working with a high-resolution wood texture image, you can import that directly into the node. Otherwise, you can create a procedural texture using a noise texture or Voronoi texture to simulate the wood grain pattern. These nodes allow you to create a highly detailed texture that mimics the irregular patterns of wood.
To make your wood texture look more natural, consider adjusting the color and contrast of the texture. Real wood is rarely one solid color—it has subtle shifts from light to dark that give it depth. Tweak the colors to reflect the type of wood you want to create, whether it's a rich dark walnut or a lighter oak finish.

Simulating Wood Grain
Wood grain is one of the most crucial aspects of a realistic wood texture. It’s what differentiates a flat, boring surface from a lifelike wooden tabletop. In Blender, you can create the appearance of wood grain by using a combination of procedural textures and mapping techniques.
Start by adding a Wood Texture node in the shader editor. This built-in texture node is specifically designed to simulate the appearance of wood, with realistic grain patterns, rings, and striations. However, you’ll need to adjust the settings for the wood texture to fit your model. Play around with the scale and detail settings to get the look you want. Higher scale values will create larger grains, while lower values will produce finer, more intricate details.
To make the wood grain more convincing, combine the wood texture with a bump map or normal map. These maps simulate small variations in the surface to create the illusion of depth and texture without adding actual geometry. Connect the output of your wood texture to the Bump node, and adjust the strength to your liking. This will give your wood table an added layer of realism, as the light will interact with the surface as it would with real wood.
Adding Bumps, Scratches, and Imperfections
No real wooden surface is perfectly smooth. To add realism, you should include minor imperfections like scratches, dents, and knots. These imperfections help break up the regularity of the grain and make the table appear used and well lived in. In Blender, this can be done by creating a detailed bump map or displacement map.
To simulate scratches, you can use a noise texture or grunge map. Connect this to the bump node to create subtle variations in the surface. You can also add a color ramp to fine-tune the contrast and intensity of the scratches. For deeper gouges or dents, consider using a displacement map to create real geometry changes rather than just visual bumps.
Another technique for adding imperfections is to manually paint details onto the texture. Blender’s texture paint mode allows you to paint scratches, dents, and other imperfections directly onto the model’s surface. This hands-on approach can be especially helpful when you need to fine-tune specific areas.
Fine-Tuning the Wood Table’s Reflectivity and Roughness
The way light interacts with the surface of your wood table plays a significant role in how realistic the material appears. Wood is not a fully reflective material like metal, but it does have a slight sheen due to its smooth finish. To simulate this effect, you need to adjust the roughness and specular settings in your shader.
Set the specular value to around 0.5, which will simulate a balanced amount of light reflection. Next, adjust the roughness to control how sharp or diffuse the reflections are. A rougher surface will have softer reflections, while a smoother one will have sharp, glossy highlights. You can also add a subtle variation in roughness across the surface by using a noise texture or Voronoi texture to drive the roughness value. This will make the wood look more natural by introducing slight inconsistencies in its smoothness.
Lighting and Rendering the Wood Table
Once you’ve applied the base color, grain, and imperfections, the next step is to ensure that your wood table looks realistic under different lighting conditions. The right lighting setup can bring out the depth and texture of the wood, making the grain and imperfections stand out more effectively.
Use an HDRi image for environmental lighting, which will create realistic reflections and lighting interactions on the wood surface. HDRi images are high-dynamic-range images that capture realistic lighting and reflections from real-world environments. When paired with a good three-point lighting setup, they can significantly improve the final render’s look.
Finally, adjust the render settings in Blender to ensure the final output is as realistic as possible. Use path tracing for your render engine, and adjust the samples to get a noise-free image. If your scene contains many reflective surfaces or complex lighting, increasing the samples will help reduce noise and improve the overall quality of your render.
Post-Processing the Wood Table Texture
After rendering the wood table, post-processing can further enhance the final image. Use Blender’s Compositor to make adjustments to the brightness, contrast, and saturation, and even add subtle effects like lens flares or blooms. These effects can help add a sense of realism and atmosphere to your rendered scene.
Additionally, using color grading can help fine-tune the colors of the wood to match the intended mood or environment of the scene. For example, a warmer tone might suit a cozy, rustic interior, while cooler tones might work better in a modern, minimalistic space.
Creating a realistic wood texture for a table in Blender involves a combination of modeling, texturing, lighting, and rendering techniques. By carefully considering elements like wood grain, imperfections, reflectivity, and lighting, you can achieve a realistic and visually appealing result. With the steps outlined in this article, you should now have a better understanding of how to craft a convincing wood texture that looks as though it’s made from real wood, ready to be incorporated into any 3D scene.
For those looking to save time or add even more realism to their projects, you can download high-quality 3D models and textures from the Relebook website, where a wide selection of ready-to-use assets can help you elevate your designs.
FAQ
Can I use pre-made wood textures for my Blender project?
Yes, you can use pre-made textures for your wood table, but creating your own allows for greater control and customization. Pre-made textures are often useful for quick prototyping, but creating procedural textures or painting your textures can result in more realistic and unique results.
How do I add more detail to my wood texture?
You can add more detail to your wood texture by using a combination of bump maps, normal maps, and high-resolution images. Additionally, procedural textures like noise or Voronoi can help you create intricate grain patterns and imperfections that give your wood texture a more realistic feel.
Should I use a displacement map for the wood texture?
Displacement maps are great for adding physical depth to your model, but they can increase render times. If you're aiming for a high level of detail and realism, a displacement map can work well. However, if you're aiming for a quicker render, a bump or normal map may be a better option.
How can I make the wood texture look more weathered?
To create a weathered wood effect, add dirt, scratches, or even peeling paint to the texture. This can be done with additional layers in your texture painting or by using a mix of procedural textures for grime and wear. Adjusting the roughness and adding subtle discoloration to the surface can also help achieve a more aged look.
What lighting setup is best for rendering a wood table?
A three-point lighting setup combined with an HDRi image for environmental lighting provides the best results for wood textures. This setup will evenly illuminate your scene while providing natural reflections and highlights that enhance the texture of the wood.

