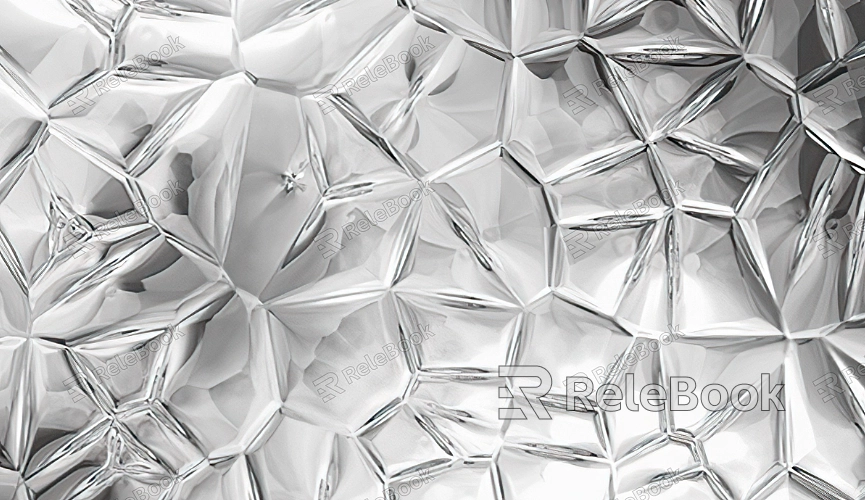
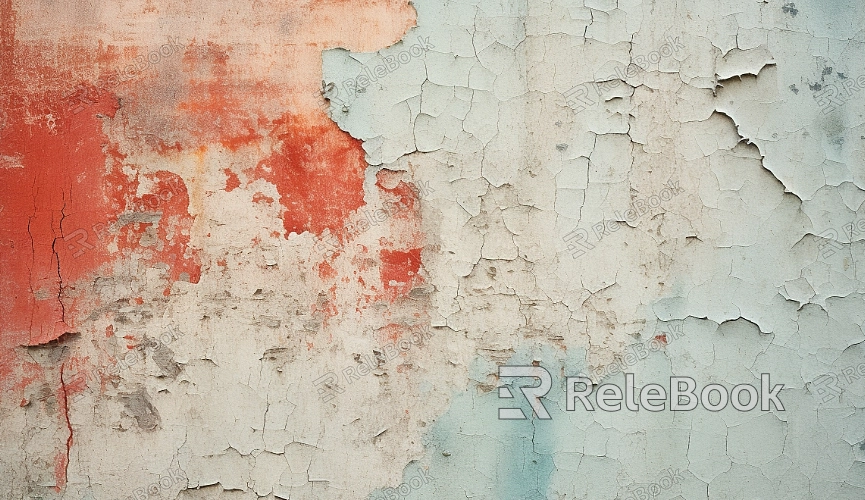
How to Display Texture Map in 3D Portfolio
When showcasing complex 3D models, the application and effectiveness of texture maps often play a crucial role in determining the quality of the work. Whether in interior design, character modeling for games, or architectural visualization, the way textures are displayed can greatly enhance the realism and impact of a project. Today, 3D software like Blender, Maya, and 3ds Max offers designers powerful tools to create and apply textures. How you present these textures in your portfolio can significantly influence how your work is perceived. In this article, I’ll share some tips and techniques to help you effectively showcase texture maps in your 3D portfolio, boosting the visual impact of your work.

1. Choose the Right Type of Texture Map
Selecting the appropriate type of texture map is essential when presenting 3D work. Different texture types can affect the overall visual quality and display outcome of the model.
Diffuse Map (Base Color Map): This is the most common type of texture, defining the base color of a model's surface. When showcasing, ensure that the color map details are sharp and layered to bring out depth.
Normal Map: Normal maps add surface detail and simulate the appearance of bumps and wrinkles on a model. This texture is particularly useful for enhancing the model's detail, making it appear more dynamic under different lighting conditions.
Roughness/Specular Map: These maps control the smoothness and reflective quality of materials. Properly using these maps can make materials look more realistic by accurately displaying how they react to light.
Opacity Map: Used to control the transparency of materials, this texture is particularly effective for elements like glass or windows.
2. Utilize High-Quality Texture Resources
The quality of your textures directly impacts the visual appeal of your 3D work. If you don’t have the time or resources to create your own textures, using high-quality texture libraries is an efficient alternative.
Texture Libraries: Platforms like Relebook provide a wide range of high-quality textures that designers can download and use. These libraries offer diverse and professionally-made textures, saving you significant time and effort. You can browse and access them here: Relebook Textures.
Custom Texture Creation: If you require unique textures for your project, consider creating them yourself or photographing the textures you need. Tools like Photoshop and Substance Painter are invaluable for creating and editing textures tailored to your specific project.
3. Optimize How Texture Maps are Displayed
How you display texture maps is crucial for highlighting their details and enhancing the overall visual quality of your work.
Rendering Settings: Choosing the right lighting and environmental settings during rendering can make textures appear more three-dimensional and realistic. Adjust the light source's position and intensity to ensure textures look good under various lighting conditions.
Texture Mapping (UV Mapping): Properly applying texture mapping to your model is fundamental for achieving accurate results. Make sure the UV unwrap is clean, without stretching or distortion, to avoid texture errors.
Texture Resolution: Always use high-resolution textures for showcasing your work. This ensures that the details remain crisp, especially when showing close-up views. For close-ups, the resolution of your textures is critical to maintain clarity.

4. Display Different Materials and Effects
When presenting textures in your portfolio, it’s equally important to focus on material settings. Adjusting material properties can make textures appear more vibrant and realistic.
Adjusting Roughness and Reflectivity: Different materials have varying reflectivity. For example, metal surfaces have a strong reflective sheen, while wood appears more matte. Adjust these properties in your materials to improve the realism of your textures.
Transparency and Refraction: For transparent materials such as glass or water, adjust the material’s transparency and refraction settings to reflect the texture's details and light interactions accurately.
5. Post-Processing Enhancements
Sometimes, textures might still have minor flaws after rendering. Post-processing can further enhance the display of textures.
Image Editing Software: After rendering, you can use image editing tools like Photoshop to adjust the texture’s color, contrast, and brightness, making it appear more vivid and dynamic.
Detail Fixes: Check for visible seams or stretching in your textures and fix them using editing software. This ensures a smooth and polished final presentation.
6. Provide Panoramic or Interactive Displays
To allow potential clients or employers to better understand your work, consider displaying textures through panoramic or interactive views.
Panoramic Images: Render a 360-degree panoramic image that allows viewers to view the model and textures from every angle. This approach emphasizes how the model and textures respond to different lighting conditions.
Interactive Displays: By using engines like Unity or Unreal Engine, you can create interactive displays where users can freely rotate and zoom in on your model, giving them a better understanding of the texture details.
7. Organize and Present Your Portfolio Effectively
Lastly, how you organize your textures and models into a portfolio plays a significant role in showcasing your skills.
Clear Display Structure: Ensure your portfolio is logically organized, categorized by project type, and includes explanations of the textures used and their role in each project. Include brief text descriptions to show your creative process and how the textures enhance the design.
Diversity of Textures: Make sure your portfolio includes a variety of textures and materials, covering different applications such as interior design, character modeling, and product design. This will demonstrate the full range of your expertise.
By carefully selecting and displaying texture maps, you can significantly improve the quality of your 3D portfolio, making it more impactful and memorable. From choosing the right texture types, utilizing high-quality resources, optimizing rendering settings, and fine-tuning materials to post-processing and showcasing interactive displays, every step plays a crucial role in presenting your work in the best possible light. I hope these tips help you enhance your design projects and portfolio. If you’re in need of top-quality 3D texture resources, platforms like Relebook offer a wealth of options that can elevate the visual appeal of your work and streamline your creative process.

