How to Create a Glossy Wood Texture in Blender?
Creating a glossy wood texture in Blender involves a combination of knowledge about materials, shaders, and texture mapping. In this article, we'll explore the process step by step, from setting up the basic scene to fine-tuning the glossy effect that gives the wood texture a shiny, polished look. Let’s dive into the process and learn how to achieve this highly sought-after material in Blender.

Setting Up the Blender Project
Before you start creating your glossy wood texture, it’s important to ensure that your Blender project is set up correctly. Open Blender and start by creating a new project or scene. Make sure that the rendering engine is set to Cycles, as it offers more realistic rendering for materials like wood with glossy effects. In the "Render Properties" tab, choose "Cycles" as your engine, as this will allow for better light interaction and reflection handling.
Adding a Base Object
To apply a wood texture, you first need a model that will display the texture. Start by adding a simple plane or cube, depending on what you're looking to achieve. A plane works well for surfaces like tables or floors, while a cube could represent a wooden block or furniture. You can create a new object by pressing "Shift + A" and selecting the object you want to work with.
Once the object is in place, scale it according to the size you need in your scene. If you're making a tabletop, scale the plane to fit the dimensions you have in mind. It's crucial to ensure the object is properly sized before applying the texture.

Texturing the Wood
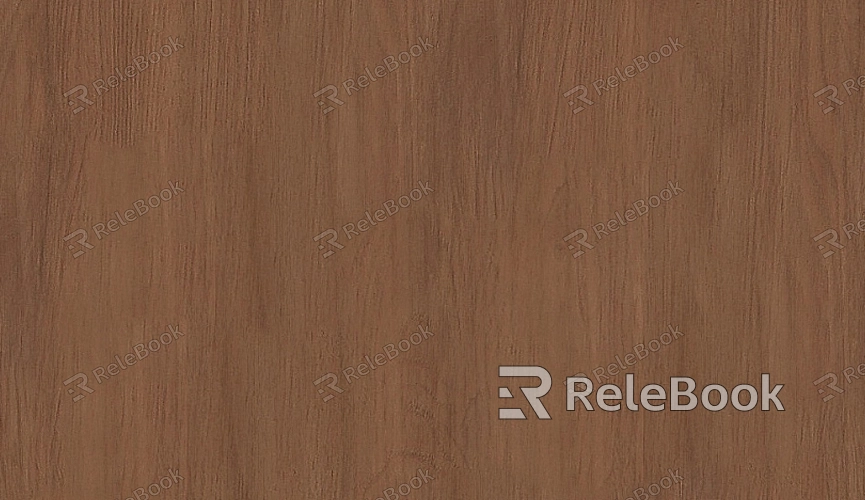
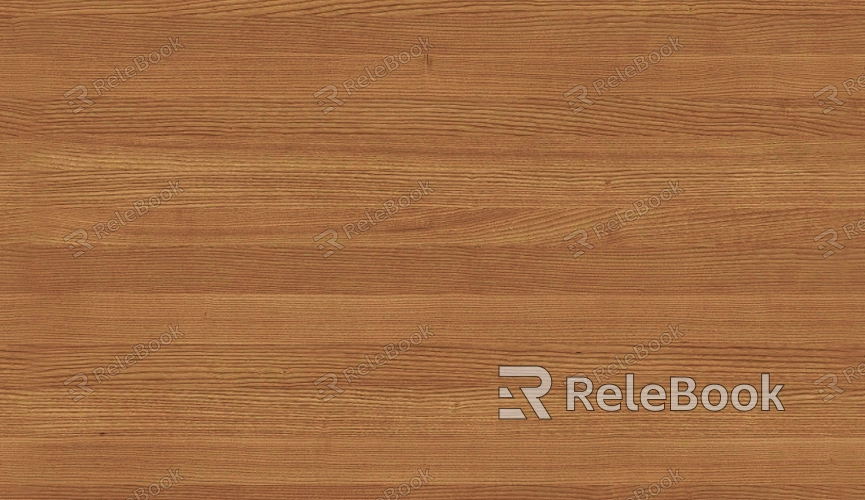
The core of the glossy wood effect lies in the texture itself. You can either create your wood texture or download one from a texture library. In Blender, the easiest method for applying a texture is by using the Shader Editor. To get started, go to the "Shading" workspace where you can view and edit materials.
To begin, add a "Principled BSDF" shader to your object. This shader will be the foundation of the glossy effect, as it provides realistic lighting and surface reflections. You can connect this shader to the material output of your object.
Next, to add the wood texture, use an "Image Texture" node. In the Shader Editor, press "Shift + A" and choose "Texture" and then "Image Texture." Open the wood texture you’ve selected and connect the node to the "Base Color" input of the Principled BSDF shader. This will give the object a wood appearance.
If you're creating your wood texture, you can either paint the texture using Blender’s paint tools or use procedural textures like the "Noise" texture for more control. The noise texture can help you simulate wood grain and variation, giving your wood a more natural and varied appearance.
Adjusting the Glossy Effect
Now that the base texture is applied, it’s time to fine-tune the glossy effect. The glossiness in a wood material is controlled by the "Specular" and "Roughness" parameters of the Principled BSDF shader. By adjusting these values, you can control how shiny and smooth the surface of the wood appears.
To achieve a glossy finish, reduce the "Roughness" value to make the wood surface smoother. Lower roughness values (close to 0.1 or 0.2) will create a glossy, shiny effect, while higher values (0.5 or more) will create a more matte surface. The "Specular" value controls how much light is reflected from the surface, and you can experiment with values around 0.5 to 1 for a more realistic glossy wood look.
Additionally, you may want to adjust the "Clearcoat" and "Clearcoat Roughness" settings in the Principled BSDF shader. The "Clearcoat" feature simulates an additional layer of gloss on top of the wood, adding depth and shine. A value of around 0.5 to 0.8 works well for a polished wood finish, and adjusting the roughness will control how sharp or diffused the reflections appear.
Adding Bumps or Normal Maps for Realism
While glossiness is important for achieving a shiny appearance, adding depth and surface detail can take your wood texture to the next level. To do this, you can apply a bump or normal map to simulate small imperfections on the wood’s surface.
In the Shader Editor, add a "Bump" node and connect it to the "Normal" input of the Principled BSDF shader. Then, use either a normal map or a bump map. If you’re using an image texture for the map, ensure that it has been created with the right level of detail and contrast to simulate the natural grain of the wood. Adjust the "Strength" of the bump node to get the desired effect.
If you don’t have a specific bump map for your wood texture, Blender’s procedural textures, such as "Noise" or "Voronoi," can be used to generate surface irregularities. These textures, when combined with the bump node, can help create realistic wood grain and surface detail.
Lighting and Rendering
Lighting plays a significant role in making your glossy wood texture appear realistic. Use a three-point lighting setup or an HDRi image for environmental lighting to get the best reflections and highlights on the wood surface. The HDRi image will provide soft, realistic lighting and reflections that will interact well with the glossy material.
When rendering your scene, make sure your "Samples" are set to a high value to avoid noise, especially when dealing with glossy materials. A value between 100 and 200 samples is usually sufficient for clean renders. For final output, consider adjusting the "Denoising" settings in the "Render Properties" tab to reduce noise while maintaining detail.
Final Adjustments and Export
Once you’ve achieved the desired glossy wood effect, take some time to make any final adjustments. This might include fine-tuning the color balance of your texture, adjusting the roughness, or tweaking the bump map strength. Be sure to review your render in different lighting conditions to ensure it looks realistic in all situations.
Once you're satisfied with your glossy wood texture, you can export the final result by rendering your scene and saving the image. You can also export the materials and textures for use in other projects by saving your Blender file or exporting the texture maps.
By following the outlined process, you can easily create highly realistic, glossy wood materials for your projects. With the proper settings and attention to detail, your 3D models will showcase lifelike wood textures that shine and reflect light beautifully. If you want to further enhance your designs, you can find a variety of 3D models and textures on the Relebook website to download and integrate into your work.
FAQ
How do I make the wood texture more glossy?
To make the wood texture more glossy, reduce the roughness value in the Principled BSDF shader and increase the specular value. You can also use the Clearcoat feature to add more shine.
Can I create a realistic wood texture without a texture image?
Yes, you can create a realistic wood texture using procedural textures like Noise and Voronoi in Blender. By carefully adjusting the scale and detail of these textures, you can achieve a natural wood appearance.
What’s the difference between a bump map and a normal map?
A bump map simulates surface detail by creating height variations, while a normal map provides more detailed, realistic surface normals for light to interact with, making it ideal for more complex textures like wood grain.
Why is my glossy wood texture appearing too rough?
If your wood texture looks too rough, check the roughness setting in the Principled BSDF shader. Reducing the roughness value will smooth the surface and make the texture shinier.
How can I achieve a shiny, polished wood look?
To achieve a shiny, polished wood look, lower the roughness value and use the Clearcoat feature in the Principled BSDF shader. Fine-tune the specular and clearcoat roughness settings to get the desired finish.

