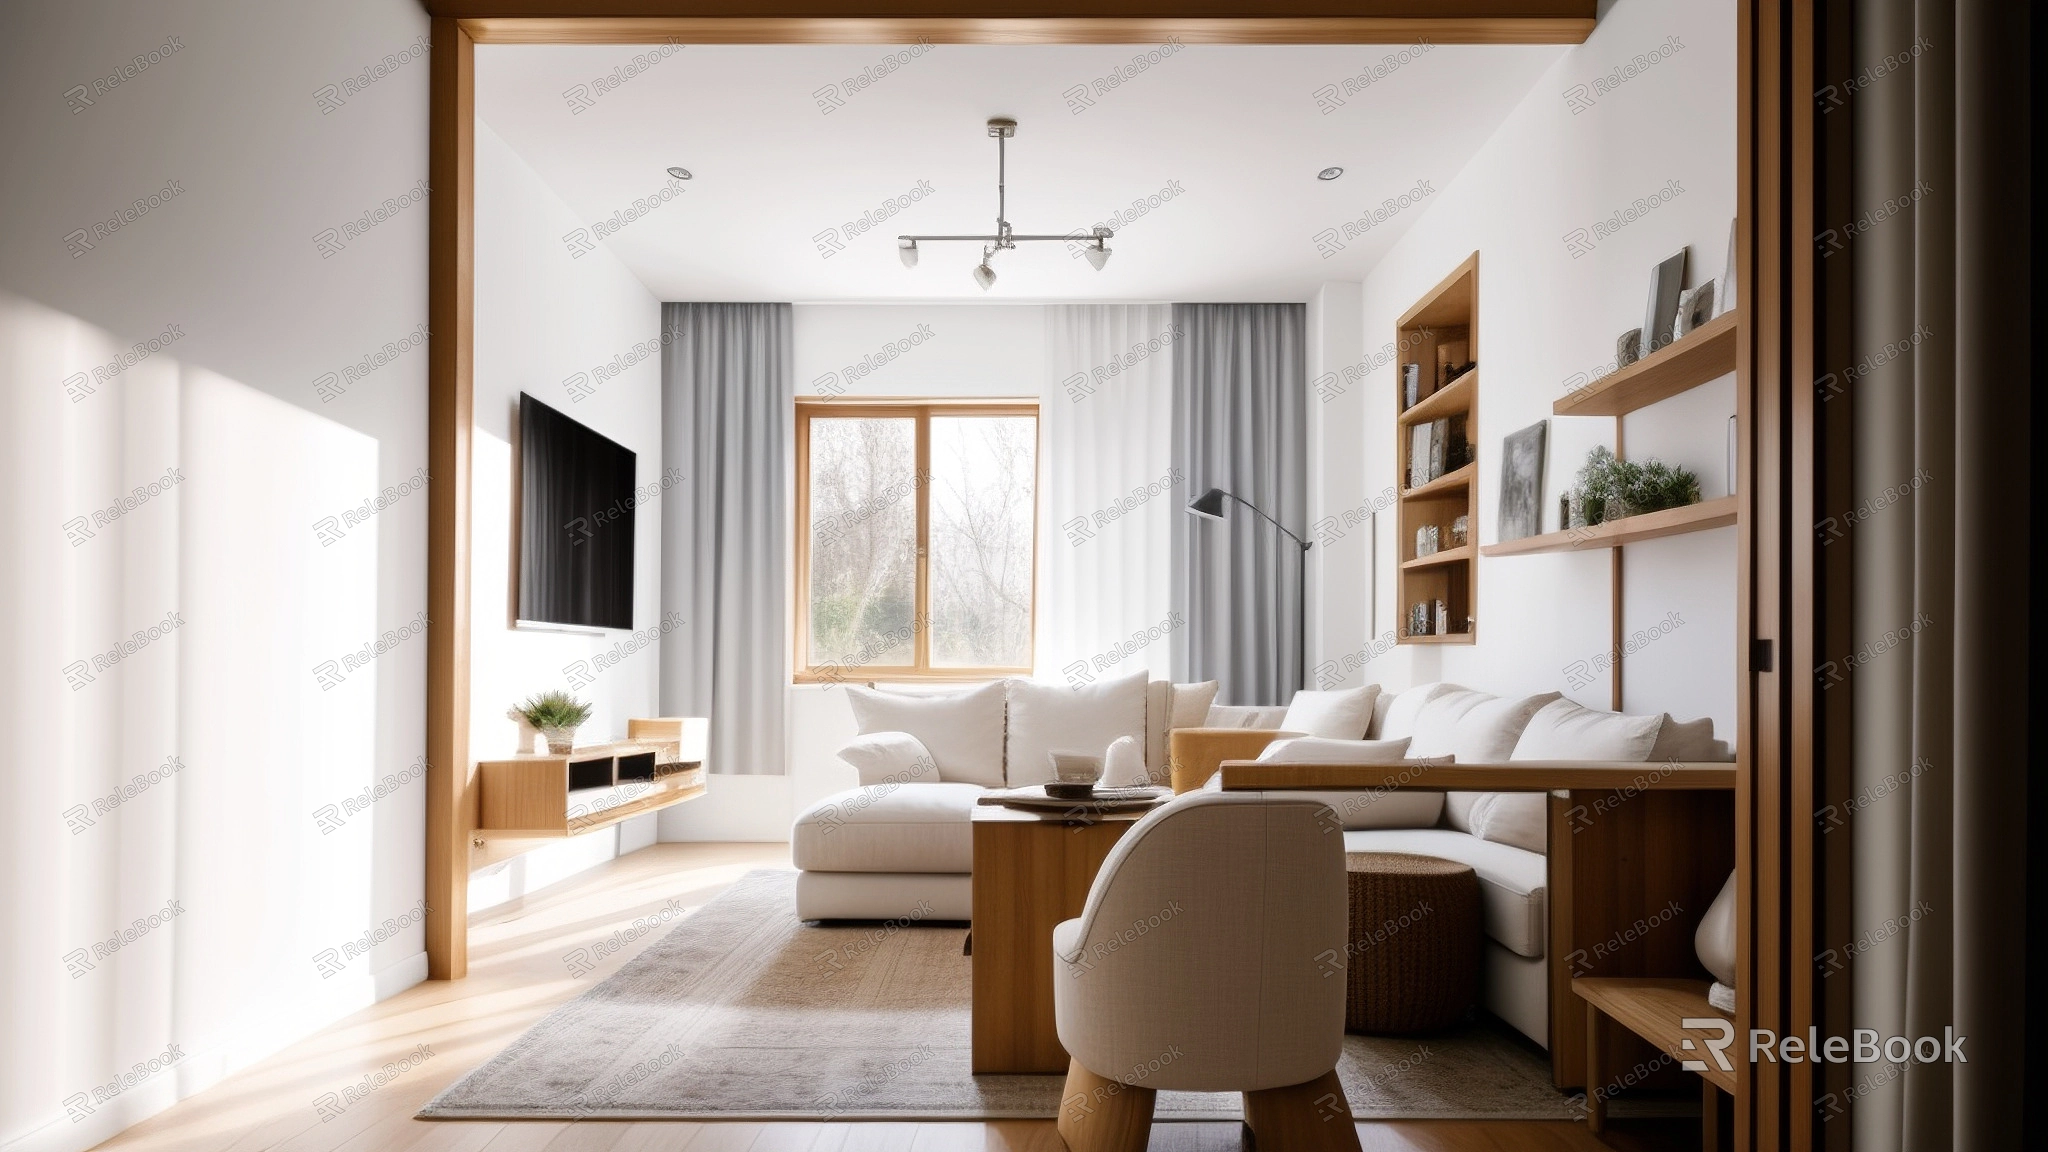
How to add texture to a 3D model’s ceiling?
To add texture to a 3D model’s ceiling, you can follow these steps:
Prepare the model: Ensure that the 3D model of the ceiling is ready for texture application. This includes having a clean and properly modeled ceiling surface.
Choose a texture: Select a suitable texture for the ceiling. This can be an existing texture from a library or a custom texture that you create.If you need it, I recommend downloading 3D textures from Relebook. There is no better choice than this.

UV unwrap the model: UV unwrapping is the process of creating a 2D representation of the 3D model’s surface. This step is necessary to properly apply the texture. Use UV mapping tools in your 3D modeling software to unwrap the ceiling model.
Apply the texture: Once the model is UV unwrapped, you can apply the chosen texture to the ceiling. This can be done by assigning the texture to the corresponding UV coordinates in your 3D modeling software.
Adjust the texture: Depending on the desired effect, you may need to adjust the scale, rotation, or placement of the texture on the ceiling. This can be done by manipulating the UV coordinates or using texture mapping tools in your software.
Fine-tune the material properties: To enhance the realism of the texture, you can adjust the material properties of the ceiling, such as reflectivity, roughness, or transparency. This step may require using the material editor in your 3D modeling software.
Render the scene: Once the texture and material settings are finalized, you can render the scene to see the textured ceiling in its final form. Adjust the lighting and camera settings as needed to achieve the desired result.
The specific steps and tools may vary depending on the 3D modeling software you are using. Consult the software’s documentation or tutorials for more detailed instructions on how to add texture to a 3D model’s ceiling.

