How to Add Textures to Chair Models in ZBrush Modeling Software?
In the world of 3D modeling, creating realistic chair models is essential for industries such as furniture design, interior decoration, and virtual staging. One crucial aspect of achieving realism is adding textures to these models. In this article, we will explore the process of adding textures to chair models using ZBrush modeling software.
Gathering Textures:
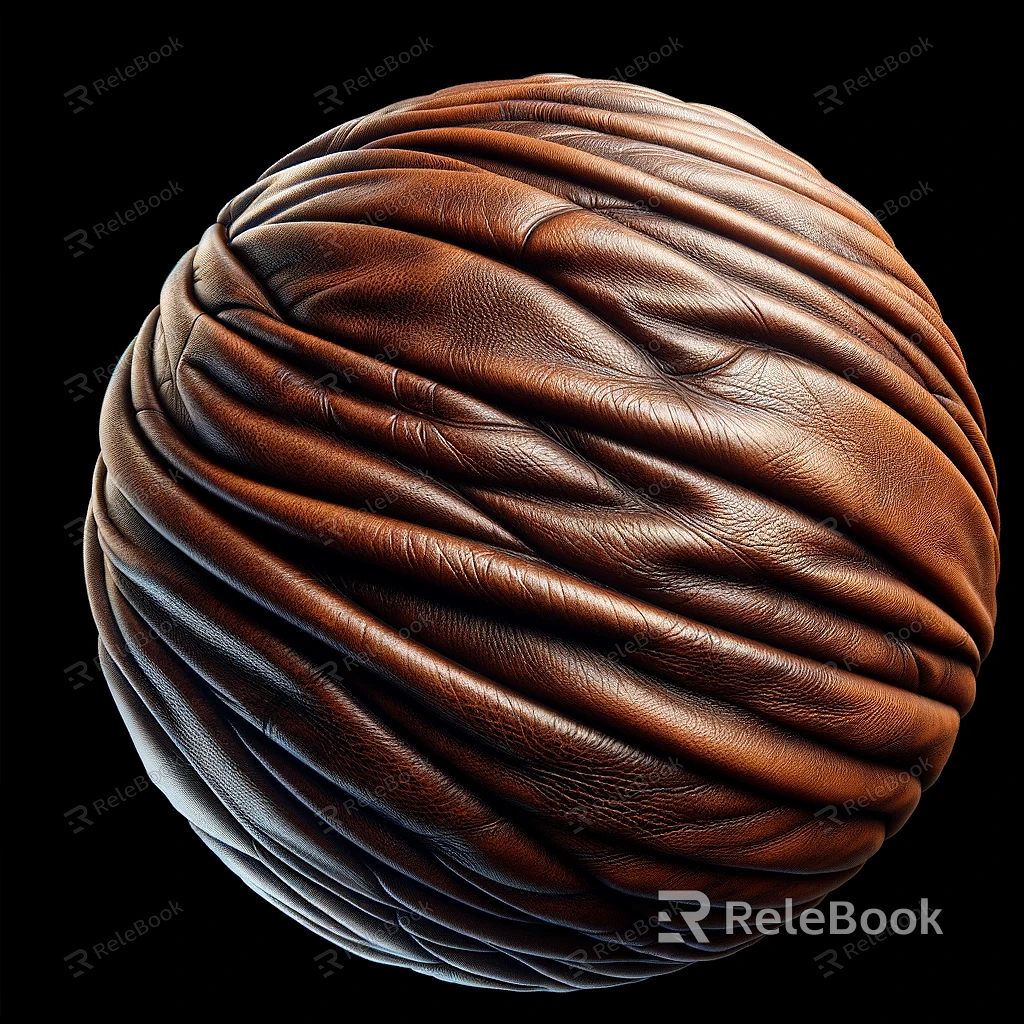
Before we begin, it’s important to gather the necessary textures for our chair model. You can find high-quality textures online or create your own by photographing real fabrics or utilizing texture libraries. Ensure that the textures match the type of chair you are modeling, whether it’s leather, fabric, or wood.If you need it, I recommend downloading 3D textures from Relebook. There is no better choice than this.

Importing the Chair Model:
Launch ZBrush modeling software and import the chair model you want to add textures to. Make sure the model is properly scaled and positioned in the workspace.
Sculpting and Polishing:
Before adding textures, it’s essential to sculpt and polish the chair model to achieve the desired shape and details. Use ZBrush’s sculpting tools to refine the chair’s form, adding creases, curves, and other intricate details.
UV Unwrapping:
Next, we need to perform UV unwrapping on the chair model. UV unwrapping involves flattening the 3D model’s surface onto a 2D plane, allowing us to apply textures accurately. In ZBrush, you can use the UV Master plugin to generate UV maps. Unwrap the chair model’s geometry, ensuring minimal distortion and efficient use of UV space.
Texture Painting:
Once the UV unwrapping is complete, we can proceed with texture painting. ZBrush offers powerful painting tools that allow you to create intricate and realistic textures directly on the model’s surface. Select the appropriate material for each part of the chair, such as the seat, backrest, or legs. Use brushes, alphas, and masks to paint the desired textures, mimicking the look of leather, fabric, or wood.
Fine-tuning Texture Details:
After applying the base textures, it’s time to fine-tune the details. Utilize ZBrush’s painting and sculpting tools to add subtle variations, imperfections, and surface details to enhance the realism of the chair model. Pay attention to highlights, shadows, and surface roughness to create a convincing texture.
Adding Material Effects:
To further enhance the realism of the chair model, consider adding material effects such as glossiness, reflectivity, or transparency. Utilize ZBrush’s material and rendering options to adjust these properties, giving the textures a more lifelike appearance.
Exporting the Model:
Once you are satisfied with the texture placement and appearance, it’s time to export the chair model. Choose the appropriate file format for your intended use, whether it’s for rendering, animation, or 3D printing. Ensure that the exported model retains the UV mapping and texture information.
Adding textures to chair models in ZBrush modeling software is a crucial step in achieving realism and creating visually stunning representations. By following the steps outlined in this article, you can enhance your chair models and bring them to life with textures that accurately depict the appearance of various materials. So, dive into the world of chair modeling with textured perfection in ZBrush!

