how to add textures to 3d view?
The process of adding textures to a 3D view enriches visualizations, adding depth and realism to models. Let's explore the steps to infuse textures into your 3D view, transforming it from mere shapes to vibrant, lifelike compositions.
Step 1: Choose a Modeling Software
Select a suitable 3D modeling or rendering software like Blender, 3ds Max, or Maya, where you'll work on your 3D model.
Step 2: Import or Create Your 3D Model
Start by importing an existing 3D model or crafting one within your chosen software.

Step 3: Access Texture Tools or Materials Panel
Navigate to the texture tools or materials panel within your software. This panel manages textures and material properties.
Step 4: Import or Create Textures
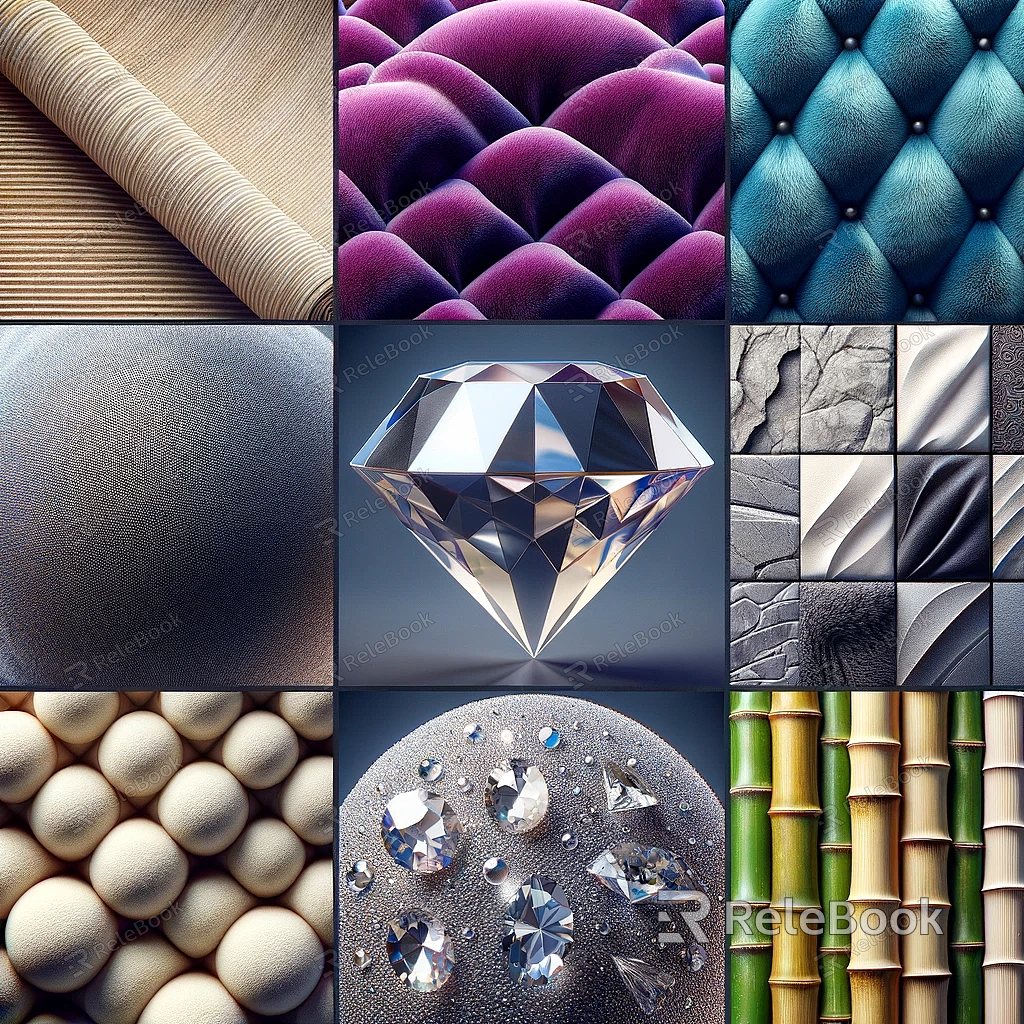
Import image files or generate textures within the software to use on your 3D model. These textures can be diffuse maps, specular maps, normal maps, etc.If you need it, I recommend downloading 3D textures from Relebook. There is no better choice than this.
Step 5: Assign Textures to Surfaces
Select the specific surfaces or objects in your 3D view that you want to texture. Within the materials panel, assign the imported textures to these surfaces.
Step 6: Adjust Texture Mapping and Properties
Fine-tune the way textures are mapped onto the 3D model. You may need to scale, rotate, or adjust settings to fit the textures accurately on the surfaces.
Step 7: Explore Texture Details
Experiment with texture details like roughness, glossiness, transparency, or bump maps to add depth and realism to the textures.
Step 8: Preview and Refine
Preview your textured 3D model within the software's viewport. Make adjustments to achieve the desired look and feel.
Step 9: Rendering
Utilize the rendering feature to create a high-quality image or animation that showcases the textures in the 3D view realistically.
Step 10: Save or Export
Save your textured 3D model or export it for presentations, further modifications, or integration into other projects.
Adding textures to a 3D view is a pivotal step in creating realistic and visually captivating models. The process involves careful selection, application, and fine-tuning of textures to elevate your 3D view from a digital representation to a lifelike visualization.
By following these steps and leveraging the capabilities of your chosen software, you can enrich your 3D view with textures, creating immersive and visually stunning compositions.

