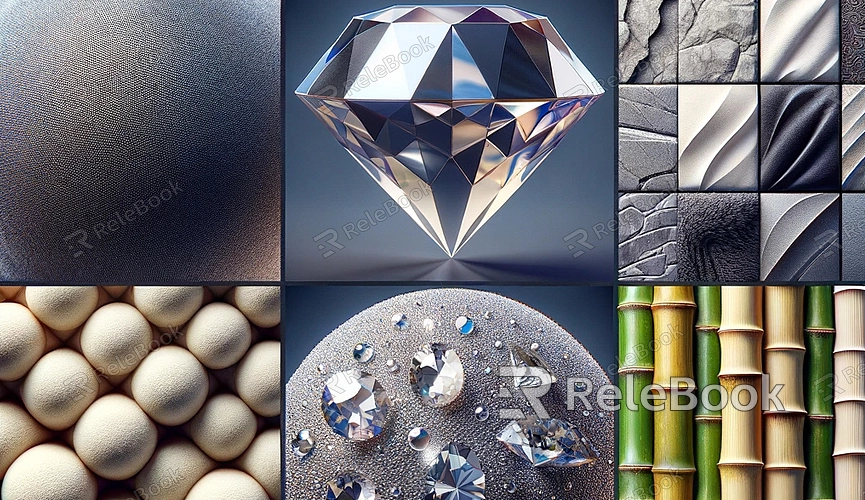
Exploring the Use of Wall Textures in Blender?
Blender is a powerful 3D modeling and rendering software that offers a wide range of texture tools, allowing users to create realistic scenes with intricate details. This article will guide you on how to use wall textures in Blender to enhance the realism and details of your scenes.
I. Preparation
Before we begin, make sure you have the latest version of Blender installed and are familiar with the basic interface and toolbar. Additionally, you will need to gather some wall texture materials, which can be downloaded from the internet or captured through your own photographs.If you need it, I recommend downloading 3D textures from Relebook. There is no better choice than this.

II. Importing Texture Materials
Open Blender and create a new scene.
Select the “Materials” tab on the left-hand toolbar.
Click the “New” button to create a new material.
In the material properties panel, navigate to the “Textures” tab and click the “New” button to create a new texture.
In the texture properties panel, choose the “Image Texture” type and click the “Open” button to import your prepared wall texture material.
III. Applying Texture to the Wall
In the 3D view, select the wall face where you want to apply the texture.
Switch to “Edit Mode” and select all the vertices of the wall face.
On the left-hand toolbar, select the “Textures” tab.
In the texture properties panel, choose the wall texture you imported earlier.
Adjust the texture’s scale, rotation, and tiling to fit the dimensions and proportions of the wall.
In the “Materials” tab, fine-tune the texture’s brightness, contrast, and color properties to achieve the desired effect.
IV. Rendering and Adjustments
Switch to “Render Mode” or “Material Preview Mode” to see how the texture appears in the scene.
Depending on your needs, further adjust the texture parameters such as reflection, refraction, and lighting to enhance the realism of the wall.
Click the render button to generate the final rendered image.
V. Additional Tips and Considerations
When importing texture materials, ensure you choose high-quality image files for better results.
Experiment with different texture blending modes, such as overlay or multiply, to create diverse wall effects.
If you need to add details to the wall, utilize Blender’s painting tools or texture mapping techniques.
Learning and mastering Blender’s material and texture node systems can further enhance your ability to create wall textures.
By effectively utilizing Blender’s texture tools, you can easily add realistic wall textures to your scenes, enhancing their realism and intricacy. We hope this article has been helpful in guiding you through the process of using wall textures in Blender. Happy creating!

