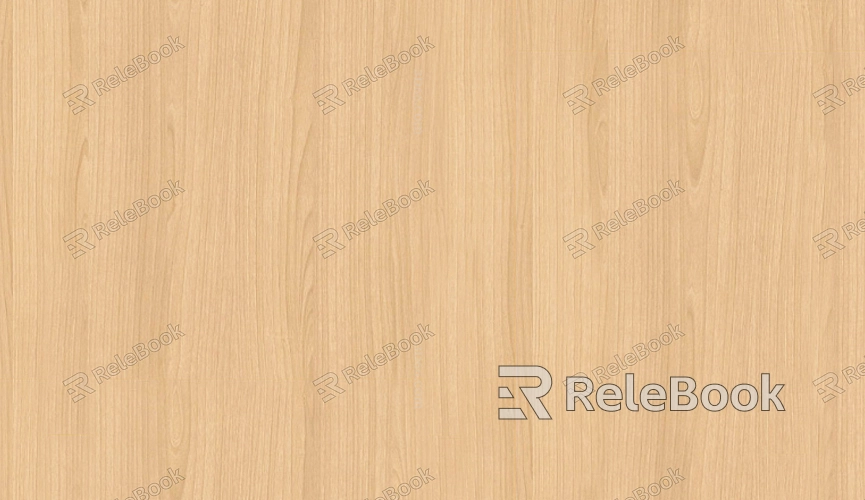
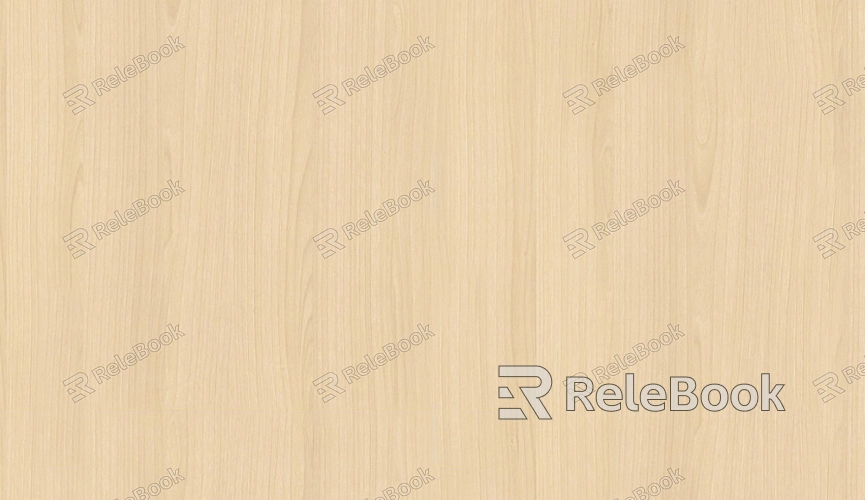
How to Create a Light Wood Texture in Illustrator?
Creating a light wood texture in Adobe Illustrator can be rewarding yet intricate. Whether you're designing a website background, a product label, or any other graphic design element, mastering the art of simulating natural textures like wood can add a layer of authenticity and visual interest to your projects. This article will guide you through the steps to create a light wood texture using Illustrator's versatile tools. We will also touch on some tips to enhance your design and answer some frequently asked questions.

Preparing Your Workspace
Before diving into the creation process, it’s essential to ensure your workspace is set up properly. Open Adobe Illustrator and create a new document with the dimensions suited to your project. Setting up the document’s resolution (300 DPI for print or 72 DPI for web) will help you maintain the quality of your texture throughout the design process.
Next, make sure that you have your essential tools readily available, such as the Pen Tool, the Gradient Tool, and the Appearance panel. These tools will be key in constructing your light wood texture, so having them easily accessible will save you time.
Creating the Base Shape for the Wood
Start by creating the base shape that will serve as the background for your wood texture. Use the Rectangle Tool to draw a long rectangular shape that will act as the foundation of your wood panel. This shape can be any size depending on your project needs, but for simplicity’s sake, let’s start with a basic, large rectangle.
Once your shape is created, select it and apply a base color that mimics light wood. A soft, light brown, or beige will work well as a starting point. You can fine-tune the color later in the process, but for now, focus on getting the basic shape set.

Creating Wood Grain Texture with the Pen Tool
The most important feature of any wood texture is the grain. To create the appearance of wood grain, use the Pen Tool to draw a series of organic, slightly curved lines that will represent the wood’s natural texture. Keep in mind that wood grain can be varied—some woods have straight lines, while others have more wavy and intricate patterns.
Start by drawing lines that flow from one side of your rectangle to the other. You can create multiple lines, each with different curves and thicknesses, to give the effect of varying grain patterns. Afterward, adjust the stroke weight to make the lines appear thinner or thicker depending on the look you want to achieve. Use a dark brown color for the grain lines to contrast with the lighter background of the wood.
Adding Depth with Gradients
Once the basic grain texture is in place, it’s time to add depth to the wood. This is where Illustrator's Gradient Tool becomes invaluable. Select your background shape and open the Gradient panel. Apply a linear gradient that transitions from a lighter brown to a darker brown. This gradient will create the illusion of light and shadow, making the wood texture appear more three-dimensional.
You can adjust the angle of the gradient to control how the light falls across the wood. A gradient from top to bottom works well to simulate light falling from above, but you can experiment with different angles to see what produces the most realistic result.
Adding Details with Brush Strokes
To further enhance the wood texture, use Illustrator’s Brush Tool to add subtle details that mimic the imperfections found in real wood. Choose a scatter brush or create your custom brush with a texture that simulates wood knots or additional grain variations. By applying these brush strokes over the existing texture, you’ll introduce more organic elements to the design, making the wood appear more natural.
When using the Brush Tool, adjust the opacity and stroke size to achieve a more subtle effect. You don’t want to overwhelm the texture with too many details, but just enough to provide realism and complexity.
Refining the Wood Texture
At this point, you have the basic light wood texture in place, but it might look too flat. To give it a more polished, realistic appearance, refine the texture by making slight adjustments to the colors, lines, and gradients. Use the Color Picker to slightly adjust the hues of your base color, grain lines, and shadows, ensuring that the overall tone remains consistent and realistic.
Additionally, you can add some noise or texture using Illustrator’s Effects menu. Apply a subtle texture effect to the wood to simulate the small grains and natural imperfections that real wood has. This step adds a layer of authenticity, transforming the vector shape into a more lifelike representation of light wood.
Final Touches and Exporting Your Design
Once your light wood texture looks realistic and polished, you can finalize your design by adding any finishing touches. You might want to experiment with slight variations in grain pattern, color gradients, or the addition of highlights or shadows to create more depth and dimension.
After you’ve completed your design, it’s time to export it for use in your project. Illustrator allows you to export your design in various formats such as PNG, JPG, or SVG, making it easy to integrate the wood texture into other design projects.
Creating a light wood texture in Illustrator is a fantastic way to add a natural, organic element to your designs. By using the Pen Tool, Gradient Tool, and brush strokes, you can craft a convincing texture that mimics real wood with depth and variation. Don’t forget to refine your design by adjusting colors, adding subtle details, and experimenting with texture effects to create the most realistic result.
With these steps, you can confidently create wood textures that enhance the quality of your projects. For even more design inspiration, you can explore a wide range of 3D models and textures available for download on the Relebook website, which can further elevate your creative process.
FAQ
Can I create a wood texture using only gradients in Illustrator?
While gradients are an important part of the process, they alone may not be enough to create a fully convincing wood texture. The combination of organic lines drawn with the Pen Tool, gradient shading, and additional details through brush strokes will help achieve a more realistic wood look.
How can I make my wood texture look more realistic?
To make your wood texture more realistic, focus on adding subtle imperfections and details such as knots, subtle variations in color, and additional layers of texture. Experiment with Illustrator’s brush tools and texture effects to create a more organic feel.
What if I want to create a dark wood texture instead of a light one?
The process remains largely the same, but you’ll want to adjust the base color to darker browns or even rich reds and purples, depending on the type of wood you're trying to emulate. You can also use darker shades for the grain lines and shadows.
Can I use this technique for other types of textures?
Yes, the techniques used to create a wood texture in Illustrator can be adapted to simulate other organic textures such as stone, fabric, or leather. Simply adjust the color palette, lines, and effects to suit the texture you wish to create.
How do I scale my wood texture without losing quality?
Since Illustrator works with vector graphics, you can scale your design without losing quality. If you're planning to use the texture at different sizes, just make sure to maintain the correct proportions for the pattern and avoid overly intricate details that may not scale well.

