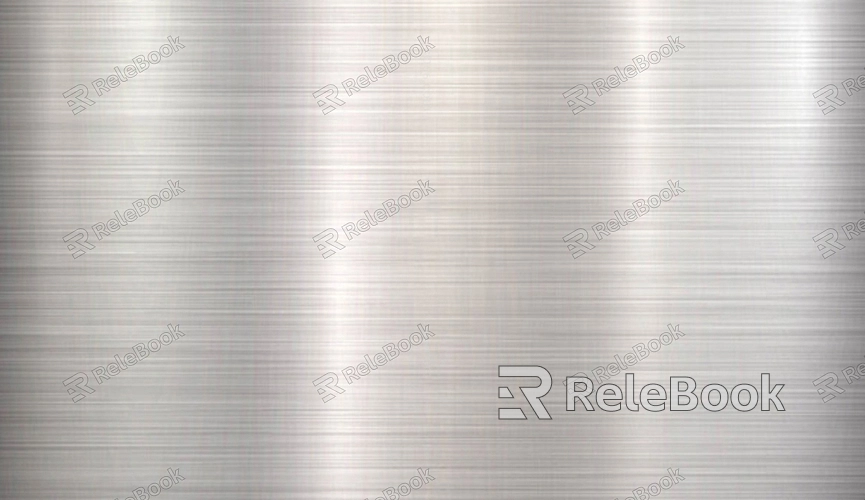
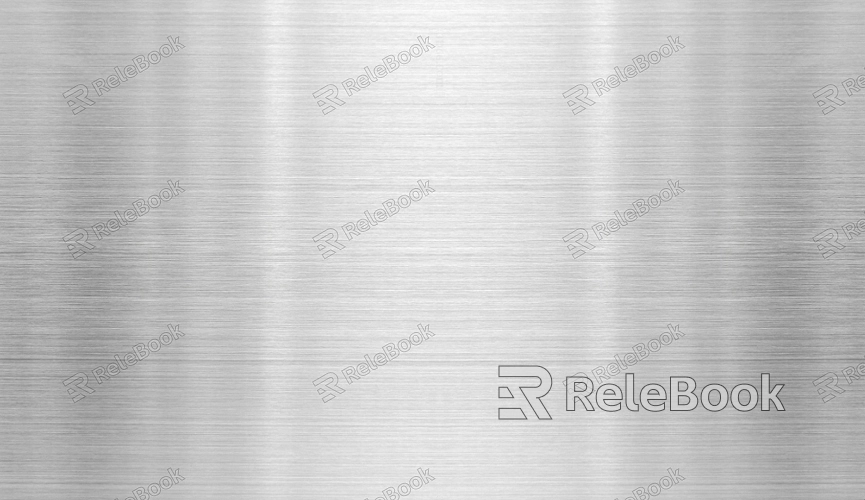
How to Create a Metal Texture in Maya?
Creating realistic metal textures in Maya can elevate the visual quality of any 3D model, whether for architectural visualization, product design, or other creations. Metal textures are crucial for achieving lifelike surfaces, reflecting light in distinctive ways, creating highlights, shadows, and a sense of depth. Maya, with its powerful texturing and shading tools, offers several methods to create metal textures that mimic the nuances of real-world materials. This article will guide you through the process of creating realistic metal textures in Maya, from setting up your material to fine-tuning its appearance with specific attributes and techniques.

Understanding Metal Textures
Before diving into Maya, it's essential to understand what makes a metal texture look realistic. Metals have unique reflective properties and surface irregularities, which contribute to their overall appearance. They tend to have high reflectivity and sharp highlights, as opposed to non-metallic surfaces that are more diffuse. The color and texture of metal depend on various factors such as oxidation, wear, and the type of metal itself, like steel, copper, or aluminum. In Maya, achieving a metal texture involves understanding how these characteristics interact with light and how they can be simulated using shaders and materials.
Setting Up Your Scene in Maya
The first step in creating a metal texture is to set up your scene. This includes creating the 3D object that will feature the metal surface and ensuring proper lighting to simulate how the metal reacts to its environment. Start by creating a simple geometric shape, such as a sphere or cube, as a test object. For more complex scenes, consider using reference images of the type of metal you're trying to simulate. Import your model into the scene and set up a basic lighting arrangement with a key light, fill light, and possibly a rim light to highlight the reflective properties of the metal.

Choosing the Right Material: Using Arnold in Maya
Maya comes with several rendering engines, but one of the most powerful and commonly used is Arnold. Arnold’s standard surface shader is well-suited for creating realistic metal textures. Start by selecting your model and applying an Arnold Standard Surface shader. This shader includes attributes that directly influence the way light interacts with the material, such as base color, roughness, and reflectivity.
The first property to focus on is the metalness. Set the metalness value to 1.0 to ensure the shader treats the material as a metal. Metals have a highly reflective surface, so this value is crucial for simulating the correct surface properties. After setting the metalness, adjust the base color to reflect the specific type of metal you’re working with, such as silver, gold, or copper. You can use reference images to get the correct hue and saturation for more accurate results.
Fine-Tuning the Reflectivity
Once the basic material is in place, the next step is refining the reflectivity of the metal surface. In the Arnold Standard Surface shader, the specular setting is the key attribute that controls how much light the material reflects. Set the specular value to a higher number to get a more polished, reflective metal surface. Keep in mind that different types of metals reflect light in different ways—polished chrome will have high reflectivity, while brushed steel will be more diffuse.
Another important parameter to adjust is the roughness. Roughness controls the spread of reflected light and the sharpness of highlights. For a shiny, polished metal surface, use a low roughness value (around 0.1). For more matte or worn metal, a higher roughness value (around 0.4 to 0.6) will create softer reflections and a less glossy appearance.
Adding Surface Imperfections and Detail
One of the key elements in achieving a convincing metal texture is the introduction of imperfections. Real-world metal surfaces rarely maintain perfect smoothness, and Maya provides tools to simulate scratches, dents, rust, and other imperfections that contribute to realism. To add surface detail, consider using a bump map or a normal map. A bump map will simulate small surface irregularities without altering the model's geometry, while a normal map can add more depth and detail by modifying the way light interacts with the surface.
Additionally, using a roughness map can help control the unevenness of the surface reflectivity. This map allows you to create areas of the metal that are more polished and others that are rough or worn. Applying these maps will add a layer of realism, simulating how metal responds to physical wear and tear.
Simulating Metal Aging and Oxidation
Metals are not static; they age and change over time due to exposure to air, moisture, and other environmental factors. In Maya, you can simulate this aging process by adding subtle color changes and textural effects. For instance, rust and oxidation can be simulated with a combination of diffuse color maps and specular maps. Rust, for example, typically appears in reddish or brownish hues and has a very different reflectivity compared to clean, polished metal. You can create a custom rust texture or use a procedural texture in Maya to replicate this effect.
Another way to simulate aging is through the dirt and grime effect. Metals, especially when exposed to the elements, often accumulate dirt or grime. This can be mimicked by using a dirt map or layering grime textures on top of your metal material to add complexity.
Rendering and Final Adjustments
After fine-tuning your metal material and ensuring it behaves realistically under different lighting conditions, it’s time to render the scene. Maya’s Arnold renderer offers several options for controlling how light and shadows interact with the metal surface. Check your render settings to ensure that the samples for reflection and diffuse light are set high enough to produce a smooth, noise-free render.
During rendering, evaluate the material’s appearance in different lighting conditions. Test it under various intensities and angles to ensure that the metal behaves as expected, reflecting light sharply in some areas while remaining matte in others. Make any necessary adjustments to the roughness, reflectivity, or texture maps to achieve the desired result.
Final Touches and Post-Processing
Once the rendering is complete, you may want to do some post-processing to enhance the overall look of your metal texture. Use software like Photoshop or After Effects to adjust color, contrast, and brightness. Adding additional effects such as glare or bloom can simulate how real-world cameras perceive light, giving your metal textures an added layer of realism.
Post-processing can also be a great time to tweak small imperfections, adjust contrast in specific regions, or even apply color grading to match the overall aesthetic of the scene.
Creating realistic metal textures in Maya involves a combination of proper shader setup, reflection management, and texturing techniques. By mastering these tools and principles, you can create highly convincing metal surfaces that reflect light in realistic ways, display imperfections, and simulate the aging process. The key is to understand the specific properties of metal and replicate them in your 3D environment using the various tools available in Maya. Once you've perfected your metal textures, you can elevate your 3D creations to a new level of realism. For additional resources, 3D models, and textures, check out Relebook’s collection of downloadable assets, perfect for enhancing your next project.
FAQ
Can I use a different rendering engine for creating metal textures in Maya?
Yes, Maya supports several rendering engines such as Arnold, V-Ray, and Redshift. Arnold is commonly used for its ease of use and ability to produce high-quality renders, but other engines can also be suitable depending on your project’s needs.
How do I make my metal texture look more polished or matte?
The key to adjusting the shininess of your metal texture lies in the roughness and specular values in your material. A lower roughness value and a higher specular value will make the metal look more polished while increasing the roughness will make it appear more matte or brushed.
Can I create a realistic rust effect on metal in Maya?
Yes, you can simulate rust by using a combination of diffuse, specular, and bump maps. Procedural textures like noise or custom images can help create the rusty effect. You can also use a roughness map to simulate areas where the metal is corroding.
What’s the best way to add scratches and dents to a metal texture?
To add scratches or dents, use bump maps or normal maps. These maps can simulate the appearance of surface imperfections without altering the geometry of the model.
How do I create a worn, aged metal texture?
Aging can be simulated through subtle changes in the metal’s color, reflectivity, and roughness. Adding grime, dirt, and oxidation textures will also enhance the aged appearance of the metal.

