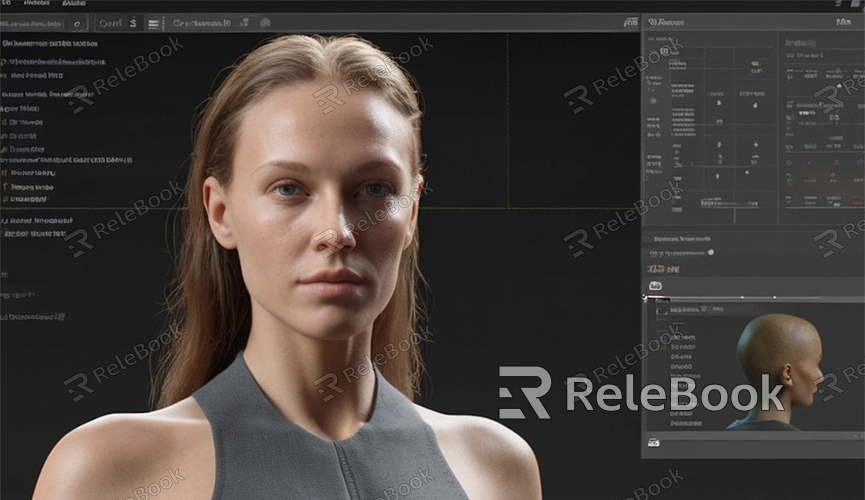
Blender how to get rid of texture on your face
In Blender, when creating realistic characters or facial expressions, textures can add detail and realism to the model. However, sometimes you may want to remove the texture from the face for further editing or rendering. In this article, we'll explain how to remove texture from the face in Blender, providing detailed steps and tips.
1. Open Blender Software
First, make sure you have Blender software open and have loaded the .blend file containing the face model.
2. Enter Edit Mode
Select the face model and enter edit mode. You can enter edit mode by pressing the Tab key or selecting the Edit Mode button in the top toolbar.

3. Select the Facial Area
In edit mode, select the facial area of the face model. You can use the Select tool or the Box Select tool to choose the facial region where you want to remove the texture.
4. Delete UV Mapping
With the facial area selected, open the UV Editor interface. In the UV Editor, you can see the UV mapping of the face. Select the UV mapping you want to remove the texture from and delete it. This will remove the texture from the face.
5. Reset Material
Return to the 3D view, in the material editor, set the material of the facial part to a solid color or a transparent material to ensure that the face no longer displays any texture. If you want to replace the facial material texture, you can download the textures and 3D model resources you need from Relebook in advance, import them, and replace them as needed.
6. Render and Preview
After completing the above steps, render and preview. In Blender, you can use the built-in renderer for rendering and previewing the final effect. Make adjustments and corrections as needed until you achieve the desired result.
Notes:
Backup Files: Before making any modifications, it's advisable to back up your .blend file to prevent accidents.
Precise Selection: When selecting the facial area, try to maintain accuracy in your selection to avoid affecting other parts of the texture.
Post-Editing: After removing the texture from the face, you can continue with further editing and adjustments to the model, such as modifying facial expressions or adding details.
By following these steps, you can easily remove texture from the face in Blender for further editing or rendering. If you need high-quality 3D textures, HDRI, or 3D model downloads while creating models and virtual scenes, you can download them from Relebook and directly import textures and 3D models into your project for use.

