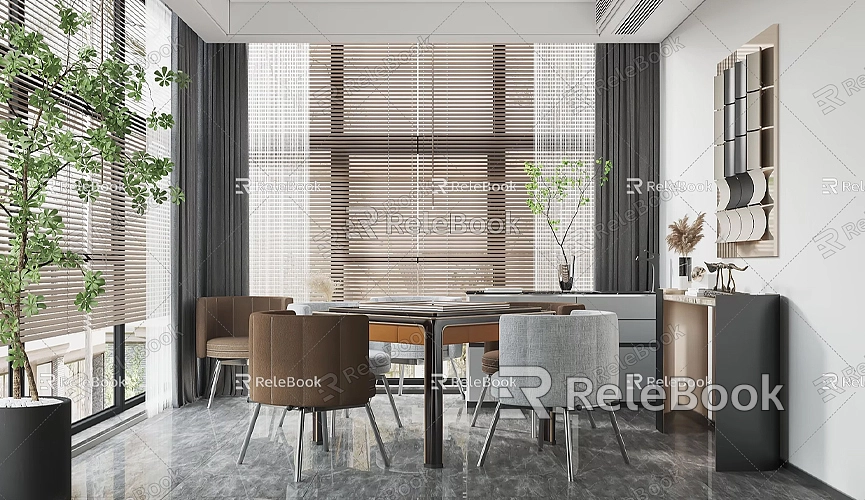
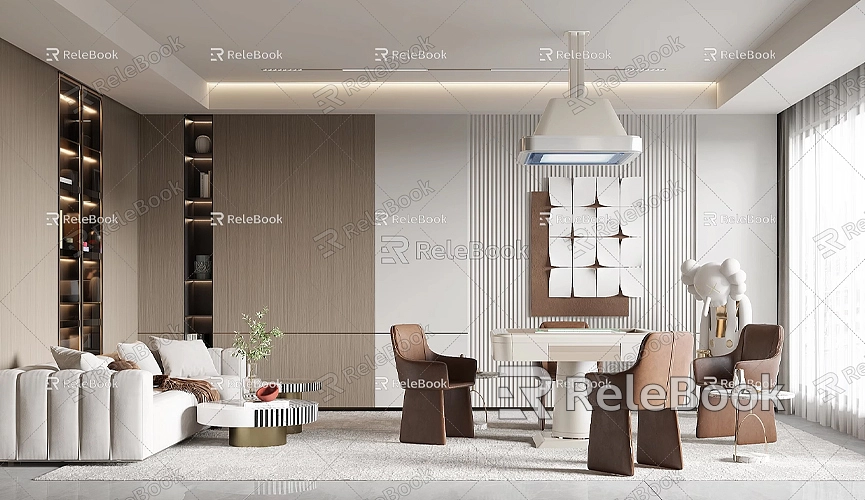
How to Model a Living Room in SketchUp Free
Creating a living room model in SketchUp is a common task faced by many 3D designers and architects, especially when using SketchUp Free. While the free version lacks some of the features of the professional edition, it still provides enough tools and flexibility to create a simple, practical living room design. The living room, as one of the most important spaces in a home, requires attention to layout, detail, and material coordination. The goal is to make the model not only visually appealing but also realistic and full of life. In this process, mastering certain modeling techniques and methods is crucial for designing an ideal 3D living room.
Advantages and Limitations of SketchUp Free
SketchUp Free, as a web-based, free tool, is primarily aimed at users with basic 3D modeling needs. Its interface is clean and intuitive, making it suitable for beginners to create simple models. However, as a free version, it does have some limitations. For example, the rendering effects are relatively weak, and it lacks advanced features like sophisticated texture mapping, precise lighting, and shadow rendering.

Despite these limitations, SketchUp Free is still an excellent platform for quickly creating, modifying, and presenting models, especially for beginners and hobbyists who want to bring basic design concepts to life.
Even with its constraints, SketchUp Free can still achieve professional-level results by importing external resources and using careful manual techniques, particularly for simpler and moderately complex projects like modeling a living room.
Building the Basic Structure: Floor, Walls, and Ceiling
When modeling a living room, the first step is to create an appropriate space framework, which typically includes the floor, walls, and ceiling. In SketchUp, you can easily draw the floor plan using the Rectangle tool and then use the Push/Pull tool to extrude it into a 3D floor. When modeling, make sure the proportions of each part are reasonable to avoid distorted or asymmetrical models.
Next, use the Rectangle tool to draw the four walls, and then use the Push/Pull tool to extend them to the desired height. Remember, the thickness of the walls in real designs can vary, so adjust the wall dimensions based on your design needs.
Building the ceiling is similar to creating the floor. After the walls are in place, you can add a ceiling by drawing a rectangle and using the Push/Pull tool to attach it above the walls. At this point, you’ve successfully created the basic framework for the living room.
Adding Doors and Windows
Doors and windows are crucial elements in living room design. In SketchUp Free, adding doors and windows not only enhances the realism of the model but also makes the space appear more open and airy. To create doors and windows, you can use the Rectangle tool to draw the opening areas, and then use the Push/Pull tool to hollow them out and form the door or window frames.
If you want to save modeling time or need more professional and complex door/window designs, you can download free door and window models from SketchUp’s 3D Warehouse. The 3D Warehouse is a platform filled with user-shared resources, including many free door and window models that you can import directly into your project without starting from scratch.

The selection of doors and windows should depend on the layout of your living room. A good choice of placement and proportions will make the room feel more open and comfortable. Generally, large windows allow ample light to enter, enhancing the sense of openness. As for doors, consider functionality—whether you want a single door, double door, or if it should have a window.
Furniture and Item Placement
Furniture is one of the central elements of a living room model. It affects not only the room’s functionality but also its aesthetic appeal. In SketchUp Free, you can create basic furniture shapes using simple geometric tools. For example, to create a coffee table, draw a rectangle for the base and use the Push/Pull tool to extrude it to the right height, then add the tabletop.
Similarly, sofas, TV stands, bookshelves, and other furniture can be made by combining simple geometric shapes. Adjust the size of the furniture so it fits within the living room and plan the space between each item carefully to avoid overcrowding. Keep in mind that furniture placement should balance functionality and aesthetics to ensure the space remains smooth and practical.
If you don’t want to build furniture from scratch, you can download ready-made furniture models from SketchUp’s 3D Warehouse. The 3D Warehouse offers a wide variety of free 3D models, including furniture items of various styles, such as modern sofas or vintage coffee tables, so you can find exactly what you need.
Adding Details and Textures
Details and textures are key to making the living room model more lively and realistic. To make the room feel more lived-in, you can add elements like carpets, curtains, plants, and lighting fixtures. Use SketchUp’s drawing tools to easily create basic shapes for carpets, and by applying texture mapping, you can make them look realistic. Using a combination of the Circle tool and Push/Pull tool, you can model pendant lights, table lamps, and other lighting elements. Plants and flowers can be drawn using simple shapes like circles and ellipses.
Material application is especially important in SketchUp Free. By adding appropriate textures to different surfaces, you can give the walls, floors, and furniture different visual qualities. For example, you can apply a wood texture to the floor, and use fabric or leather textures for the sofa. Properly matching different materials can greatly enhance the visual appeal of your model.
Moreover, textures and materials can also be supplemented with external resources. If you need high-quality 3D textures and HDRI maps for creating models and virtual scenes, you can download them for free from textures.relebook.com. For more polished 3D models, visit 3dmodels.relebook.com, where Relebook offers a variety of high-quality 3D resources. These resources can help you get more realistic textures and materials, making your model come to life.
Lighting and Rendering
Although SketchUp Free does not have advanced rendering capabilities, you can still improve the lighting of your model with some simple adjustments. By adjusting the position of the sun, you can simulate natural light and create realistic light and shadow effects. To further enhance the indoor atmosphere, you can adjust the positions of windows and the reflective surfaces of the walls to influence the intensity of the light.
If you want more refined rendering effects, you can consider exporting your model to other rendering software for post-processing. For example, using plugins like V-Ray or Enscape can allow your SketchUp model to achieve higher-quality rendering results, providing stronger visual impact.
While SketchUp Free has functional limitations, its simplicity and ease of use make it an ideal tool for beginners and design enthusiasts. Even though it lacks some advanced features, it can still be used to create basic, creative models. With practice and experience, you can learn more techniques and eventually design more complex and sophisticated 3D models.
By leveraging SketchUp’s basic tools and obtaining high-quality models and textures from resources like the 3D Warehouse and Relebook, you can significantly improve the modeling process and the final result. Overall, SketchUp Free’s user-friendly interface makes it a great choice for creating simple, yet effective, 3D models of living rooms and other spaces.

