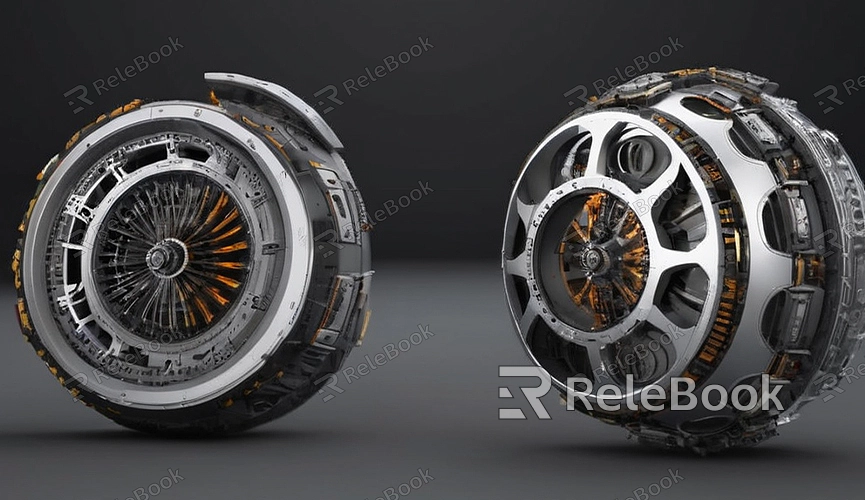
Blender how to turn a picture into a 3d model
In Blender, you can utilize image processing and modeling tools to transform flat pictures into realistic 3D models. This technique is known as image modeling or converting pictures into 3D models. This article will explain how to achieve this process in Blender, providing detailed steps and tips.
1. Prepare the Picture
Firstly, you need to prepare a picture that you want to convert into a 3D model. This could be a photo you've taken yourself or sourced from the internet or other repositories. Ensure the picture is of high quality and contains sufficient detail and texture to accurately capture during the modeling process.
2. Import the Picture
Open Blender software and import the picture you've prepared into the 3D view. You can do this by clicking on the "File" -> "Import" -> "Images as Planes" option from the menu bar. This will import the picture as a plane object and automatically create a material to display the image.

3. Adjust Picture Size and Proportion
After importing the picture, you may need to adjust its size and proportion to match your 3D scene and scale. You can use Blender's transformation tools to scale, rotate, and move the picture to align with other objects or adjust it as needed.
4. Set Vertex Count and Resolution
On the picture object, you can adjust the vertex count and resolution either through edit mode or by modifying properties. Increasing the vertex count can make the model more detailed but also increases computational burden. Choose an appropriate vertex count and resolution based on your needs and computational resources.
5. Modeling
Once the preparation is complete, you can start using Blender's modeling tools to create a 3D model from the picture. Depending on the picture's content and shape, you can employ various modeling techniques such as edge modeling, sculpting mode, surface modeling, etc. Draw and adjust step by step until you are satisfied.
6. Add Texture and Material
After modeling, you can add texture and material to the model to make it more realistic and vivid. Based on the picture's content and colors, download and select suitable textures and 3D materials from Relebook, then apply them to the model. Adjust lighting and rendering settings for the best effect.
7. Render and Preview
After all operations are completed, proceed with rendering and previewing. Use Blender's renderer to render the scene and preview the final effect. Make adjustments and corrections as necessary until you achieve the desired result.
Notes:
Choose suitable pictures: Select high-resolution, detailed pictures for conversion to achieve better results.
Control vertex count and resolution: Adjust the model's vertex count and resolution reasonably to avoid performance issues during rendering, depending on computational resources and performance requirements.
Try multiple times: Image modeling is a process that requires patience and multiple attempts. Keep adjusting and refining until you achieve the desired effect.
By following these steps, you can transform pictures into realistic 3D models in Blender. If you need high-quality 3D textures, HDRI, or 3D model downloads while creating models and virtual scenes, you can download them from Relebook and directly import textures and 3D models into your project for use.

