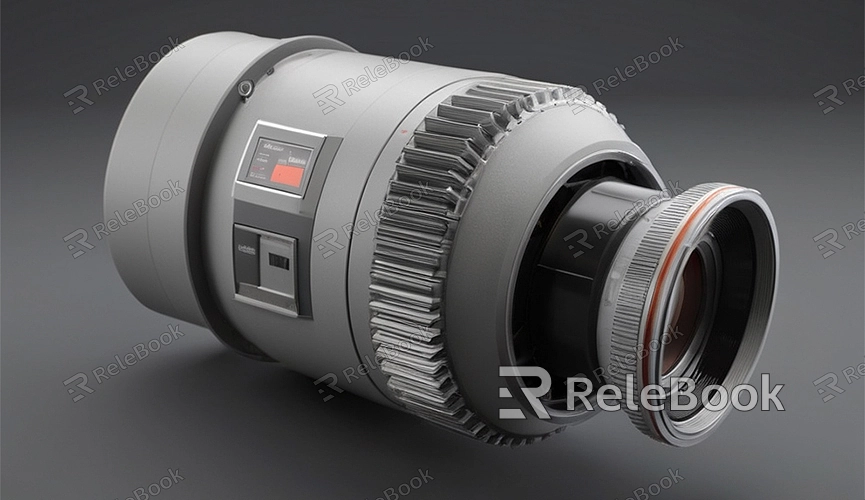
How to make a realistic render in blender
Interested in achieving lifelike rendering results in Blender? Realistic rendering can bring your creations to life, making them more engaging and captivating. In this article, I'll share some techniques and methods for creating realistic renders in Blender, helping your work stand out!
1. Use High-Quality Models
To produce realistic renders, start with high-quality models. During the modeling process, aim to maintain details and realism, avoiding overly simple or rough models. You can utilize Blender's built-in modeling tools or download high-quality model resources to assist you in creating lifelike scenes and objects.

2. Apply Realistic Materials
Choosing appropriate materials is crucial for achieving realistic renders. In Blender, you can use the node editor to create various complex material effects. Experiment with textures, reflections, refractions, and other properties to simulate real-world material characteristics, enhancing the realism and intricacy of your rendered images.
3. Fine-Tune Lighting
Lighting is one of the key factors in creating realistic renders. In Blender, you can use various types of lights to simulate different lighting effects. Experiment with ambient lights, point lights, spotlights, and other light types, adjusting their positions, intensities, and colors to achieve the best rendering results.
4. Add Realistic Textures and Details
Adding appropriate textures and details during the rendering process can enhance the realism of your images. You can use various texture maps to simulate surface textures and details such as wood grain, stone texture, metallic surfaces, etc. Additionally, you can employ techniques like normal maps, displacement maps to add details and depth to your models.
5. Adjust Rendering Settings
Before rendering, carefully adjust rendering settings to ensure optimal results. You can tweak parameters such as rendering resolution, sampling level, shadow types, etc., to obtain higher-quality rendering images. Furthermore, you can experiment with advanced rendering features like ambient occlusion, global illumination, anti-aliasing, etc., to further enhance rendering quality.
6. Perform Post-Processing
After rendering is complete, you can perform post-processing operations to further enhance the quality of your images. In Blender, you can use the built-in compositor and node editor for post-processing tasks such as adjusting tone, contrast, brightness, etc., as well as adding effects and filters to make your renders more vivid and appealing. If you need high-quality 3D textures, HDRI, or downloadable 3D models while creating models and virtual scenes, you can download them from Relebook and import them directly into your models for immediate use.

