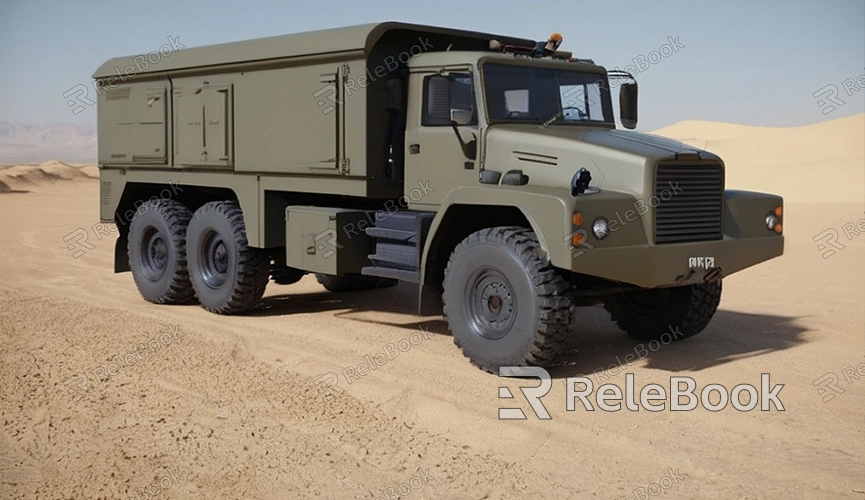
How to Render a Car in Blender
Rendering a car in Blender is an immensely challenging and exciting task. Whether showcasing design concepts for car designers or creating scenes for car advertisements or films, rendering realistic car images is crucial. In this article, we'll outline the steps and techniques for rendering a car in Blender.
1. Prepare the Car Model
Before rendering, you'll need a car model. You can either purchase pre-made car models or create your own. If you choose to model it yourself, ensure the car model has good topology and rich details. The quality of the car model directly impacts the realism of the final render.

2. Create the Scene
In Blender, create a scene suitable for the car. You can use existing HDR environment images or build a simple scene from scratch. Ensure the lighting and environment of the scene complement the car's appearance without conflicting with its materials and colors.
3. Set Up Materials and Textures
Setting up appropriate materials and textures for the car model is crucial. Based on the car's material and color, select suitable shaders and textures and apply them to the car model. You can use Blender's node editor to adjust material and texture parameters for the best rendering results.
4. Adjust Camera and View
Before rendering the car, adjust the camera's position and view to highlight the car's appearance and design. Experiment with different angles and camera settings to find the best perspective to showcase the car's features and details.
5. Configure Rendering Parameters
Before rendering, configure rendering parameters including resolution, sampling rate, lighting, and shadows. Adjust these parameters based on your requirements and hardware performance to achieve the best rendering quality and speed. You can try Blender's built-in renderers like Cycles or EEVEE, or install other rendering plugins for more options.
6. Render the Scene
Once everything is set up, click the render button in the Blender interface to start rendering. Rendering time depends on your rendering settings and hardware performance. During rendering, you can observe real-time previews of the render result and make adjustments as needed until you're satisfied.
7. Post-processing
After rendering, you can perform post-processing to further enhance the image quality. Use image editing software like Photoshop or GIMP to adjust colors, contrast, brightness, and add effects and filters to make the render result more vivid and eye-catching.
Following these steps, you should have successfully rendered a realistic car image in Blender. Rendering a car is a process that requires patience and skill, but with practice and experimentation, you'll master this skill. If you need high-quality 3D textures, HDRI, or 3D model downloads for your modeling and virtual scene creation, you can obtain them from Relebook, where you can directly import textures and 3D models into your project after downloading.

