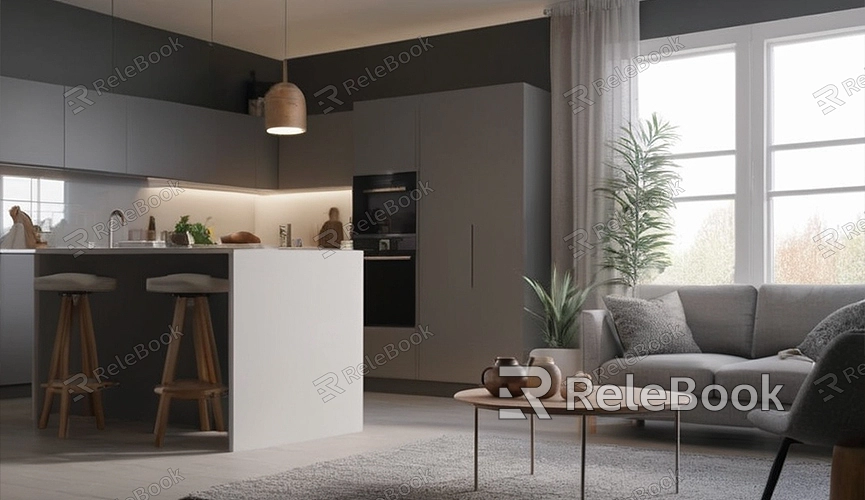
How to Render Image Sequence in Blender
Blender is a powerful 3D creation tool that is not only suitable for 3D modeling and animation but also for rendering high-quality images and videos. When creating complex animations, sometimes we need to render the animation as an image sequence and then proceed with post-processing. This article will introduce how to render an image sequence in Blender, ensuring you smoothly complete all steps in this process.
Preparation
Before rendering, make sure your Blender project has completed all necessary setups and adjustments. This includes modeling, materials, lighting, and animation settings.

1. Open the Project File
Firstly, open your Blender project file that you need to render. Ensure all animation, material, and lighting settings are properly adjusted.
2. Set Camera View
Ensure the camera view is set up properly and captures the scene content you need. If the camera view is incorrect, you can adjust the camera position and angle in the "View" menu.
Set Rendering Parameters
Correct rendering parameter settings are key to ensuring rendering quality and efficiency.
1. Open Render Settings
On the right side of the Blender interface, find the "Render Properties" icon (resembling a camera). Click on it to enter the render settings interface.
2. Set Rendering Engine
In the "Render Engine" dropdown menu, choose the rendering engine that suits your needs. Typically, choose "Cycles" or "Eevee." "Cycles" is suitable for high-quality rendering, while "Eevee" is more suitable for real-time preview and quick rendering.
3. Set Resolution and Frame Rate
In "Output Properties," set the resolution and frame rate. The resolution determines the image's clarity, while the frame rate determines the animation's smoothness. Common resolution settings are 1920x1080, with a frame rate of 24 frames per second (fps).
4. Select Output Format
In the "Output" section, choose the file format as PNG, which is a lossless format suitable for post-processing. If you need other formats, you can choose according to your requirements.
Set Output Path
In the "Output" section, click the folder icon to select the location to save the rendered image sequence. Ensure the file path is set correctly to avoid losing the file after rendering.
1. Name Files
In the "File Format" option under the file path, name your files. Blender will automatically add numerical suffixes for each frame.
2. Choose File Type
Ensure the file type is set to "PNG," and the "Color Mode" is selected as "RGBA" (including alpha channel).
Set Frame Range
In "Scene Properties," set the starting and ending frames of the animation. This determines which frames Blender will render. Ensure the frame range is set correctly to avoid missing keyframes or rendering unnecessary frames.
1. Starting and Ending Frames
Based on your animation's length, set the starting and ending frames. For example, if your animation has 250 frames, set the starting frame to 1 and the ending frame to 250.
Start Rendering
Once everything is set up, you can start rendering the image sequence.
1. Open Render Window
Click the "Render" menu at the top of the interface and select "Render Animation."
2. Rendering Process
Blender will render the animation frame by frame and save the result as an image sequence. This may take some time, depending on the animation's length and complexity.
3. Check Output Files
After rendering is complete, go to the output path you set and check the generated image sequence. Ensure all frames have been rendered, and the image quality meets your expectations.
Post-Processing
After rendering the image sequence, you can use video editing software for post-processing, such as adding effects, transitions, and audio.
1. Import Image Sequence
In the video editing software, import the rendered image sequence. Most video editing software supports directly importing image sequences.
2. Export Video
After post-processing, export the image sequence as a video format. For example, export it as an MP4 format for sharing and playback.
Rendering image sequences in Blender may involve multiple steps, but by following the above steps for setup and operation, you can easily achieve high-quality rendering. I hope this article helps you better understand and master Blender's rendering capabilities, making your 3D creations more outstanding. If you need high-quality 3D textures and HDRI while creating models and virtual scenes, or if you need 3D model downloads, you can download them directly from Relebook and import textures and 3D models into your model for use.

