How to Texture Your Hair
The texture of hair plays a vital role in 3D modeling and character design, as it not only enhances the realism of the model but also brings the character to life. Whether you are a beginner or an experienced 3D artist, mastering the skill of texturing hair is essential. This article will provide a detailed introduction to the steps and techniques for texturing hair.
1. Choose the Right Software
Before you begin texturing hair, you need to select appropriate 3D modeling and texturing software. Here are several commonly used options:
- Blender: A free and powerful open-source software suitable for users of all levels.
- Maya: Professional-level 3D modeling software widely used in the film and gaming industries.
- 3ds Max: Another professional 3D modeling software with powerful capabilities for complex modeling and texturing.
2. Prepare the Hair Model
To texture hair, you need a basic hair model, which can be obtained in two ways:
- Create your own hair model: Use tools and plugins within the modeling software, such as Blender's Hair Particles system or Maya's XGen.
- Download ready-made models: Find free or paid hair models online from websites like TurboSquid, CGTrader, etc.
3. Create Base Textures
Base textures are the first step in hair texturing. You can use several methods to create base textures:
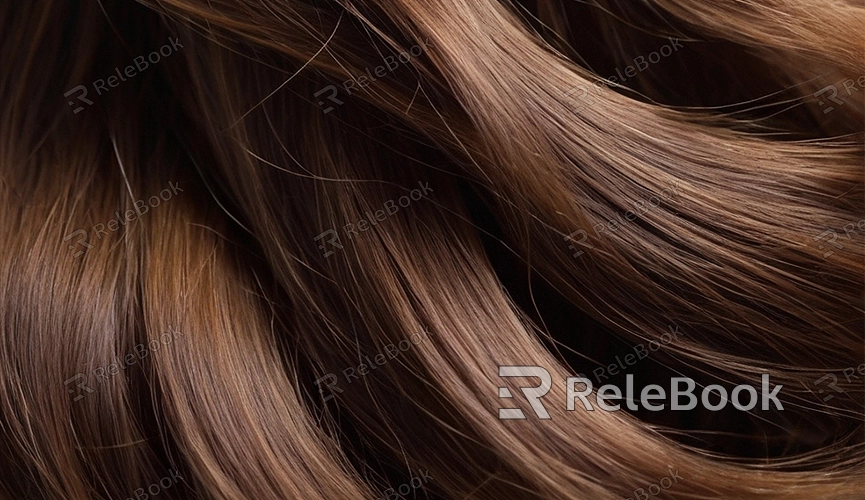
Using Image Textures
1. Choose the right image: Search online for high-quality hair texture images. Ensure the image has a high enough resolution and is free from visible watermarks or copyright issues.
2. Edit the image: Use image editing software like Photoshop or GIMP to crop and adjust brightness and contrast, making it suitable for use on a 3D model.
3. Apply to the model: Apply the edited image to the hair model. In Blender, you can use UV unwrapping tools to accurately fit the texture to the model.
Using Procedural Textures
1. Utilize built-in procedural textures: Many 3D modeling software programs come with procedural textures that can be found and applied in the material editor.
2. Customize procedural textures: Adjust the parameters of the procedural textures, such as color and detail density, to achieve the desired effect.
4. Add Detail Textures
After completing the base texture, you can further add detail textures to make the hair look more realistic and lively. Here are some common detail texturing techniques:
Normal Map
A normal map can add detail to the hair's surface, giving it a more three-dimensional appearance. Here are the steps to create and apply a normal map:
1. Generate a normal map: Use generation tools within the software or online generators to convert the base texture into a normal map.
2. Apply the normal map: In the material editor, add the normal map to the model's material. Adjust the strength and direction of the normal map for the best effect.
Specular Map
A specular map controls the glossiness of the hair, making it appear more natural under lighting. Here are the steps to apply a specular map:
1. Create a specular map: Based on the base texture, use image editing software to create a grayscale map, with black representing no reflection and white representing high reflection.
2. Apply the specular map: In the material editor, add the specular map to the model's material. Adjust the strength of the specular map to give the hair a natural sheen under lighting.
Opacity Map
An opacity map controls the transparency of the hair, making its edges more natural. Here are the steps to apply an opacity map:
1. Create an opacity map: Use image editing software to create a grayscale map, with black representing full transparency and white representing full opacity.
2. Apply the opacity map: In the material editor, add the opacity map to the model's material. Adjust the parameters of the opacity map to soften the edges of the hair.
5. Render and Adjust
After completing the texturing, you need to render and adjust to ensure the hair looks its best under different lighting conditions and viewpoints. Here are some rendering and adjustment tips:
- Test different lighting: During rendering, test various lighting setups to ensure the hair texture looks good under different lighting conditions.
- Adjust material parameters: Based on the rendering results, adjust the material parameters such as color, glossiness, and transparency to make the hair texture more natural.
- Add post-effects: After rendering, you can use post-processing software like Photoshop to further adjust and optimize the rendering.
Texturing hair is a complex but very interesting process. By selecting the right software, creating base textures, adding detail textures, and rendering and adjusting, you can create highly realistic hair effects for your 3D models. If you need many high-quality 3D textures and HDRIs, or 3D model downloads when creating models and virtual scenes, you can download them from Relebook. After downloading, simply import the textures and 3D models directly into your model for use.
