How to Start a Render in Blender
Blender is an extremely popular and powerful open-source 3D creation suite that includes functionalities for modeling, sculpting, animation, simulation, rendering, compositing, and motion tracking. For beginners, starting a render in Blender might be a challenging task. This article will provide a detailed guide on how to start rendering in Blender, from basic settings to actual operations, helping you get started quickly.
Installing Blender
First, you need to install Blender. Visit the official Blender website, download the latest version suitable for your operating system, and then follow the prompts to install. Once installed, open Blender, and you will see the default interface.
Basic Settings
Before starting to render, we need to make some basic settings.
Rendering Engine
Blender offers two main rendering engines: Eevee and Cycles. Eevee is a real-time rendering engine that is very fast, suitable for quick previews and real-time rendering. Cycles is a physically-based rendering engine that can produce higher quality images but is slower to render.
In the top menu bar of Blender, click the "Render Properties" icon (a camera icon), and select the rendering engine you need from the "Render Engine" dropdown menu.
Output Settings
Next, we need to set the output options for rendering. In "Output Properties" (a camera filmstrip icon), you can set the resolution, frame rate, and file format for the render output. By default, Blender saves images in PNG format. If you need to render an animation, you can choose the FFmpeg format to generate a video file.
Scene Setup
Before starting to render, you need to set up your scene. This includes adding models, lights, and cameras.
Adding Models
In Blender, you can use the "Add" menu to add various geometries, such as cubes, spheres, planes, etc. Press Shift + A, select the geometry you need, and then place it in the scene.
Adding Lights
Lighting is a very important part of rendering. Without lights, your model will be completely dark. Press Shift + A, select the "Light" option, and then choose the type of light (such as point light, sun light, spotlight, etc.). You can achieve the desired lighting effect by dragging the light's position and adjusting the light's intensity.
Adding Cameras
The camera determines the perspective of your rendered image. By default, a Blender scene already includes a camera. If you need to adjust the camera's position, select the camera and then press the G key to move it or the R key to rotate it. Make sure the camera is aimed at the object you want to render.
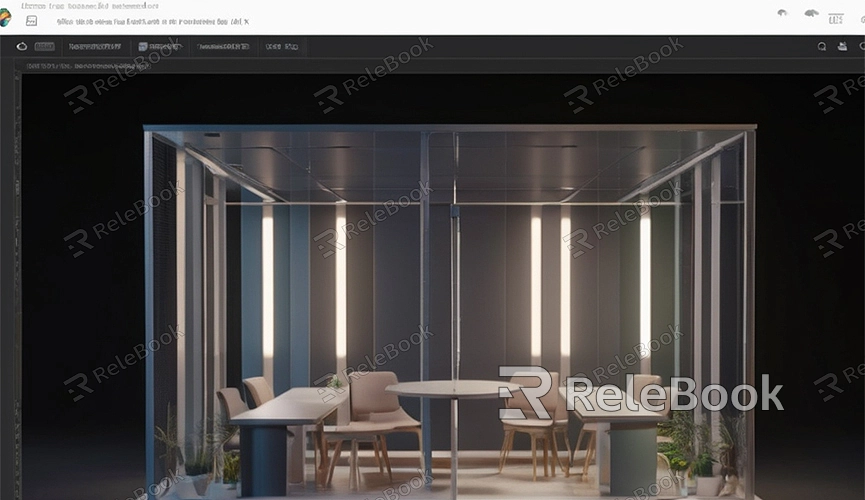
Starting to Render
Once everything is ready, we can start rendering.
Preview Rendering
Before the final render, you can do a preview render to check the lighting and material effects. In the upper right corner of the 3D view window, there is a button to toggle the render mode. Click it and select "Rendered" mode, so you can see the real-time rendering effect.
Final Rendering
To do the final render, press the F12 key or click the "Render" option in the top menu bar and then select "Render Image." Blender will start rendering the image from the current camera perspective. Once the rendering is complete, the image will be displayed in a new window.
If you need to render an animation, select "Render Animation." Blender will render the entire animation frame by frame according to the set frame rate and save each frame to the specified output directory.
Saving Render Results
After rendering is complete, you need to save the image or video to your computer.
Saving Images
In the render window, click the "Image" menu in the lower left corner and then select "Save As." Choose the file save path and file name, then click the "Save As Image" button.
Saving Animations
After the animation is rendered, Blender will automatically save each frame image to the specified output directory and generate a video file based on the file format you chose. You can view and change the output path in the "Output Properties."
Common Issues and Solutions
Slow Rendering Speed
If you find that the rendering speed is slow, try the following methods to improve the rendering speed:
1. Reduce the resolution: Lower the render resolution in "Output Properties."
2. Decrease samples: Reduce the number of samples in "Render Properties." Fewer samples will result in faster rendering speed but may lower image quality.
3. Optimize lighting and materials: Minimize complex lighting and material effects.
Suboptimal Rendering Results
If the rendering results are not ideal, try the following adjustments:
1. Check lighting settings: Ensure the light intensity and position are appropriate.
2. Adjust camera angles: Reposition and angle the camera for better composition.
3. Optimize materials: Check material settings to ensure they meet your expectations.
By following these steps, you should be able to start rendering smoothly in Blender and produce high-quality images and animations. It is hoped that this article will help you better understand the rendering process in Blender and improve your 3D creation efficiency. If you need many high-quality 3D textures and HDRIs, or 3D model downloads when creating models and virtual scenes, you can download them from Relebook. After downloading, simply import the textures and 3D models directly into your model for use.
