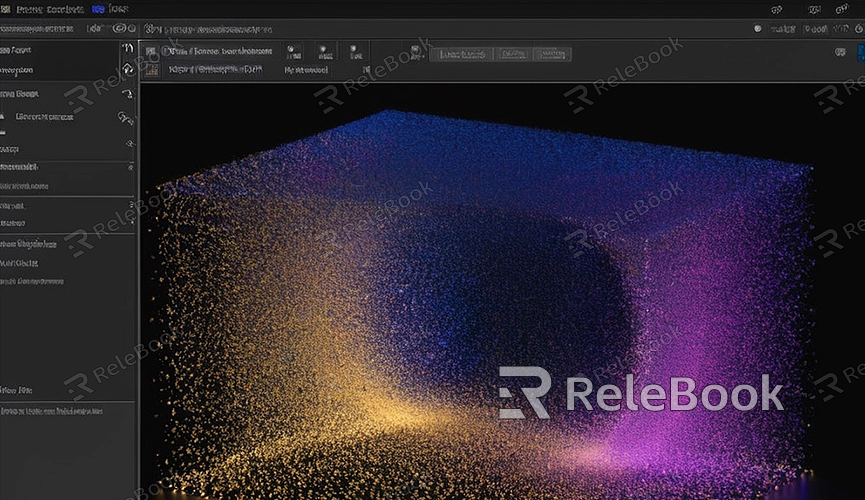
How to Render Particles in Blender
In Blender, particle effects are incredibly powerful and commonly used for creating complex scenes such as fire, smoke, snow, explosions, and more. This article will guide you through rendering particle effects in Blender, helping you master this technique effectively.
I. Creating Particle Systems
1. Adding Particle Systems
To begin with, you need to add a particle system in Blender. Choose an object to serve as the particle emitter, such as a plane or a sphere. Then, in the "Particle Properties" panel on the right side, click the "+" button to add a new particle system.

2. Setting up the Particle Emitter
In the "Particle Properties" panel, you'll find various settings options. Here are some key settings:
- Number: Controls the quantity of particles. More particles create denser effects.
- Lifetime: Manages how long particles exist before disappearing.
- Speed: Controls the emission speed of particles.
3. Setting Particle Appearance
In the "Render" tab, you can define how particles should appear. You can choose to render particles as "Objects" or "Collections," allowing you to replace default particle points with any object, such as using small spheres instead of particles.
II. Configuring Materials and Lighting
1. Adding Materials
Apply materials to your particle emitter and particles. In Blender, materials greatly influence the visual impact of particles. You can use Blender's built-in material editor to create complex material effects that make particles look more realistic.
2. Setting up Lighting
Lighting plays a crucial role in rendering. Ensure your scene has adequate lighting to illuminate particles effectively. You can use point lights, spotlights, or ambient lighting to achieve the desired lighting effects.
III. Rendering Particle Effects
1. Choosing the Rendering Engine
In Blender, you can opt to use either the Eevee or Cycles rendering engine. Eevee is a real-time rendering engine, offering fast rendering speeds suitable for previews and quick renders. Cycles, on the other hand, is a physically based rendering engine that delivers higher-quality renderings at the expense of longer render times.
2. Setting Rendering Parameters
In the "Render" tab, adjust parameters such as resolution and sample count. Higher resolutions yield sharper images but increase rendering time. More samples result in higher image quality but also increase render time.
3. Starting the Render
Press `F12` to begin rendering. During rendering, you can monitor real-time progress in Blender's "Render" window. Once rendering is complete, you can view the rendered result in the "Image Editor."
IV. Optimizing Rendering Effects
1. Adjusting Particle Settings
Based on the rendered results, fine-tune particle system settings such as number, speed, and lifetime to achieve optimal effects.
2. Refining Materials
Use Blender's node editor to create more sophisticated material effects. You can add textures, adjust colors, and tweak reflection parameters to enhance the realism of particle effects.
3. Applying Post-Processing
After rendering, utilize Blender's compositor for post-processing. Adding effects like blur, glow, and color correction can significantly enhance the final output.
V. Saving and Exporting Rendered Results
1. Saving Rendered Images
In the "Image Editor," click on the "Image" menu, select "Save," and save the rendered result as an image file. You can choose different file formats such as PNG, JPEG, etc.
2. Exporting Animation
If you've created a particle animation, go to the "Output" section under the "Render" tab. Set the output path and file format, then click the "Animation" button to start rendering the animation. Blender will render each frame and save them as an image sequence or video file.
Rendering particle effects in Blender involves specific settings and adjustments, but mastering these techniques allows you to create highly complex and realistic effects. By configuring particle systems, materials, and lighting appropriately, and applying optimization and post-processing techniques, you can significantly improve the quality of rendered effects.

