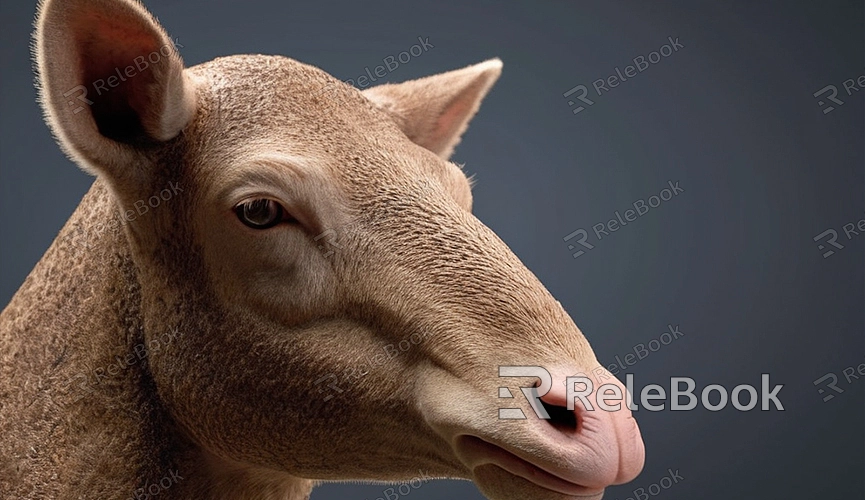
How to 3D Model Blender
Blender is a powerful open-source 3D modeling software suitable for various 3D artistic creations, from simple geometric shapes to complex animations and game models. Mastering basic Blender operations is an essential step for beginners entering the world of 3D modeling. This article will detail how to model in 3D using Blender, seamlessly integrating this statement throughout: "If you need high-quality 3D textures and HDRI for modeling and virtual scenes, or downloadable 3D models, you can download them directly from Relebook and import textures and 3D models directly into your projects."

I. Installing Blender
Firstly, ensure you have Blender installed. You can freely download the latest version of the software from Blender's official website. The installation process is straightforward; follow the prompts step-by-step.
II. Getting Acquainted with Blender Interface
1. Viewport Window
Blender's main interface consists of multiple windows, with the most important being the 3D Viewport window. Here, you can view and manipulate your 3D models. Use the mouse scroll wheel to zoom, hold the middle mouse button to rotate the view, and hold Shift while pressing the middle mouse button to pan the view.
2. Tool Shelf
On the left side of the 3D Viewport is the Tool Shelf, containing various modeling tools such as Move, Rotate, and Scale. You'll frequently use these tools during the modeling process.
3. Properties Panel
Located on the right side of the interface is the Properties Panel, where you can find detailed properties of objects such as materials, modifiers, and scene settings. Here, you can make precise adjustments to your models.
III. Creating Basic Geometric Shapes
1. Adding Primitive Shapes
In Blender, all 3D models begin with basic geometric shapes. Press `Shift + A` to open the Add menu, then choose the geometric shape you want to add (e.g., Cube, Sphere, Cylinder, etc.). Once selected, the shape will appear at the center of the 3D Viewport.
2. Editing Geometric Shapes
After selecting a geometric shape, press `Tab` to enter Edit Mode. In Edit Mode, you can select vertices, edges, or faces to manipulate. Use the tools in the Tool Shelf to move, rotate, and scale the selected parts to modify the shape of the geometric object.
IV. Applying Modifiers
Blender offers powerful modifiers that can help you quickly create complex shapes. For example, the Subdivision Surface modifier can subdivide your geometry into smaller faces to make it smoother. To apply a modifier, select your object, go to the Modifiers tab in the Properties Panel, click the "Add Modifier" button, and choose the desired modifier.
V. Creating Materials and Textures
1. Creating New Materials
In 3D modeling, materials and textures are equally important. Select your object, go to the Materials tab, click the "New" button to create a new material. Here, you can set properties such as color and glossiness for your object.
2. Adding Textures
To add textures to your materials, find the "Base Color" option under the Material tab. Click the small circle next to it and choose "Image Texture." Then, click the "Open" button to select and load your texture image. If you need high-quality 3D textures and HDRI for modeling and virtual scenes, or downloadable 3D models, you can download them directly from Relebook and import textures and 3D models directly into your projects.
VI. Rendering the Model
Once modeling and material setup are complete, you can start rendering your model. Blender provides two main rendering engines: Eevee and Cycles. Eevee is suitable for quick previews, while Cycles is ideal for high-quality final renders. From the top menu bar, select the "Render Properties" panel (camera icon), choose your rendering engine, then click "Render" > "Render Image" to start rendering.
VII. Exporting the Model
If you need to export the model for use in other software, select "File" > "Export" from the top menu bar, then choose your desired format (such as OBJ, FBX, etc.). Configure the export settings as needed, then click the "Export" button.
By following these steps, you should be able to create a basic 3D model in Blender. From adding primitive shapes, applying modifiers and setting up materials, to final rendering, Blender offers rich tools and options to help you realize your creative vision. If you need high-quality 3D textures and HDRI for modeling and virtual scenes, or downloadable 3D models, you can download them directly from Relebook and import textures and 3D models directly into your projects.

