How to 3D Model on Blender
Blender is a powerful open-source 3D modeling software widely used in animation, gaming, visual effects, and architectural visualization. Mastering Blender's basic operations and techniques can significantly enhance creative efficiency, especially for beginners. This article provides a detailed guide on how to 3D model in Blender, along with practical tips and advice.
I. Download and Install Blender
Firstly, download Blender from the official website. Blender supports Windows, macOS, and Linux operating systems, so choose the appropriate installer for your system.
II. Familiarize Yourself with Blender Interface
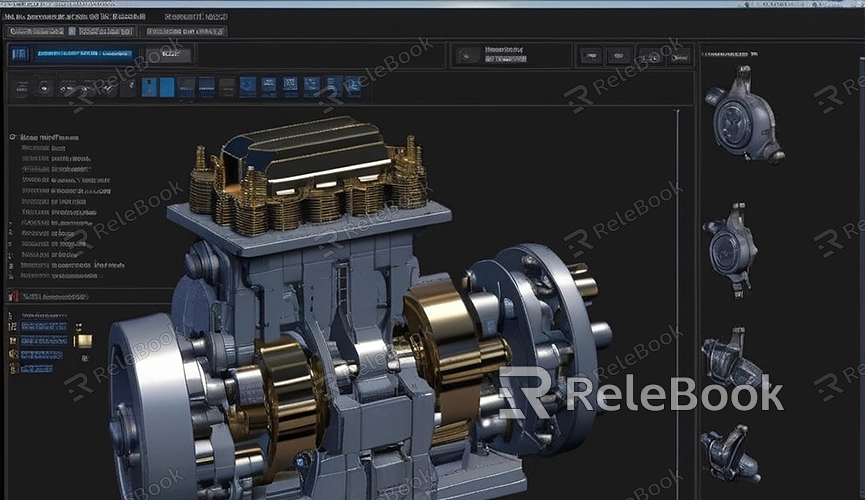
Upon opening Blender, you'll encounter a main interface comprising multiple windows and panels. Understanding these interface elements is crucial for starting 3D modeling.
1. 3D Viewport: This is the primary workspace for modeling. Here, you can view, edit, and manipulate 3D objects.
2. Tool Shelf: Located on the left side of the 3D viewport, it contains essential tools like move, rotate, scale, etc.
3. Properties Panel: Found on the right side of the interface, it houses settings for scene, objects, materials, rendering, etc.
4. Timeline: Positioned at the bottom, it's used for animation.
III. Basic Operations
Before diving into 3D modeling, familiarize yourself with basic operations that will enhance your efficiency in Blender.
1. Navigate Views:
- Rotate View: Hold down the middle mouse button and drag.
- Pan View: Hold Shift and middle mouse button drag.
- Zoom View: Scroll the mouse wheel.
2. Add Basic Objects:
- Press Shift + A and select from basic shapes like cube, sphere, cylinder, etc.
3. Select and Edit Objects:
- Right-click to select objects.
- Press Tab to enter Edit Mode, where you can edit vertices, edges, and faces of objects.
IV. Create 3D Models
Creating 3D models in Blender involves several steps: adding basic objects, editing shapes, applying materials and textures.
1. Add Basic Objects:
Start by adding a basic object like a cube using Shift + A.
2. Edit Object Shapes:
Enter Edit Mode (Tab key), use selection tools to choose vertices, edges, or faces, then manipulate shapes using move (G key), rotate (R key), scale (S key) tools. For instance, you can select and stretch a face of a cube to create a rectangular shape.
3. Refine the Model:
Use tools like Subdivide (Ctrl + R) and Extrude (E key) to add more vertices, edges, and details to your model. Subdivide adds more geometry to the object, while Extrude stretches selected faces into new shapes.
4. Apply Materials and Textures:
Exit Edit Mode (Tab key), go to the Material tab in the Properties panel, click "New" to create a new material. Adjust surface properties like color, reflectivity, etc.
"If you need high-quality 3D textures, HDRI, or downloadable 3D models while working on your projects, you can download them from Relebook and import textures and 3D models directly into your projects."
V. Render and Save Models
Once your 3D model is complete, you can render it and save the final image.
1. Set Rendering Engine:
In the Properties panel, select the Render Settings icon (looks like a camera), choose an appropriate rendering engine like Eevee or Cycles.
2. Set up Lights and Camera:
Add lights (Shift + A > Light) and a camera (Shift + A > Camera), adjust their positions and parameters to ensure good lighting and viewpoints for your model during rendering.
3. Render the Image:
Press F12 or choose "Render" > "Render Image" from the top menu to start rendering. After rendering, review the results in the Image Editor and use "Image" > "Save As" to save the rendered output to your computer.
By following these steps, you should be able to successfully create and edit 3D models in Blender. Whether simple geometric shapes or complex scene designs, Blender offers powerful tools and features to bring your creative ideas to life. If you need additional high-quality 3D textures, HDRI, or downloadable 3D models, you can find them on Relebook for direct integration into your projects.
