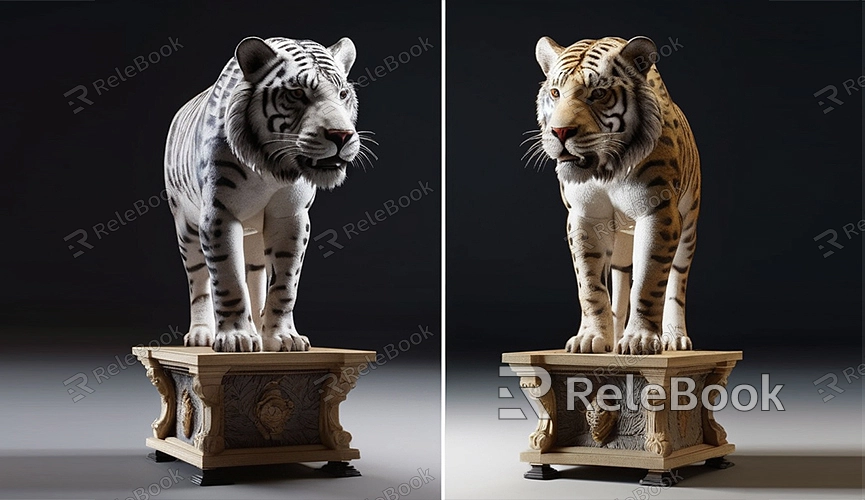
How to Add a Base to a 3D Model
Adding a base to a 3D model not only enhances its stability but also improves its visual appeal and presentation. Whether for 3D printing or showcasing purposes, a base is a crucial component. This article will detail how to add a base to a 3D model, along with some optimization tips to help you accomplish this task effectively.
Why Add a Base to a 3D Model
1. Enhanced Stability: A base provides a stable support, preventing the model from collapsing during display or printing.
2. Aesthetic Presentation: A well-designed base enhances the overall visual effect of the model, giving it a more professional appearance.
3. Model Protection: A base protects the bottom of the model, reducing the risk of wear and damage.
Methods to Add a Base in Common 3D Modeling Software
1. Blender:
- Create a Base: In Blender, you can add a simple geometric shape (like a plane, cylinder, or cube) as the base. Press `Shift+A`, select `Mesh`, then choose your desired shape.

- Adjust Size: Use the scaling tool (`S` key) to resize the base to fit the model's bottom.
- Merge Objects: Select the model and base, then press `Ctrl+J` to merge them into one object.
2. 3ds Max:
- Create a Base: In the Create panel, choose `Geometry`, then select `Standard Primitives` to create a base.
- Adjust Position and Size: Use the Move and Scale tools to adjust the base's position and size to match the model.
- Boolean Operation: Use the Boolean tool to merge the base with the model.
3. Maya:
- Create a Base: In the Polygon Modeling toolkit, select an appropriate geometry (such as a cylinder) to create the base.
- Scale: Use the scale tool (`R` key) to adjust the base's size to fit the model's bottom.
- Group Objects: Select the model and base, then press `Ctrl+G` to group them.
Design Tips for Adding a Base
1. Choose Appropriate Shape: The base's shape should complement the model's style and purpose. For sculptural models, circular or polygonal bases may be suitable, while rectangular or square bases work well for architectural models.
2. Optimize Size: The base should not be too large or too small; it should be proportionate to the model. An oversized base can appear bulky, while an undersized one may not provide adequate stability.
3. Detail Design: Adding appropriate details (such as edge decorations or textures) to the base can enhance the overall visual appeal. However, avoid overly complex designs that distract from the model itself.
Common Issues and Solutions
1. Mismatched Base and Model: If the base's size or shape doesn't match the model, adjust its dimensions or change its shape using scaling and moving tools until it fits perfectly.
2. Impact on Model Display: If the base affects the model's presentation, try adjusting its position or redesigning it with consideration for optimal viewing angles.
3. Printing Failures: When 3D printing, ensure the base design accounts for the printer's capabilities and material characteristics. Avoid overly delicate structures and ensure the base has sufficient strength and stability.
Practical Example
Imagine you're adding a base to a character model. Here's a step-by-step example using Blender:
1. Create the Base: Press `Shift+A`, select `Mesh`, then choose `Cylinder` to create a cylindrical base.
2. Adjust the Base: Scale (`S` key) the base so its bottom diameter is slightly larger than the character model's base. Then, move (`G` key) the base to align it with the character model's bottom.
3. Merge Objects: Select the character model and base, then press `Ctrl+J` to merge them into a single object. Now, your character model has a stable and aesthetically pleasing base.
By following this guide, you can effectively add bases to your 3D models, enhancing their overall effect in displays, prints, or storage. Bases play a crucial role in creating professional and refined works, making your creations stand out with stability and visual appeal.

