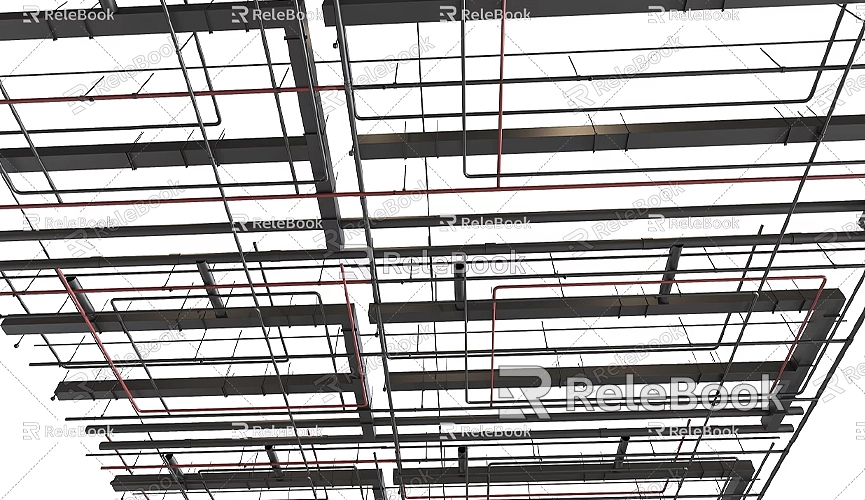
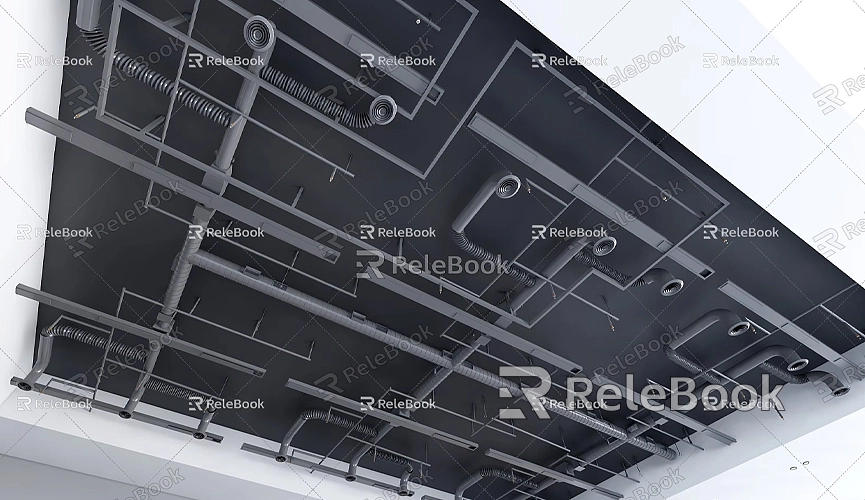
How to Model Pipes in SketchUp
Modeling pipes in SketchUp is a crucial skill for many 3D designers, especially for professionals working in fields such as architecture, interior design, mechanical engineering, or piping systems design. Whether you're creating a complex industrial pipeline system or adding pipes to an architectural design, mastering the techniques of pipe modeling can significantly enhance the quality of your projects. This guide will walk you through the process of modeling various pipes, pipe fittings, elbows, and other components in SketchUp, while also offering tips to improve efficiency and precision. By mastering these techniques, you'll be able to create highly realistic pipe models and add more detail to your designs.
Why Model Pipes in SketchUp?
SketchUp is a powerful 3D modeling software widely used in architecture, urban planning, and industrial design due to its intuitive interface and ease of use. Pipe modeling in SketchUp typically aims to add detailed mechanical systems, building infrastructure, or other industrial components to a 3D model. Pipe modeling is more than just creating simple cylindrical shapes; it also involves designing pipe elbows, joints, flanges, and considering how pipes integrate with other architectural structures.

Defining Your Pipe Model's Requirements
Before starting to model, it's important to clearly define the needs of your project. If you are only looking to create simple decorative pipes, you may not need to focus on the internal structure of the pipes. However, if your goal is to design an accurate mechanical or architectural piping system, the precision of your model becomes crucial. Understanding the details of the pipe system, materials, and size specifications is essential.
For building designs, the layout of the pipes and how they interact with walls, floors, and ceilings will be the focus. In mechanical systems, the geometry of the pipes, joints, and connections will be the most critical. These details will help you determine the tools and techniques you'll need during the modeling process.
Basic Tools for Modeling Pipes in SketchUp
There are several essential tools in SketchUp that you'll need to master to efficiently model pipes. Here's an overview of the most commonly used tools that will make the process smoother:
Circle Tool
The Circle tool allows you to quickly draw the cross-section of a pipe. By choosing an appropriate radius, you can create pipes of varying diameters.
Push/Pull Tool
The Push/Pull tool helps you extend the circular cross-section along the Z-axis, forming the length of the pipe. Simply drag the circle to create a pipe of any length.
Follow Me Tool
The Follow Me tool is perfect for creating curved pipes. It allows you to stretch the selected cross-section along a path to create a curved pipe.
Move Tool
The Move tool helps adjust the relative position of the pipe, making it easier to align the pipe with other geometry.
Rotate Tool
If you need to rotate the pipe to a specific angle, this tool is invaluable. It allows you to precisely place pipes at the desired angles.
Scale Tool
The Scale tool is used to resize pipes, making it easy to adjust the scale of your model.
Components
Components allow you to turn frequently used elements, like pipe fittings, flanges, valves, etc., into reusable objects, which greatly increases modeling efficiency.
Basic Pipe Modeling Techniques
Creating pipes in SketchUp typically starts by modeling their basic geometry. Here’s an example of how to model a simple straight pipe.
Creating the Pipe Cross-Section
Since pipes are usually cylindrical, the first step is to draw the cross-section of the pipe. You can use the Circle tool to draw a circle at the desired location and specify its radius to determine the pipe’s diameter. For instance, to create a 2-inch diameter pipe, select a 1-inch radius and draw the circle.

Extending the Pipe Length
Once you’ve drawn the cross-section of the pipe, use the Push/Pull tool to stretch the circle along the Z-axis, forming the length of the pipe. By dragging the circle, you can easily extend the pipe to any length. You can adjust the length at any time to ensure it matches the design specifications.
Creating Curved Pipes
Pipes in the real world often aren't straight, requiring bends. To create curved pipes in SketchUp, use the Follow Me tool. First, create a suitable path for the curve, whether it's a smooth arc or a more complex curve. Next, select the pipe’s cross-section (the circle), then use the Follow Me tool to click on the path. The pipe will form along the curve.
If you need a more refined curve, you can use multiple short segments to simulate a more complex curve. This method will make the pipe bend more smoothly, reflecting a more realistic shape.
Creating Pipe Fittings and Accessories
Pipe fittings such as elbows, joints, and flanges are crucial for making the pipe system look authentic. In SketchUp, you can manually model these fittings or download pre-made components to save time. Below are a few common fittings and how to model them.
Creating Pipe Elbows
Pipe elbows are among the most common fittings in a pipe system. To create an elbow, first model two straight pipes using the Push/Pull tool to extrude the pipe sections. Then, use the Follow Me tool to create the curved elbow section, ensuring it connects seamlessly to both straight sections.
Next, use the Move tool to adjust the pipes' positions, ensuring they meet at the correct angle. You can use the Rotate tool to fine-tune the alignment for a smooth connection.
Creating Pipe Flanges
Flanges are another essential part of pipe systems, typically used to connect pipes to equipment. To model a flange, start by drawing a circle for the outer ring of the flange, and then create a smaller circle in the center to represent the connection holes. Use the Push/Pull tool to extrude the outer ring into a thin disk, and then remove the center portion to form the flange.
Using Components to Improve Efficiency
If your project requires frequent use of the same pipe fittings (e.g., valves, elbows, flanges), converting these fittings into components can save significant time. Components allow you to reuse the same object throughout your model without having to recreate it each time. Right-click on an object and select Create Component to save it as a reusable object, greatly enhancing your modeling efficiency.
Adding Textures and Materials to Pipes
To make your pipe models look more realistic, you’ll want to apply appropriate textures and materials. In SketchUp, you can choose from a variety of materials to represent different types of pipes. Common pipe materials include metal, plastic, and concrete.
In the Materials window, select a texture that fits the pipe type, and apply it to the surface of the pipe. If the texture map doesn't fit properly, you can use the Texture Positioning tool to adjust the size and direction of the texture so it aligns with the pipe’s geometry.
Additionally, you can download high-quality 3D textures and HDRIs to improve the appearance of your pipes. If you need a large selection of high-quality 3D textures and HDRIs for your models and virtual scenes, you can download them for free from Textures Relebook. Using these high-quality materials will enhance the realism of your pipe models and improve lighting effects.
Final Model Optimization and Adjustments
After modeling the pipes, you will typically need to perform some final adjustments and optimization to ensure the pipes fit seamlessly with other elements in your design. For instance, you’ll need to check that the pipes align properly with walls, floors, or ceilings, ensuring the layout is reasonable.
If your model contains a lot of detail, consider optimizing performance by simplifying unnecessary geometry. For example, use low-polygon models to replace intricate details, or leverage components to reduce redundancy in your model.
Modeling pipes in SketchUp involves a wide range of skills, from creating simple cylindrical shapes to modeling complex elbows, joints, and flanges. Each detail needs careful consideration. By using the right tools and techniques, you can efficiently create various types of pipes and fittings, making your model both accurate and realistic.
If you need high-quality 3D textures and HDRIs for your models and virtual scenes, visit Textures Relebook for free downloads. Additionally, if you need exquisite 3D models, check out 3DModels Relebook, which offers a wide range of high-quality 3D resources. Using these resources will bring your pipe models to life and make them visually compelling.

