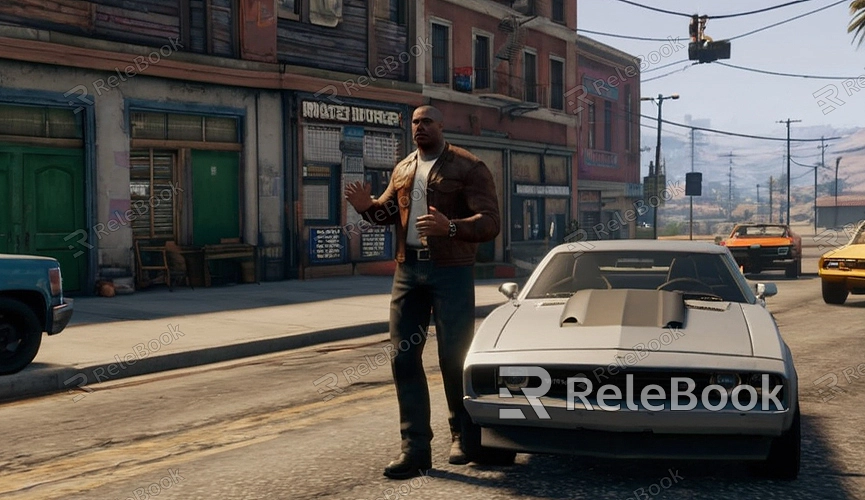
How to Convert a 3D Model to GTA V
In Grand Theft Auto V (GTA V), adding custom 3D models can significantly enhance the gaming experience, whether it's vehicles, weapons, or characters. Players can import their own creations or downloaded 3D models into the game using specific tools and techniques. This article provides a detailed guide on how to convert a 3D model into a GTA V-compatible format, along with necessary steps and considerations.
I. Preparation
1. Selecting a Suitable 3D Model
Start by choosing a high-quality 3D model. You can create one yourself or download from various sources. Common 3D model formats include .obj, .fbx, etc. Ensure the polygon count is moderate to ensure smooth gameplay.

2. Installing Required Software
- OpenIV: Tool for importing and modifying GTA V files.
- ZModeler 3: Software used to convert 3D models into GTA V-compatible formats.
- Blender or 3ds Max: Tools for editing and optimizing 3D models.
II. Adjusting the Model in Blender or 3ds Max
Before importing the 3D model into GTA V, adjustments and optimizations are necessary in Blender or 3ds Max.
1. Importing the 3D Model
- Open Blender or 3ds Max.
- Import your prepared 3D model (.obj or .fbx format).
2. Model Optimization
- Reduce Polygon Count: Use "Decimate" operations to reduce polygon count for smoother gameplay.
- Scale Adjustment: Ensure the model's size matches GTA V's scale.
- Fix Normals: Ensure correct normal direction for proper model display in-game.
3. Applying Textures
- In the material editor, create new materials for the model.
- Import corresponding texture files and adjust UV mapping.
III. Importing the Model into ZModeler 3
1. Open ZModeler 3
- Launch ZModeler 3.
- Import the adjusted 3D model from Blender or 3ds Max.
2. Further Adjustments in ZModeler 3
- Fine-tune the model in ZModeler to meet GTA V requirements. This includes adding collision models, adjusting bone bindings, etc.
IV. Exporting to GTA V-Compatible Files
1. Exporting from ZModeler 3
- In ZModeler 3, export the model into GTA V-compatible formats (.yft, .ytd, etc.).
- Ensure exported files include necessary textures and material files.
V. Importing into GTA V Using OpenIV
1. Open OpenIV
- Launch OpenIV and select "GTA V Windows."
- Enter edit mode and navigate to the specific game file you wish to replace (e.g., vehicles, weapons).
2. Importing Using OpenIV
- Before replacing files, always back up the original files to revert in case of issues.
- Import the files exported from ZModeler 3 into the corresponding game folder.
VI. Testing in the Game
1. Launch GTA V
- Start GTA V and navigate to the replaced objects (e.g., vehicles, weapons).
- Verify the model's correct display and test its performance in-game.
VII. Considerations
1. Polygon Count: Control the model's polygon count to avoid performance issues.
2. Texture Resolution: Use appropriate texture resolutions to balance quality and file size.
3. Backup Files: Always back up original game files before replacing them to prevent errors.
By following these steps, you can successfully import a 3D model into GTA V, enjoying the new gaming experiences brought by custom models. For high-quality 3D textures, HDRI, or 3D model downloads for modeling and virtual scene creation, you can download them from Relebook and integrate them directly into your projects.
Continuously practice and explore to enhance your skills in creating and integrating custom content into GTA V, leveraging community resources and official documentation for ongoing learning and improvement.

