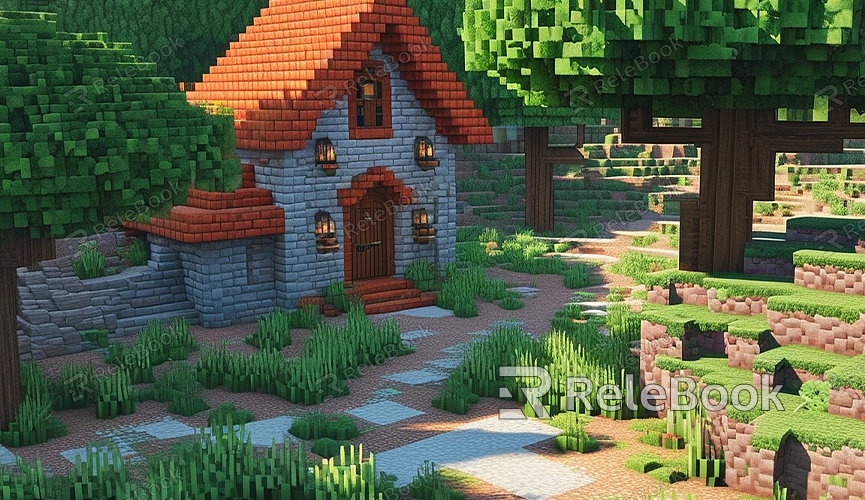
How to Create Minecraft 3D Models
Minecraft, as a globally popular sandbox game, attracts countless players and developers with its limitless creative potential. Despite the game's seemingly simple blocky style, creating unique 3D models still requires some techniques and tools. In this article, we will detail how to create Minecraft 3D models and share some practical tips.
Choosing the Right Tools
The first step in creating Minecraft 3D models is selecting the appropriate tools. Currently, there are several commonly used tools that can help you create and edit Minecraft models:

- Blender: A powerful free 3D modeling software suitable for users with some 3D modeling experience.
- Blockbench: A 3D modeling tool specifically designed for Minecraft, with a user-friendly interface, perfect for beginners.
- MCEdit: A tool for editing Minecraft worlds and structures, helping you quickly import models into the game.
Creating Basic Models
Before starting with complex 3D models, it is recommended to practice with simple models first. Here are the steps to create a basic model using Blockbench:
1. Download and Install Blockbench: You can download the latest version from the Blockbench official website and follow the prompts to install it.
2. Create a New Project: After opening Blockbench, click the “File” menu and select “New” to create a new project. Choose “Bedrock Model” or “Java Block/Item” as a template.
3. Add Basic Shapes: Use the “Add Cube” tool from the left toolbar to add a cube as the base shape. You can adjust the cube's size and position to create different parts.
4. Edit Model Details: Use the “Outliner” panel on the right to select and edit various parts of the model. By adjusting the position of vertices, edges, and faces, you can create more complex and detailed shapes.
5. Apply Textures: In the “Textures” panel, you can add and edit textures for the model. You can choose existing textures or import your own texture images.
Optimizing the Model
After creating the basic model, you can optimize it through the following methods:
- Reduce Polygon Count: Minecraft’s aesthetic style doesn’t require highly detailed models, so reduce the polygon count to improve game performance.
- Merge Similar Parts: If the model has many repeating parts, merge similar parts to reduce the model's complexity.
- Check UV Mapping: Ensure the UV mapping is correct so that textures can be accurately applied to the model.
Exporting and Importing Models
Once you have created and optimized your model, the next step is to export and import it into Minecraft.
1. Export the Model: In Blockbench, click the “File” menu, select “Export,” then choose the “Minecraft Java Block/Item” or “Minecraft Bedrock Geometry” format to export.
2. Import the Model into Minecraft: Use tools like MCEdit to import the exported model into the Minecraft world. Open MCEdit, select the area where you want to import the model, then click the “Import” button and choose the exported model file.
Tips for Improving Model Quality
- Reference Real Objects: When creating models, reference real objects to better grasp shapes and proportions.
- Learn 3D Modeling Basics: If you are unfamiliar with 3D modeling, learn some basics through online tutorials and books to significantly improve your modeling skills.
- Utilize Community Resources: There are many excellent models and resources in the Minecraft community that you can reference and learn from.
If you need high-quality 3D textures and HDRIs when creating models and virtual scenes, or if you need to download 3D models, you can download them from Relebook. After downloading, you can directly import the textures and 3D models into your project. This can greatly enhance your workflow efficiency and achieve higher quality final results. By following the above steps and tips, you can start creating your own Minecraft 3D models.

