How to Make 3D Bird Model
Creating a 3D bird model is both an enjoyable and challenging task. Whether you're a game developer, animator, or 3D design enthusiast, understanding how to craft a detailed 3D bird model from scratch can add vibrant elements to your projects. This article will provide a comprehensive guide on using Blender to create a 3D bird model, along with some tips to enhance your results.
Choosing the Right Software
Before starting your 3D bird model, choosing the right software is crucial. Blender, a free and powerful open-source software, is highly recommended for beginners and professionals alike. You can download the latest version from the Blender official website.

Gathering Reference Materials
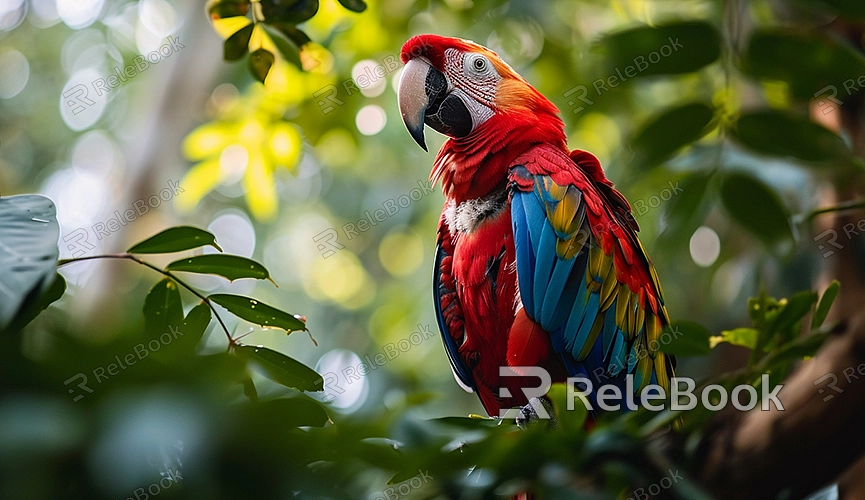
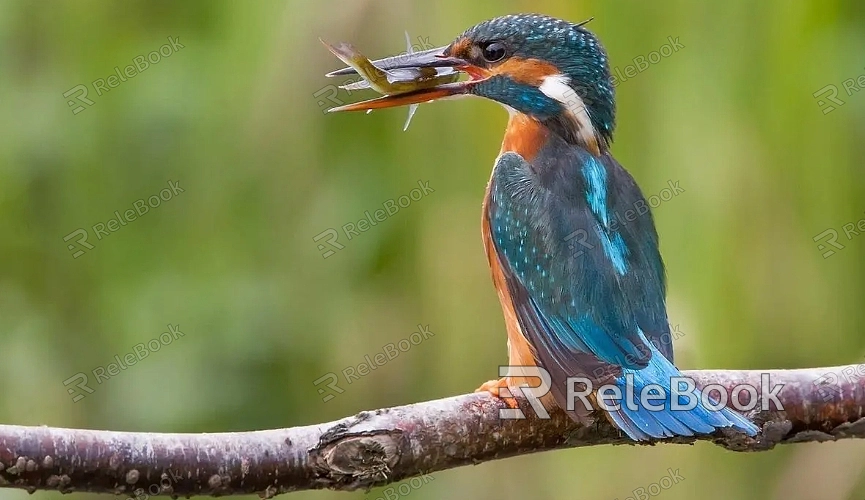
Before modeling, gathering reference photos and videos of birds is essential. These references help you better understand the bird's anatomy, feather arrangement, and movement patterns. Search online for various bird images or watch wildlife documentaries for detailed references.
Understanding the Basic Structure of Birds
The basic structure of birds includes the head, torso, wings, and tail. Understanding the proportions and connections of these parts will help you accurately recreate the bird's form during modeling.
Getting Started with Modeling
Creating the Base Model
1. Import Reference Images: In Blender, import side and front view reference images of the bird to aid in modeling. Place these images in the background of your viewport for easy reference.
2. Creating Basic Shapes: Use Blender's basic geometric primitives such as spheres and cubes to create various parts of the bird. Begin with a sphere for the bird's head, then scale and shape it to form the torso. Use a cube to create wings and the tail, adjusting their shapes to match the reference images.

Refining the Model
1. Sculpting Details: Use Blender's sculpting tools to further refine the bird's form. Sculpt details such as eyes and beak on the head, and add feather textures on the torso.
2. Connecting Parts: Merge the head, torso, wings, and tail into a cohesive model using Blender's "Merge" tools, ensuring smooth transitions between parts.
Adding Textures and Materials
1. Creating UV Maps: After completing the model, create UV maps for it. UV mapping involves unwrapping the 3D model onto a 2D plane to apply textures. Use Blender's UV Editor to unwrap each part of the model and adjust its layout for texture application.
2. Applying Textures and Materials: Download high-quality bird feather textures from online sources and apply them to the model. Use Blender's material editor to adjust texture colors, reflectivity, and transparency for a realistic appearance.
Rendering and Animation
1. Setting up Lights and Camera: Before rendering, position lights and the camera. Use Blender's lighting tools to add different types of lights and adjust their intensity and direction for optimal lighting effects.
2. Rendering the Model: In Blender, select a rendering engine like Cycles or Eevee, and configure rendering parameters. Click "Render" to generate high-quality images of your bird model.
3. Creating Animation: If you want your bird model to animate, use Blender's animation tools. Add a skeletal system (armature) and set keyframes for each bone to create flying or walking animations.
Post-Processing
After rendering, use Blender's compositor to apply post-processing effects to your images or animations. Add effects like glows, blurs, and color corrections to enhance the visual appeal of your work.
Using High-Quality Textures and HDRI
High-quality textures and HDRI significantly enhance the visual impact of your 3D models and virtual scenes. For access to these resources and 3D model downloads, you can download them from Relebook and directly import them into your projects. Following these steps will enable you to create a stunning 3D bird model that enriches your projects.

