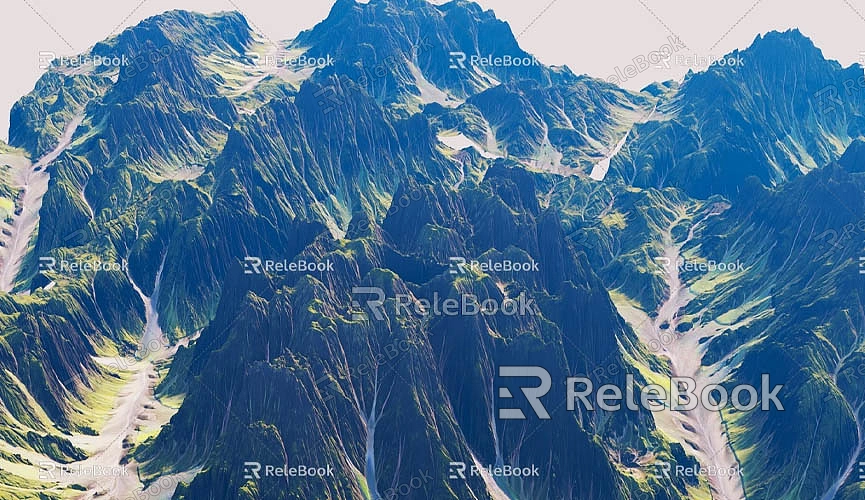
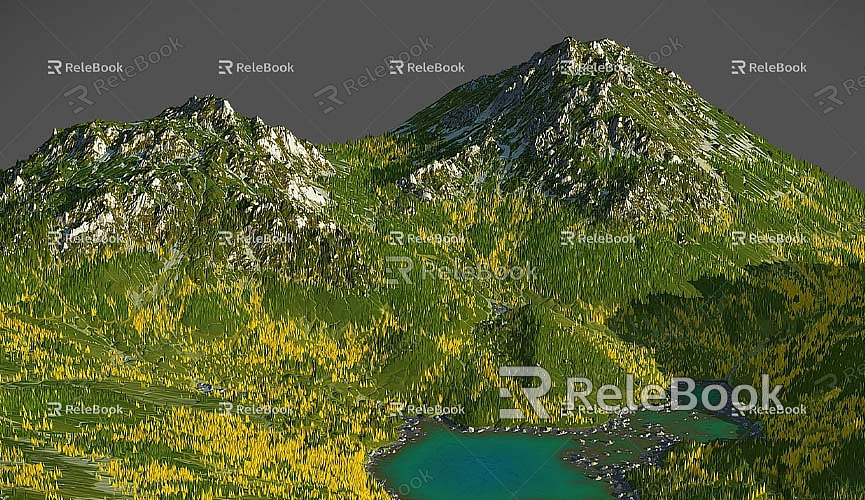
How to Model a Terrain in SketchUp
Creating terrain models in SketchUp is an essential skill, especially for architects, urban planners, landscape designers, and 3D artists. Whether you’re designing a natural landscape, modeling an urban environment, or incorporating terrain features into your building design, SketchUp offers a variety of tools and techniques to help you complete the task efficiently. Terrain modeling can range from simple topographical features to complex variations in the landscape. This article will guide you through the process of terrain modeling in SketchUp, covering how to import terrain data, sculpt the landscape, and refine and optimize your model to ensure accuracy and realism.
Basic Concepts of Terrain Modeling
Before you begin modeling, it’s important to understand some basic concepts about terrain modeling. Terrain typically refers to the physical features of the earth's surface, such as hills, valleys, plains, slopes, and low-lying areas. In SketchUp, these features are created by altering elevation or sculpting the surface.

Terrain in SketchUp is usually represented by a 3D surface (also known as a mesh), and you can shape these features by moving vertices, applying textures, and adjusting the surface forms. Whether you want a gentle slope or a rugged mountain range, SketchUp’s tools can meet the needs of various terrain modeling scenarios.
Preparing to Create a Terrain Model
Before starting the modeling process, setting up your workspace is a crucial first step. Ensure that the SketchUp template and units are suitable for terrain modeling. Typically, the "Architecture" or "Landscape" templates are ideal, as they provide the correct unit settings, such as meters or feet, for terrain design.
Choosing the Right Template
When creating terrain, selecting an appropriate template is key. The "Architecture" or "Landscape" templates typically offer the correct units and standards to help avoid unit conversion errors during design and construction. For larger-scale projects involving terrain, it’s recommended to use meters as the unit of measurement; for smaller-scale projects, feet are perfectly suitable.
Enabling Shadows and Layers
Enabling shadows can help you visualize how light interacts with your terrain model at different times of the day. You can turn on shadow display by going to View > Shadows, which will give you a clearer view of the terrain's contours and variations. Layers are also useful for managing different elements in your project, such as the terrain, buildings, roads, or vegetation, allowing you to efficiently adjust and modify them during the modeling process.

Importing Terrain Data
When modeling terrain, you don’t always have to start from scratch. SketchUp allows you to import real terrain data, enabling you to turn actual geographic information into a 3D model. This process greatly reduces the effort of manually drawing terrain and ensures accuracy and realism.
Using Google Earth to Import Terrain
One of SketchUp's most useful features is "Add Location," which allows you to pull terrain data directly from Google Earth. With this feature, you can quickly import real-world terrain data from Google Maps.
1. In SketchUp, go to File > Geo-location > Add Location.
2. In the pop-up window, either enter the location you want or drag the map to select the area.
3. Choose the "Terrain" option, confirm your selection, and click "Select Region." SketchUp will automatically import the terrain data for that area.
This method provides a terrain model that includes elevation data, often covering natural landforms like mountains and hills.
Importing Digital Elevation Models (DEM Files)
If you need more precise terrain data, you can use Digital Elevation Models (DEM) files. By installing plugins (such as the SketchUp Terrain Importer or Sandbox tools plugin), you can import these files into SketchUp and create an accurate terrain mesh based on the data from the DEM files. DEM files offer detailed elevation data, making them ideal for creating complex terrains, especially for projects that require high-precision modeling.
Sculpting Terrain with the Sandbox Tools
SketchUp’s Sandbox tools are specifically designed for terrain modeling. These tools make it easy to modify the terrain mesh, raise or lower areas, and create various terrain features. With these tools, you can simulate mountains, plains, slopes, and other geographical features.
Enabling Sandbox Tools
The Sandbox tools are an extension that may not be enabled by default in your version of SketchUp. You can enable them by going to Window > Extensions > Extension Warehouse, then searching for and enabling the Sandbox tools. Once installed, you’ll see the icons for these tools in your toolbar. Some of the key tools include:
From Contours Tool: This tool allows you to create a 3D terrain surface from a series of contour lines. Typically, these contour lines are either drawn manually or imported from another source. By selecting a set of contour lines, you can generate a terrain mesh that corresponds to those lines.
Sculpting Tool: This powerful tool allows you to modify the terrain surface by pushing, pulling, stretching, or compressing the surface to create features like mountains, valleys, and lakes. Simply click and drag the surface to make changes in the terrain.
Smooth Tool: This tool is used to remove sharp edges and irregularities on the terrain surface, making it appear smoother and more natural. It’s especially useful for refining existing terrain, eliminating unevenness, and optimizing the overall quality of the model.
Creating Specific Terrain Features
After establishing the basic terrain mesh, you can start sculpting specific terrain features, such as:
Hills and Mountains: Use the Push/Pull tool or Sculpting tool to gradually raise the terrain surface, creating hills and mountain ranges. To make the effect more natural, you can apply a gradient to the height changes across different areas to avoid abrupt height differences.
Valleys and Rivers: Use the Sculpting tool to depress the ground, creating valleys or rivers. If you're modeling bodies of water, you can apply a water texture to these lower areas to increase the realism.
Roads and Slopes: When designing roads or ramps, you'll need to sculpt the terrain to match the design of the road. By adjusting the elevation, you can create realistic slopes or inclines that meet real-world requirements.
Optimizing and Adding Detail
Once you’ve completed the basic terrain model, you can further optimize and refine it to make it more realistic.
Applying Textures
Texturing the terrain is an important step to enhance the realism of your model. You can use textures like grass, dirt, rocks, and more to cover the surface of the terrain. SketchUp’s material library includes many textures, or you can import custom textures from online sources.
Adding Vegetation and Landscape Elements
To make the terrain look more lively, you can add trees, shrubs, and grass. SketchUp's 3D Warehouse contains a large collection of plant models, which you can download for free and incorporate into your project.
Adding Infrastructure
If you're modeling the terrain of a city or neighborhood, you’ll need to add infrastructure elements like roads, buildings, bridges, and more. These elements help demonstrate how the terrain interacts with architectural structures and improve the model's utility and visual appeal.
Finalizing the Terrain Model
Once you’ve finished modeling the terrain, you can create different perspectives to showcase your model. Use SketchUp’s Scene feature to save various views and generate rendered images, animations, or other visual effects based on your needs. If necessary, you can export the model as an image or 3D file for further display and sharing.
Additionally, setting up proper lighting and shadow effects is critical, especially for virtual reality or architectural visualization projects. Well-implemented lighting and shadows can make your terrain model appear more realistic and refined.
SketchUp offers powerful features for terrain modeling, whether you’re importing real terrain data or sculpting your own. By taking advantage of SketchUp’s tools—such as the Terrain Importer, Sandbox tools, textures, vegetation, and shadow settings—you can create highly detailed and realistic terrain models. Whether you’re working on a small landscape or a large urban project, these tools will help you efficiently create terrain models that are both accurate and visually compelling.
For high-quality 3D textures and HDRI resources for your models and virtual scenes, you can download them for free from textures.relebook.com. If you need beautiful 3D models, visit 3dmodels.relebook.com, where Relebook offers a wide range of premium 3D resources that can greatly enhance the quality of your terrain models, helping you create more detailed and professional designs.

